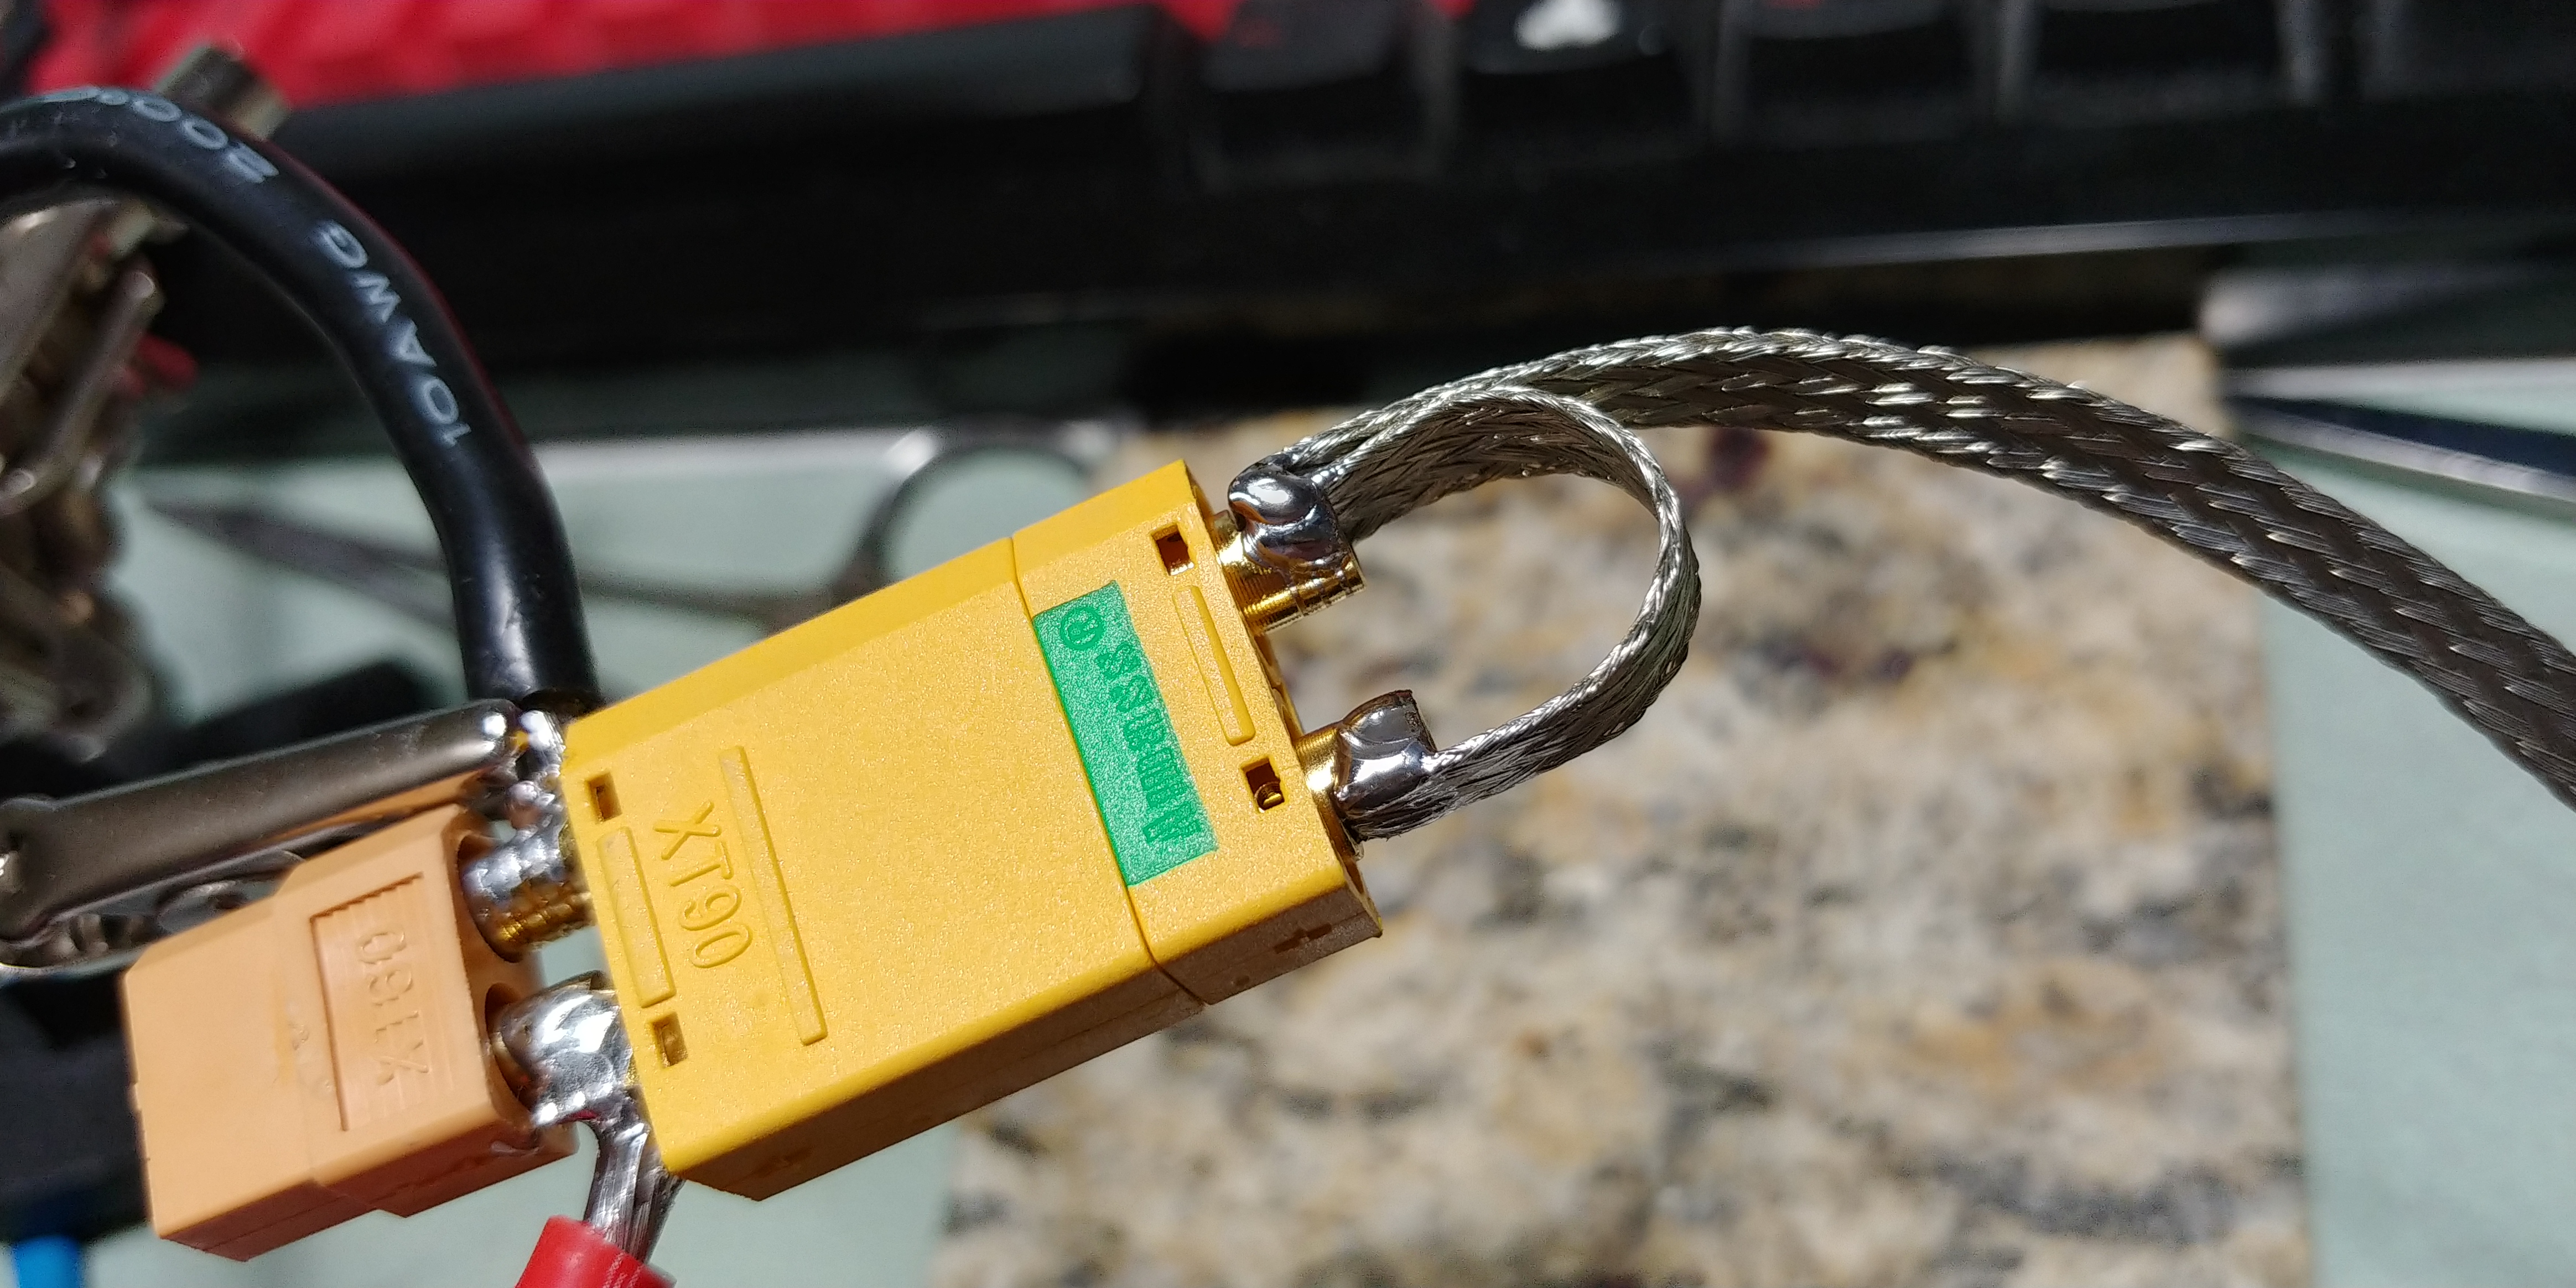
Arguably, the most reliable way to control power to an ESC [pair] is to use an XT90S loopkey.


It may not be the prettiest or the shiniest or the most foolproof, but it probably will outlast almost any other way if done correctly, and it’s certainly the cheapest. This does have antispark characteristics if you use the “XT90S” instead of the “XT90” variant of the female connector. You definitely don’t want to use the female XT90.
Essentially, you make “a key” that you plug into the skate to turn it on. You pull it out to turn it off. Mount the male side on the skate and use the female side for the key.
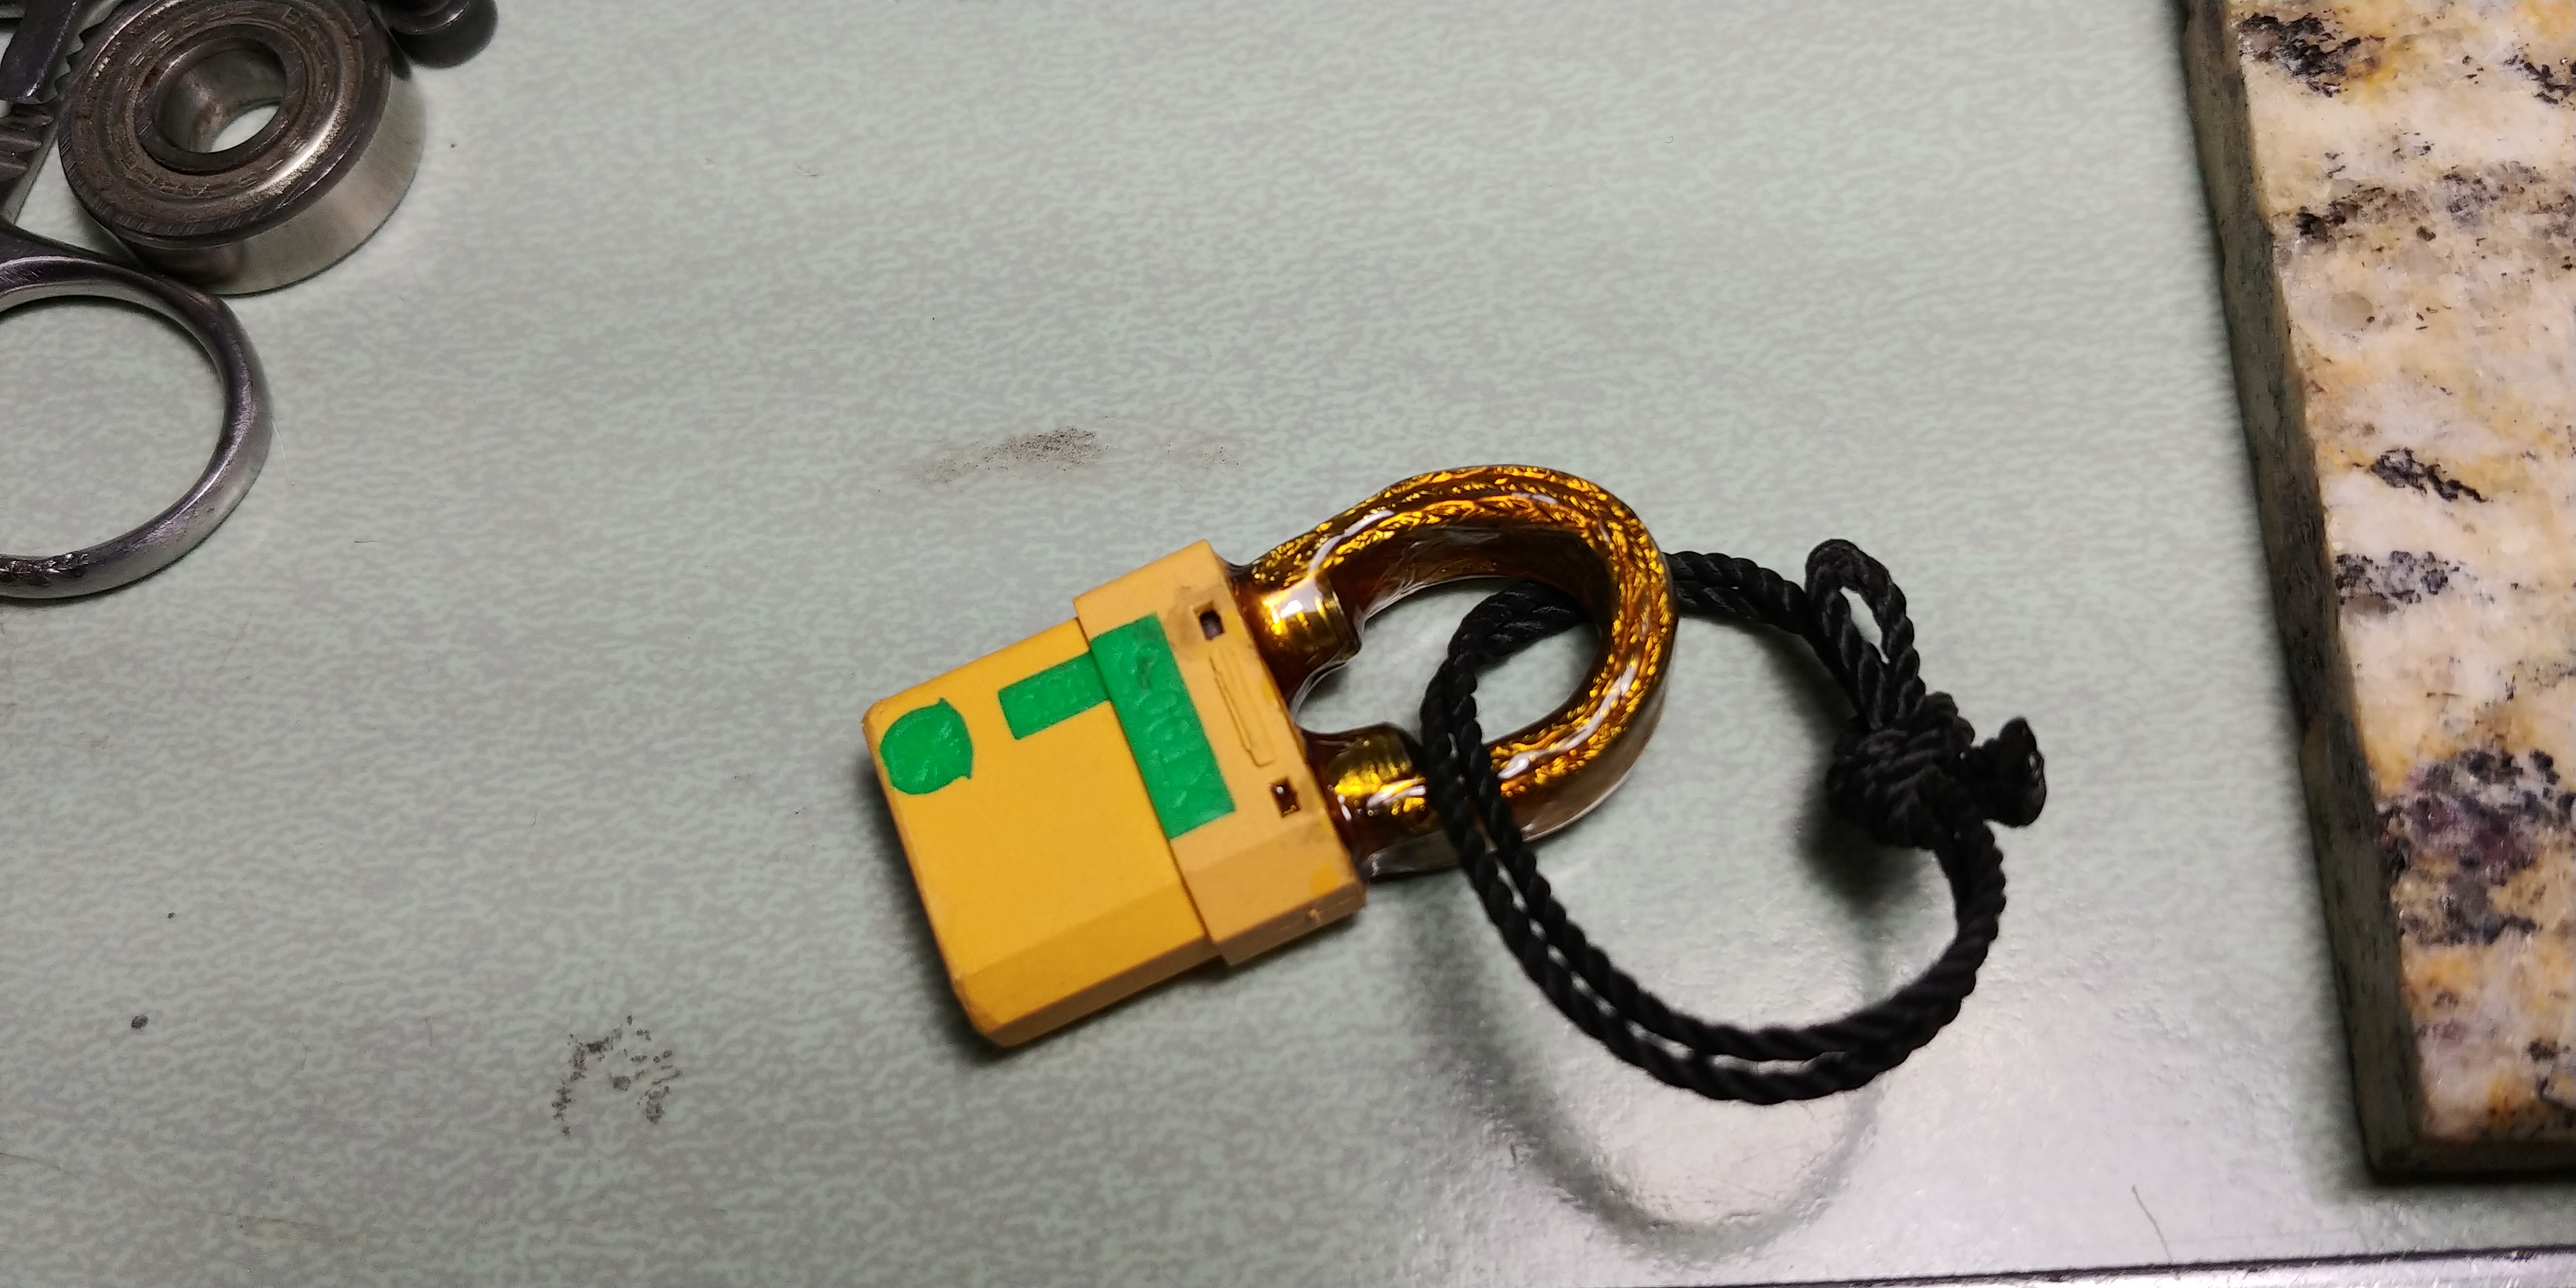
finished loopkeys

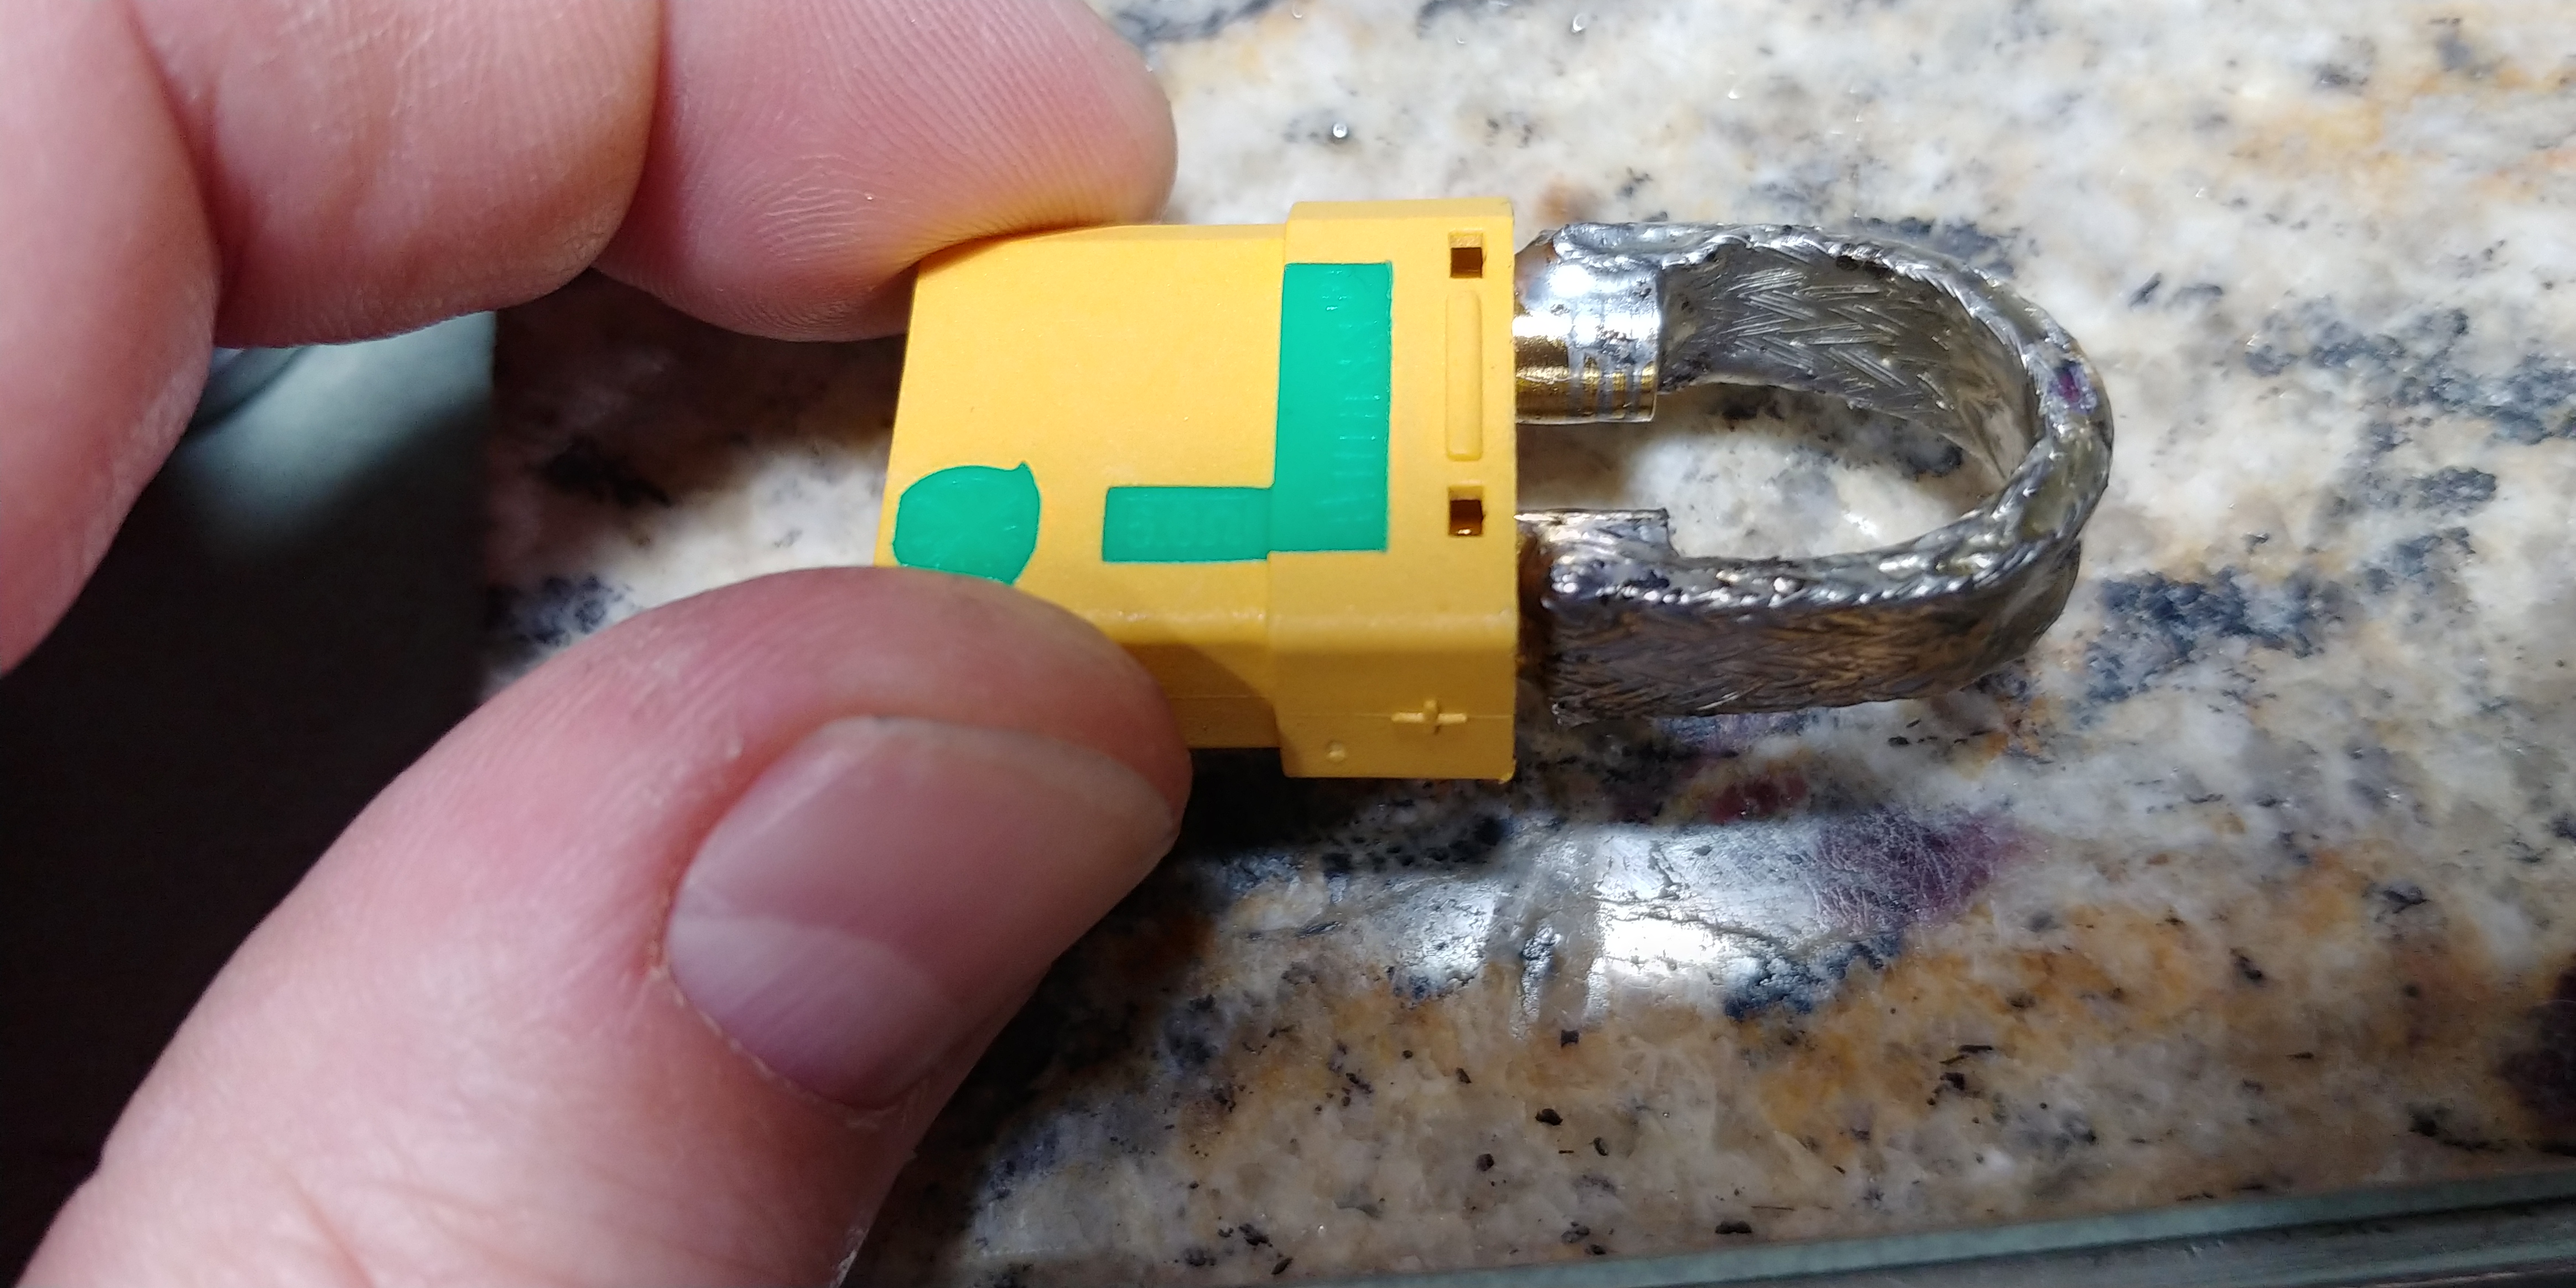
A female XT90S showing the extra band. There is a 5.6Ω resistor inside, between the two bands on the left side. This functions to precharge the filter capacitors in the few milliseconds only one of the bands is connected while you push the plug in, preventing a mighty spark.

Items needed:
- XT90S female connector (best to have more than one)
- XT90 male connector (best to have more than one)
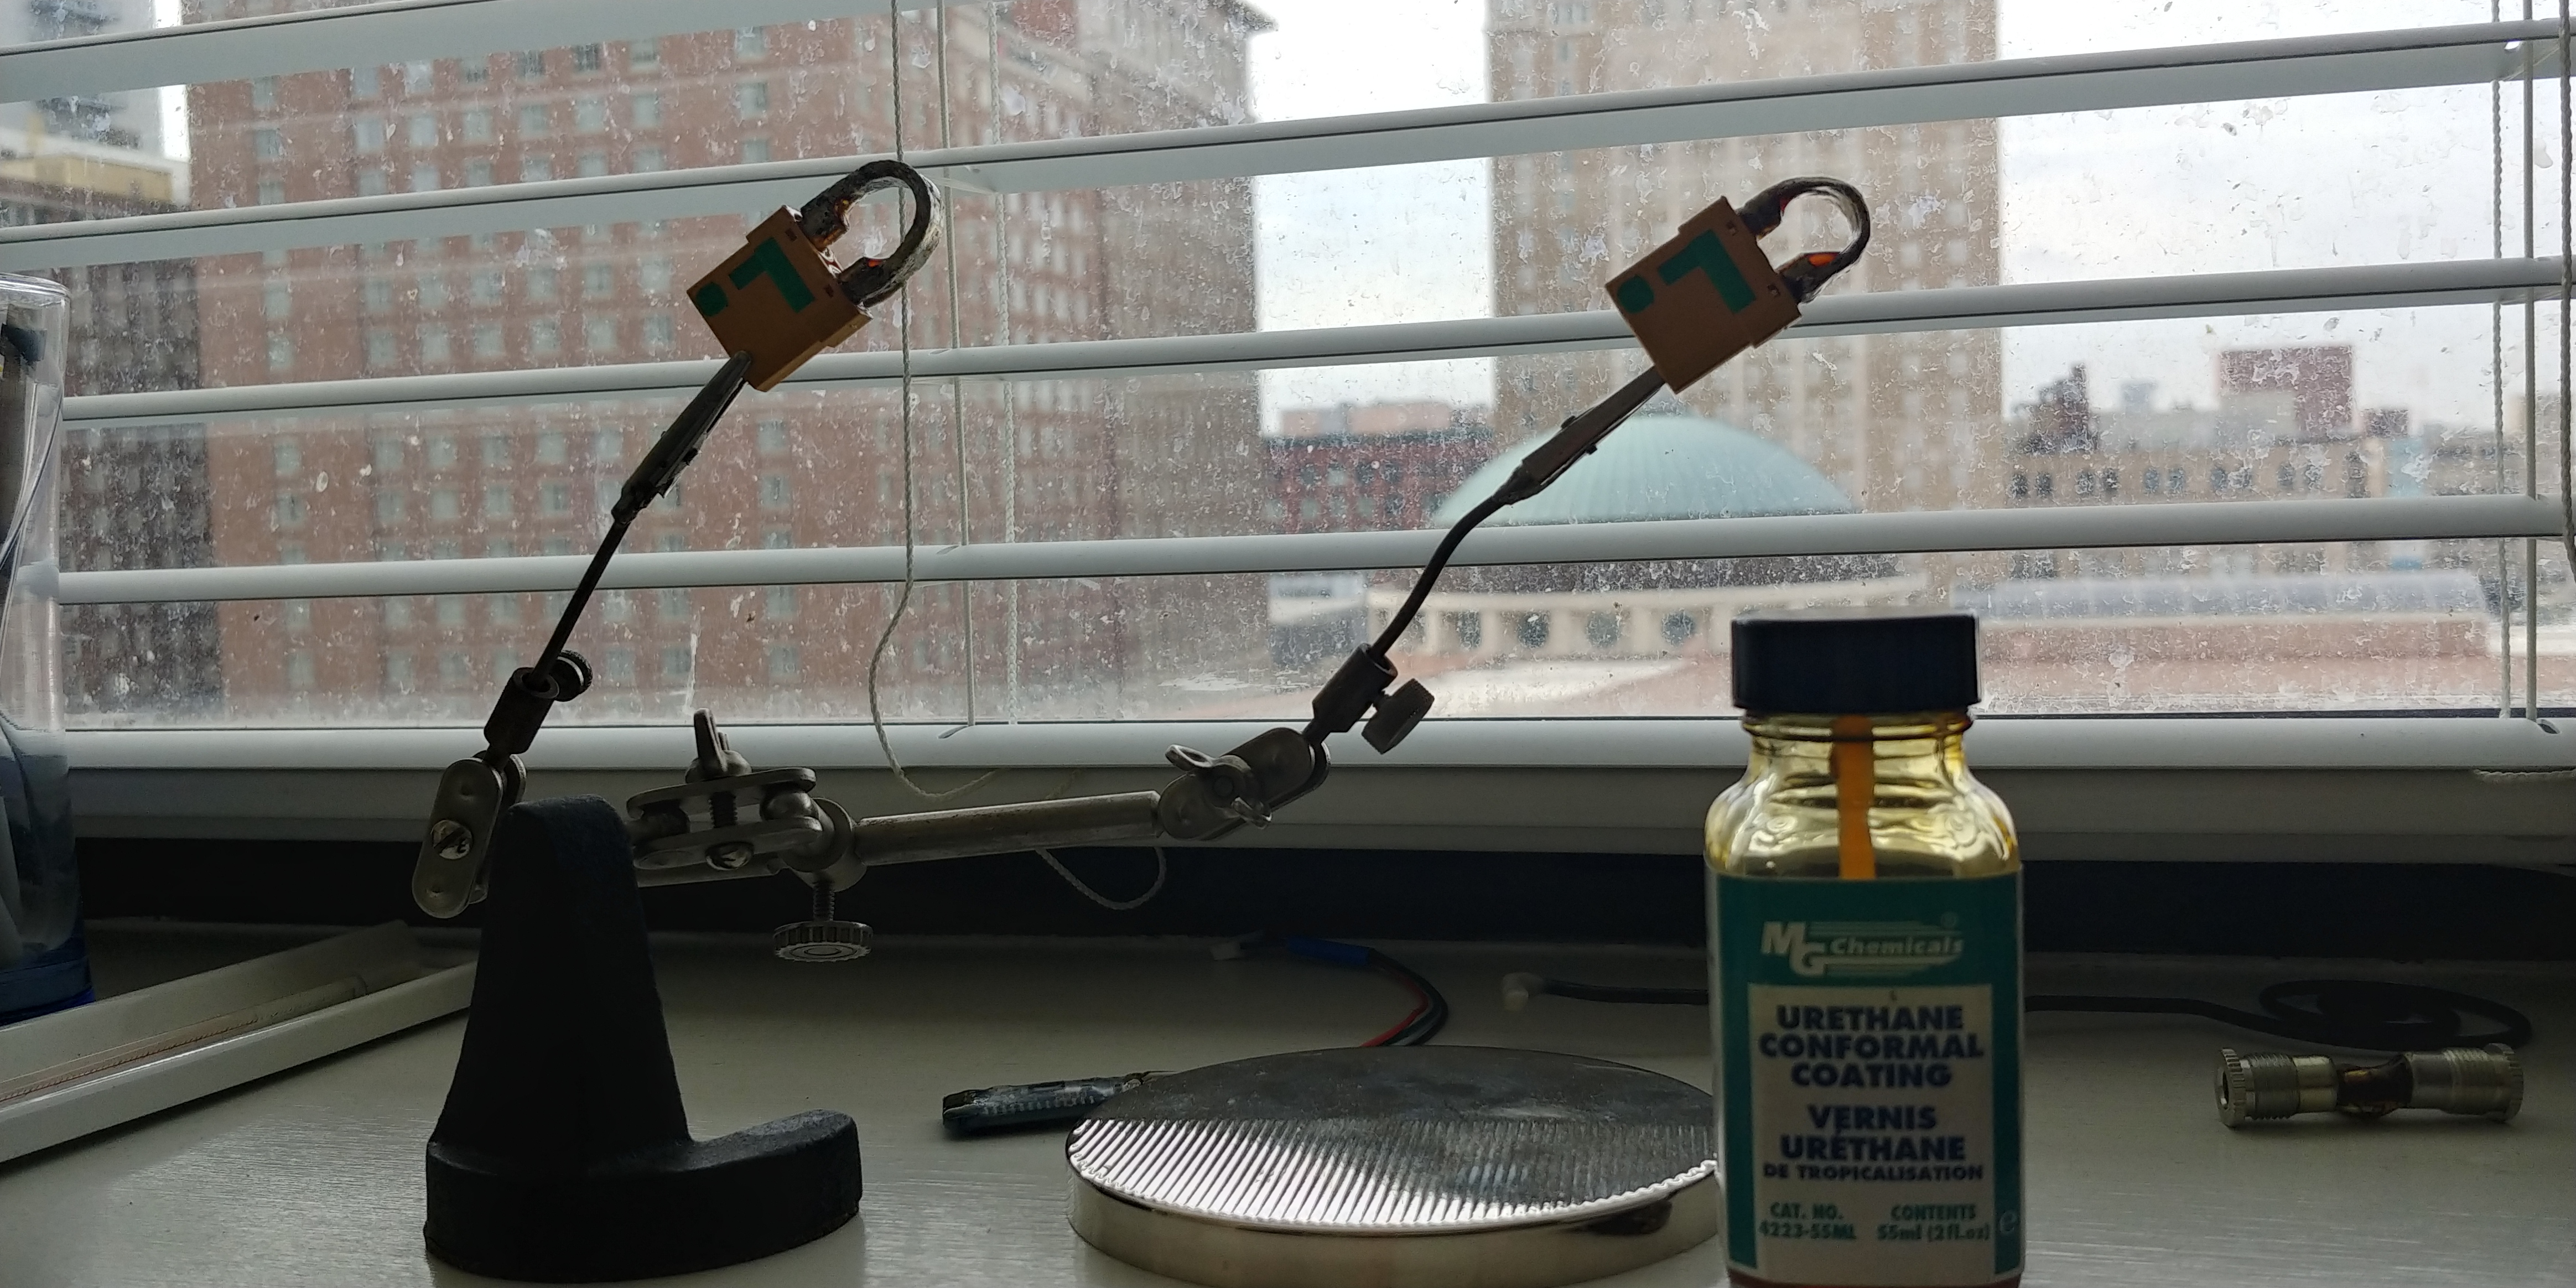
- MG Chemicals urethane conformal coating in 55ml brush-on bottle
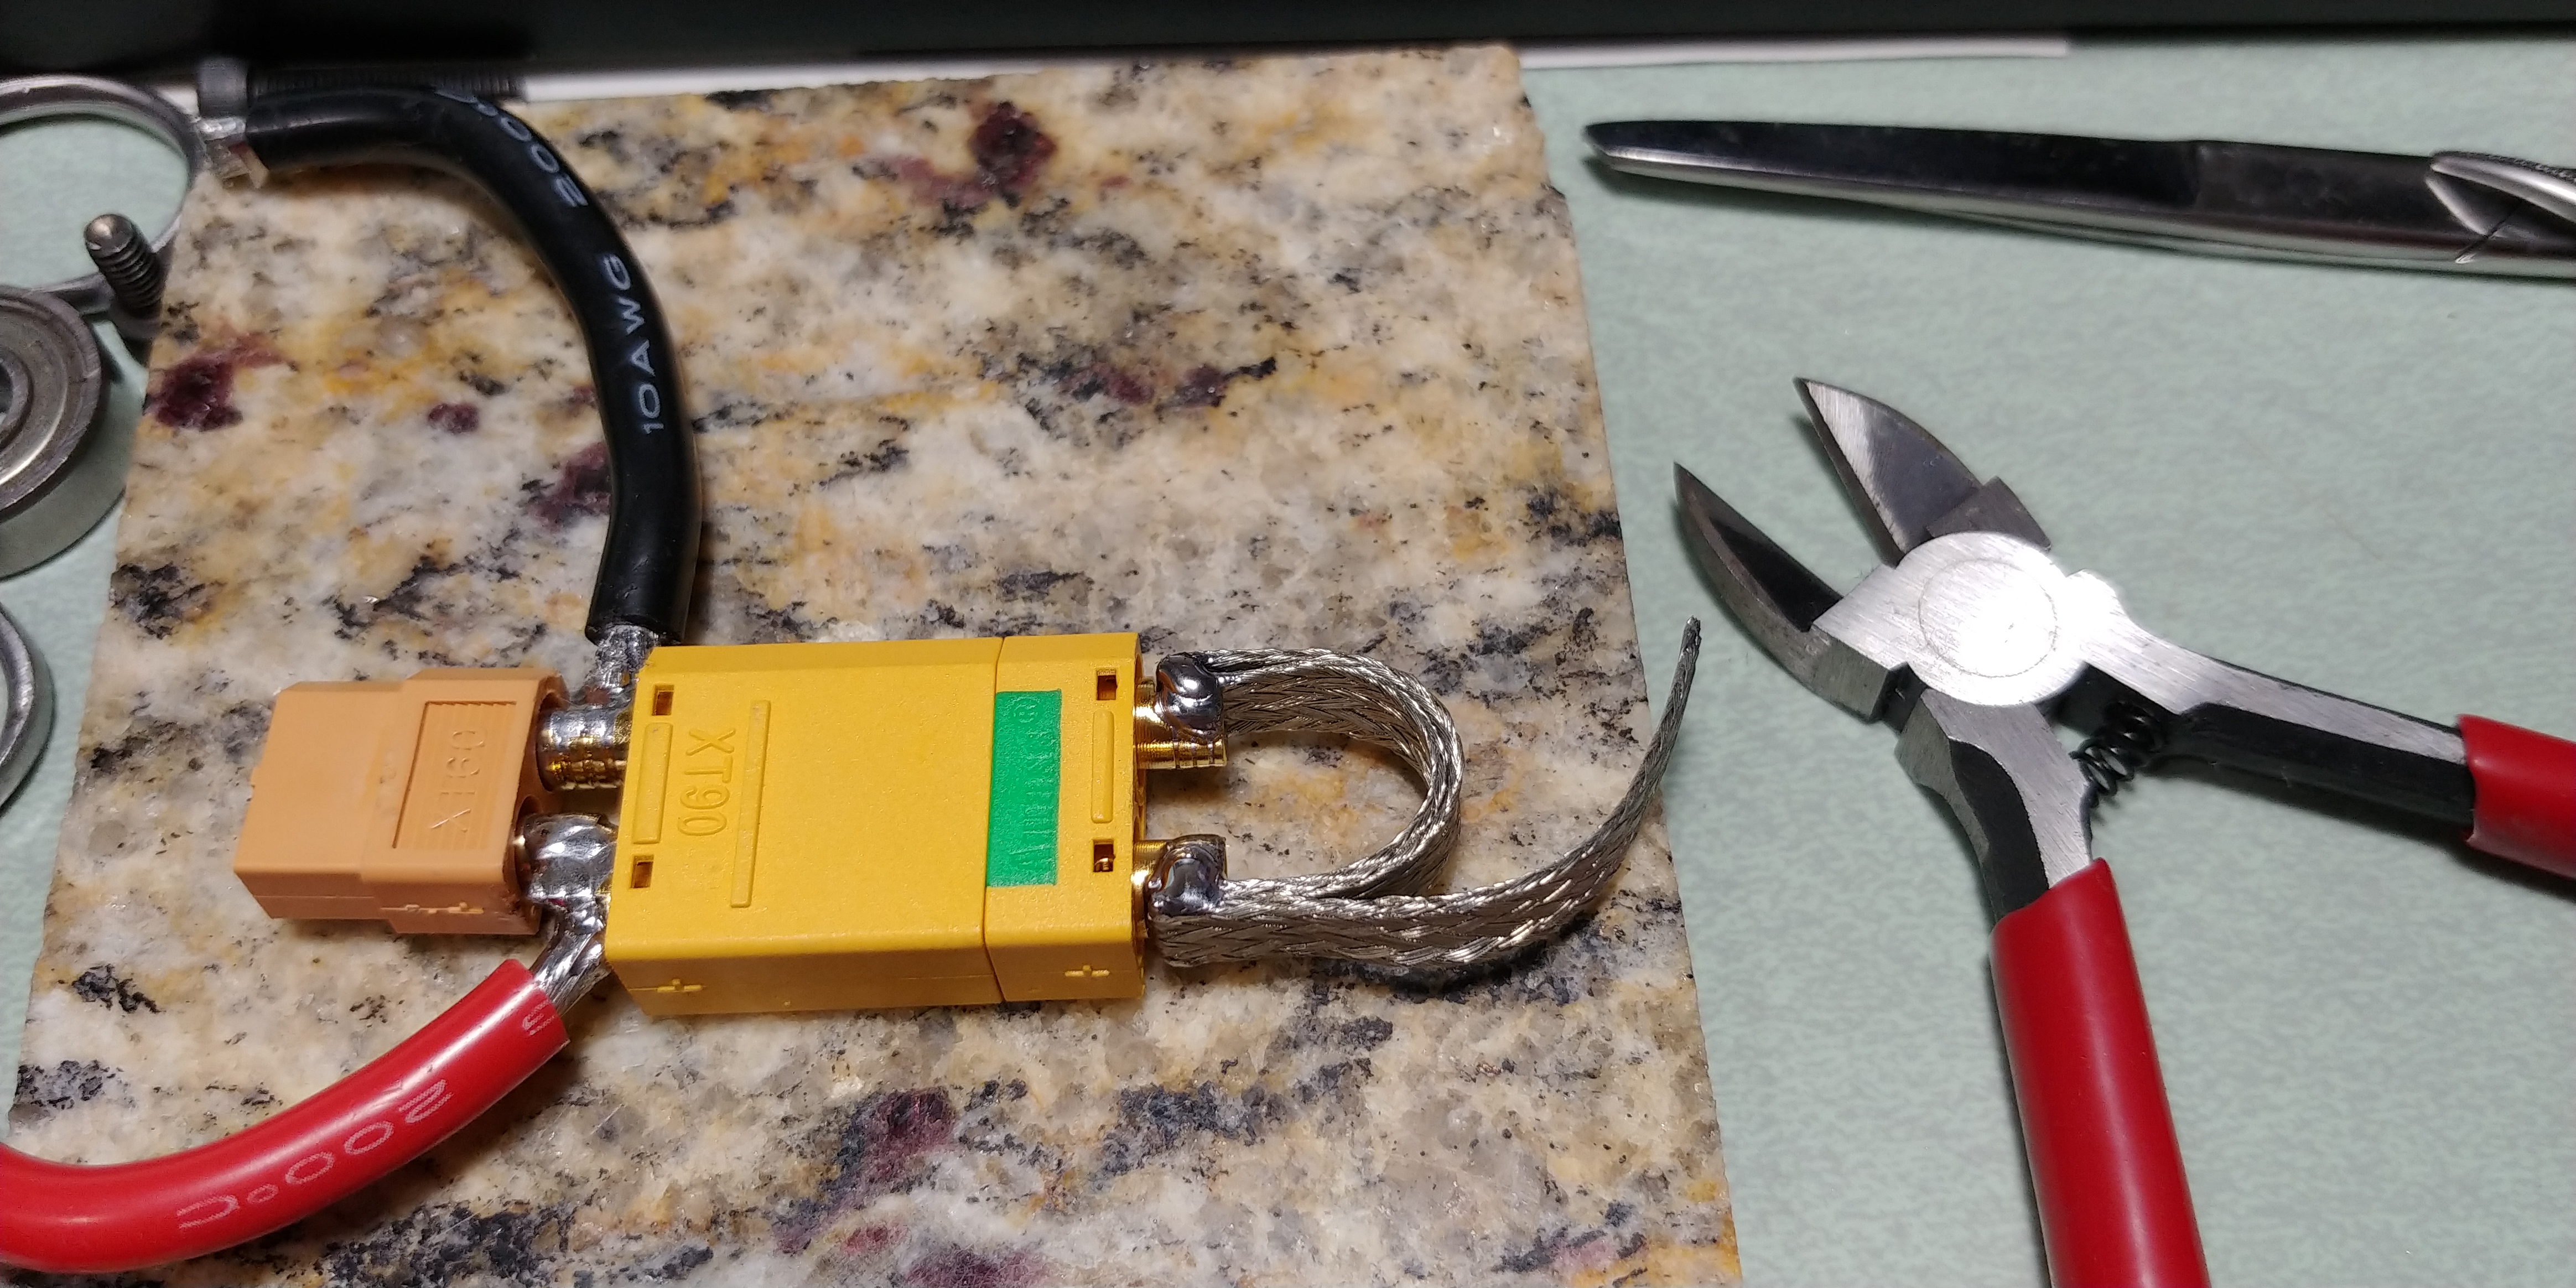
- 6mm (0.25") tinned copper braid
- Sn60/Pb40 1.0mm solder
- soldering iron (I use the Weller WESD51)
- nylon string, 1.5mm diameter


This is something I was making for a skate a long time ago and made a wiring mistake, so I remade it instead of fixing this one. I use it to hold plugs while I solder them

What to do:
- Plug the female into a male (to hold the pins straight while it’s hot)
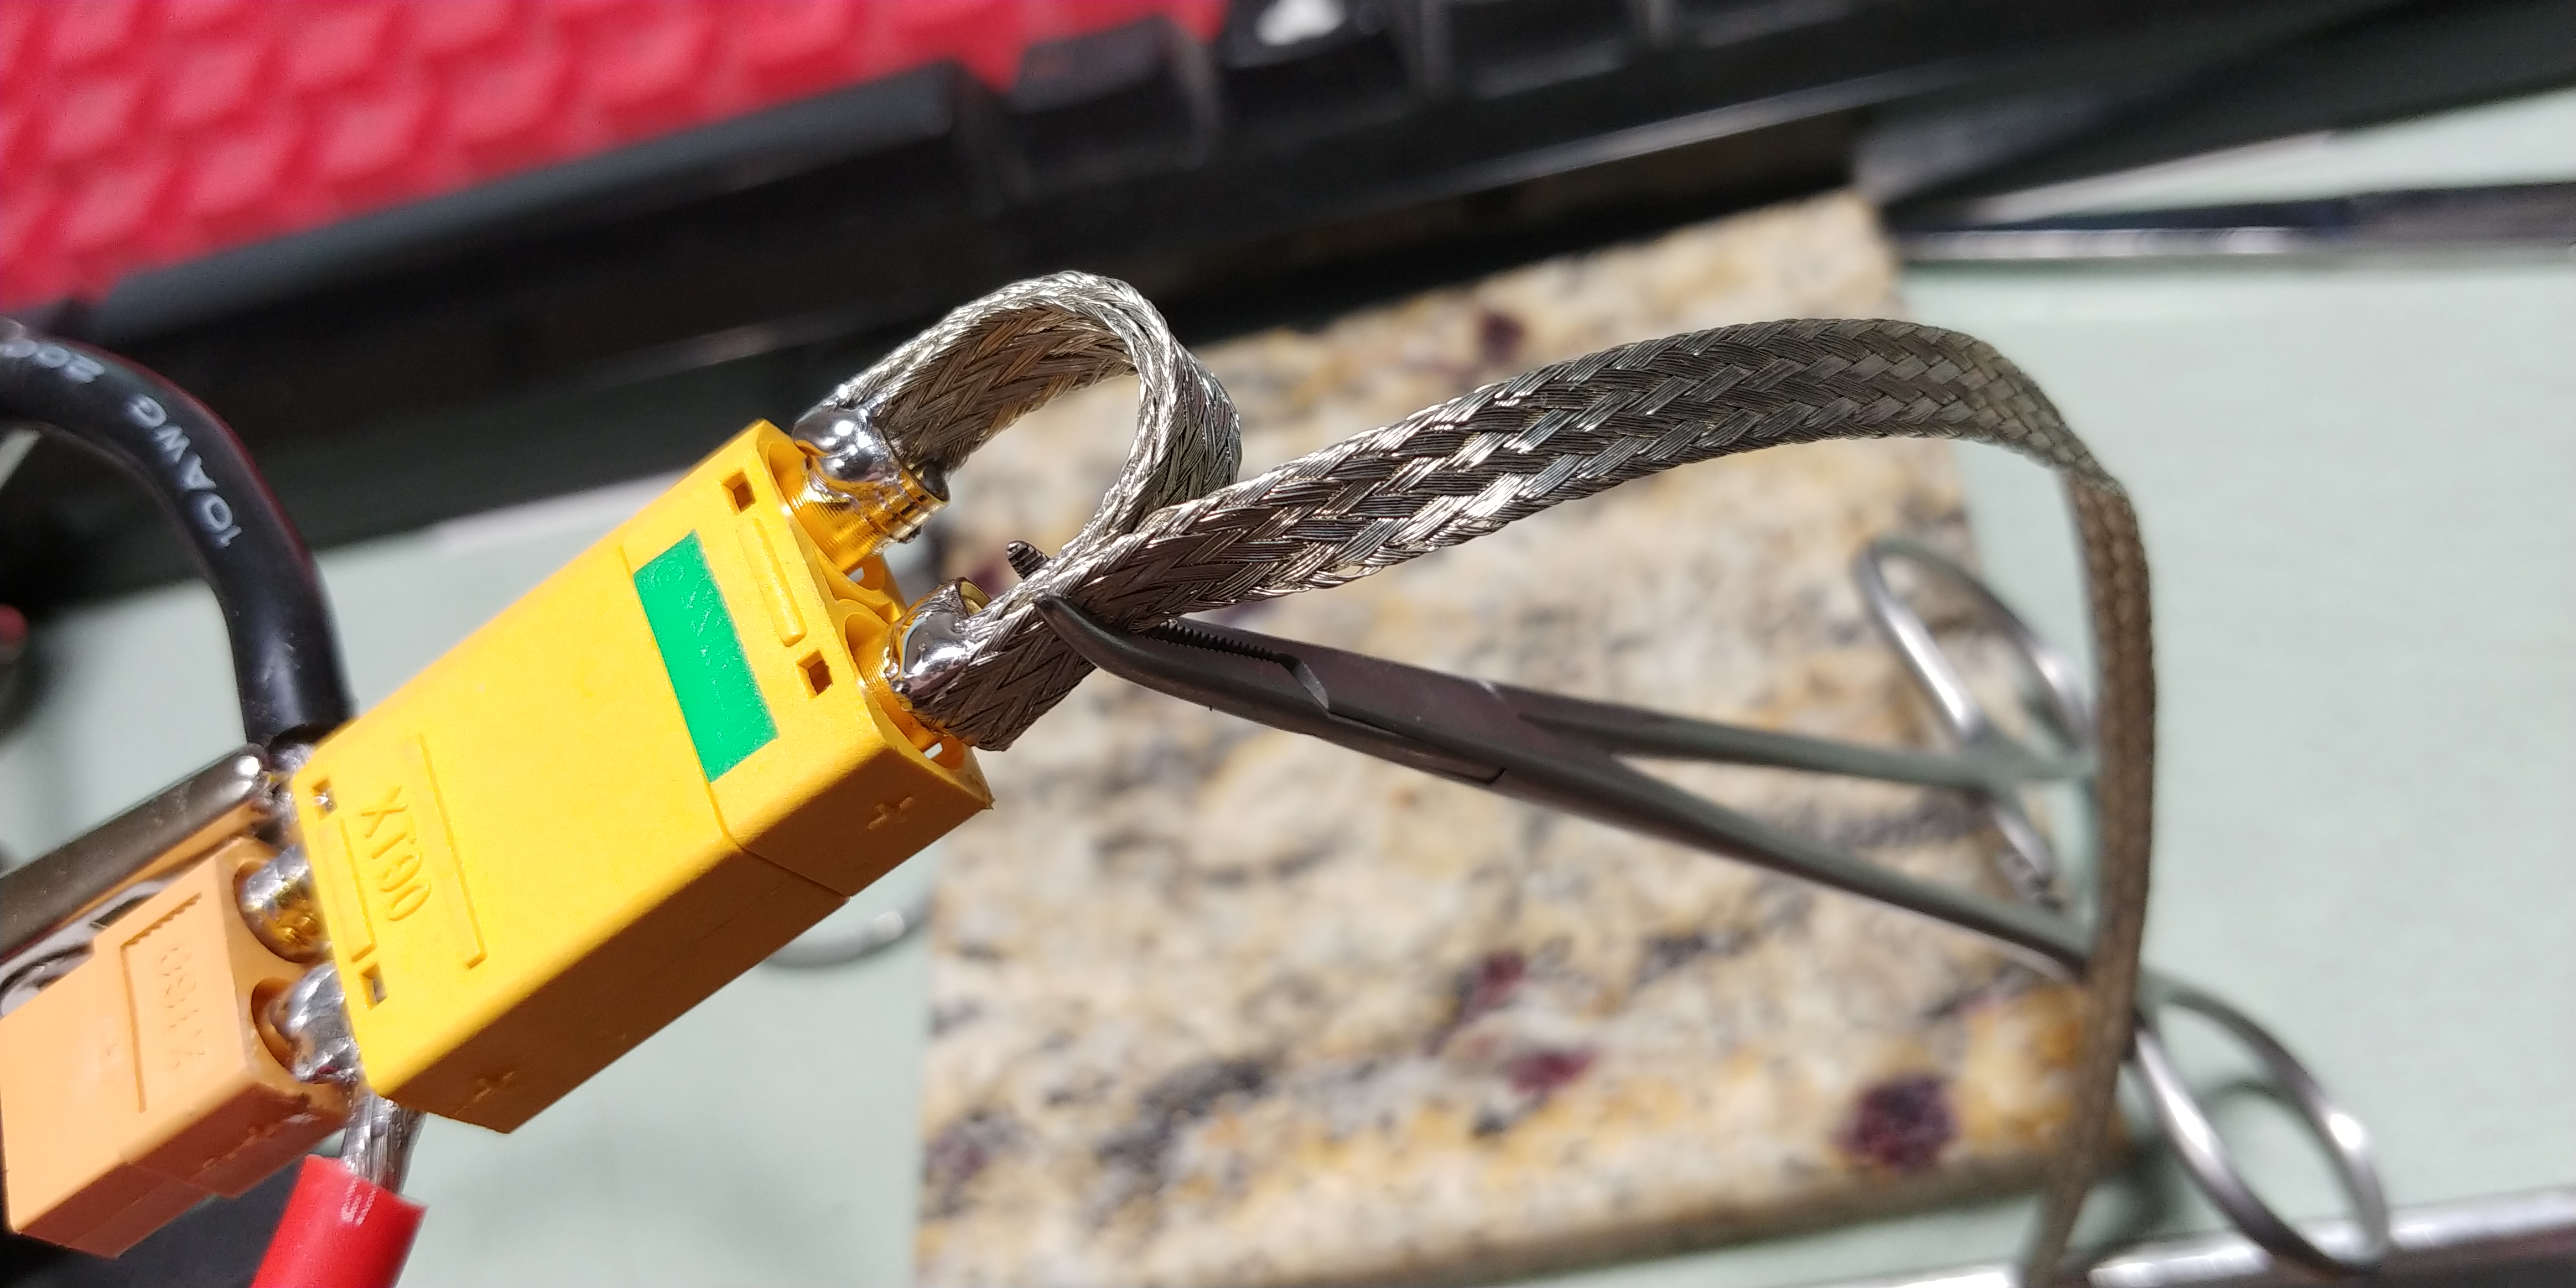
- cut three pieces of braid, tin the ends, and carefully balance them on the pins of the female
- carefully solder them on the pins, being careful not to knock them off
- wait until the parts cool before unplugging it
- {optional} I like filing it smooth to make it prettier. Don’t take more off than needed.
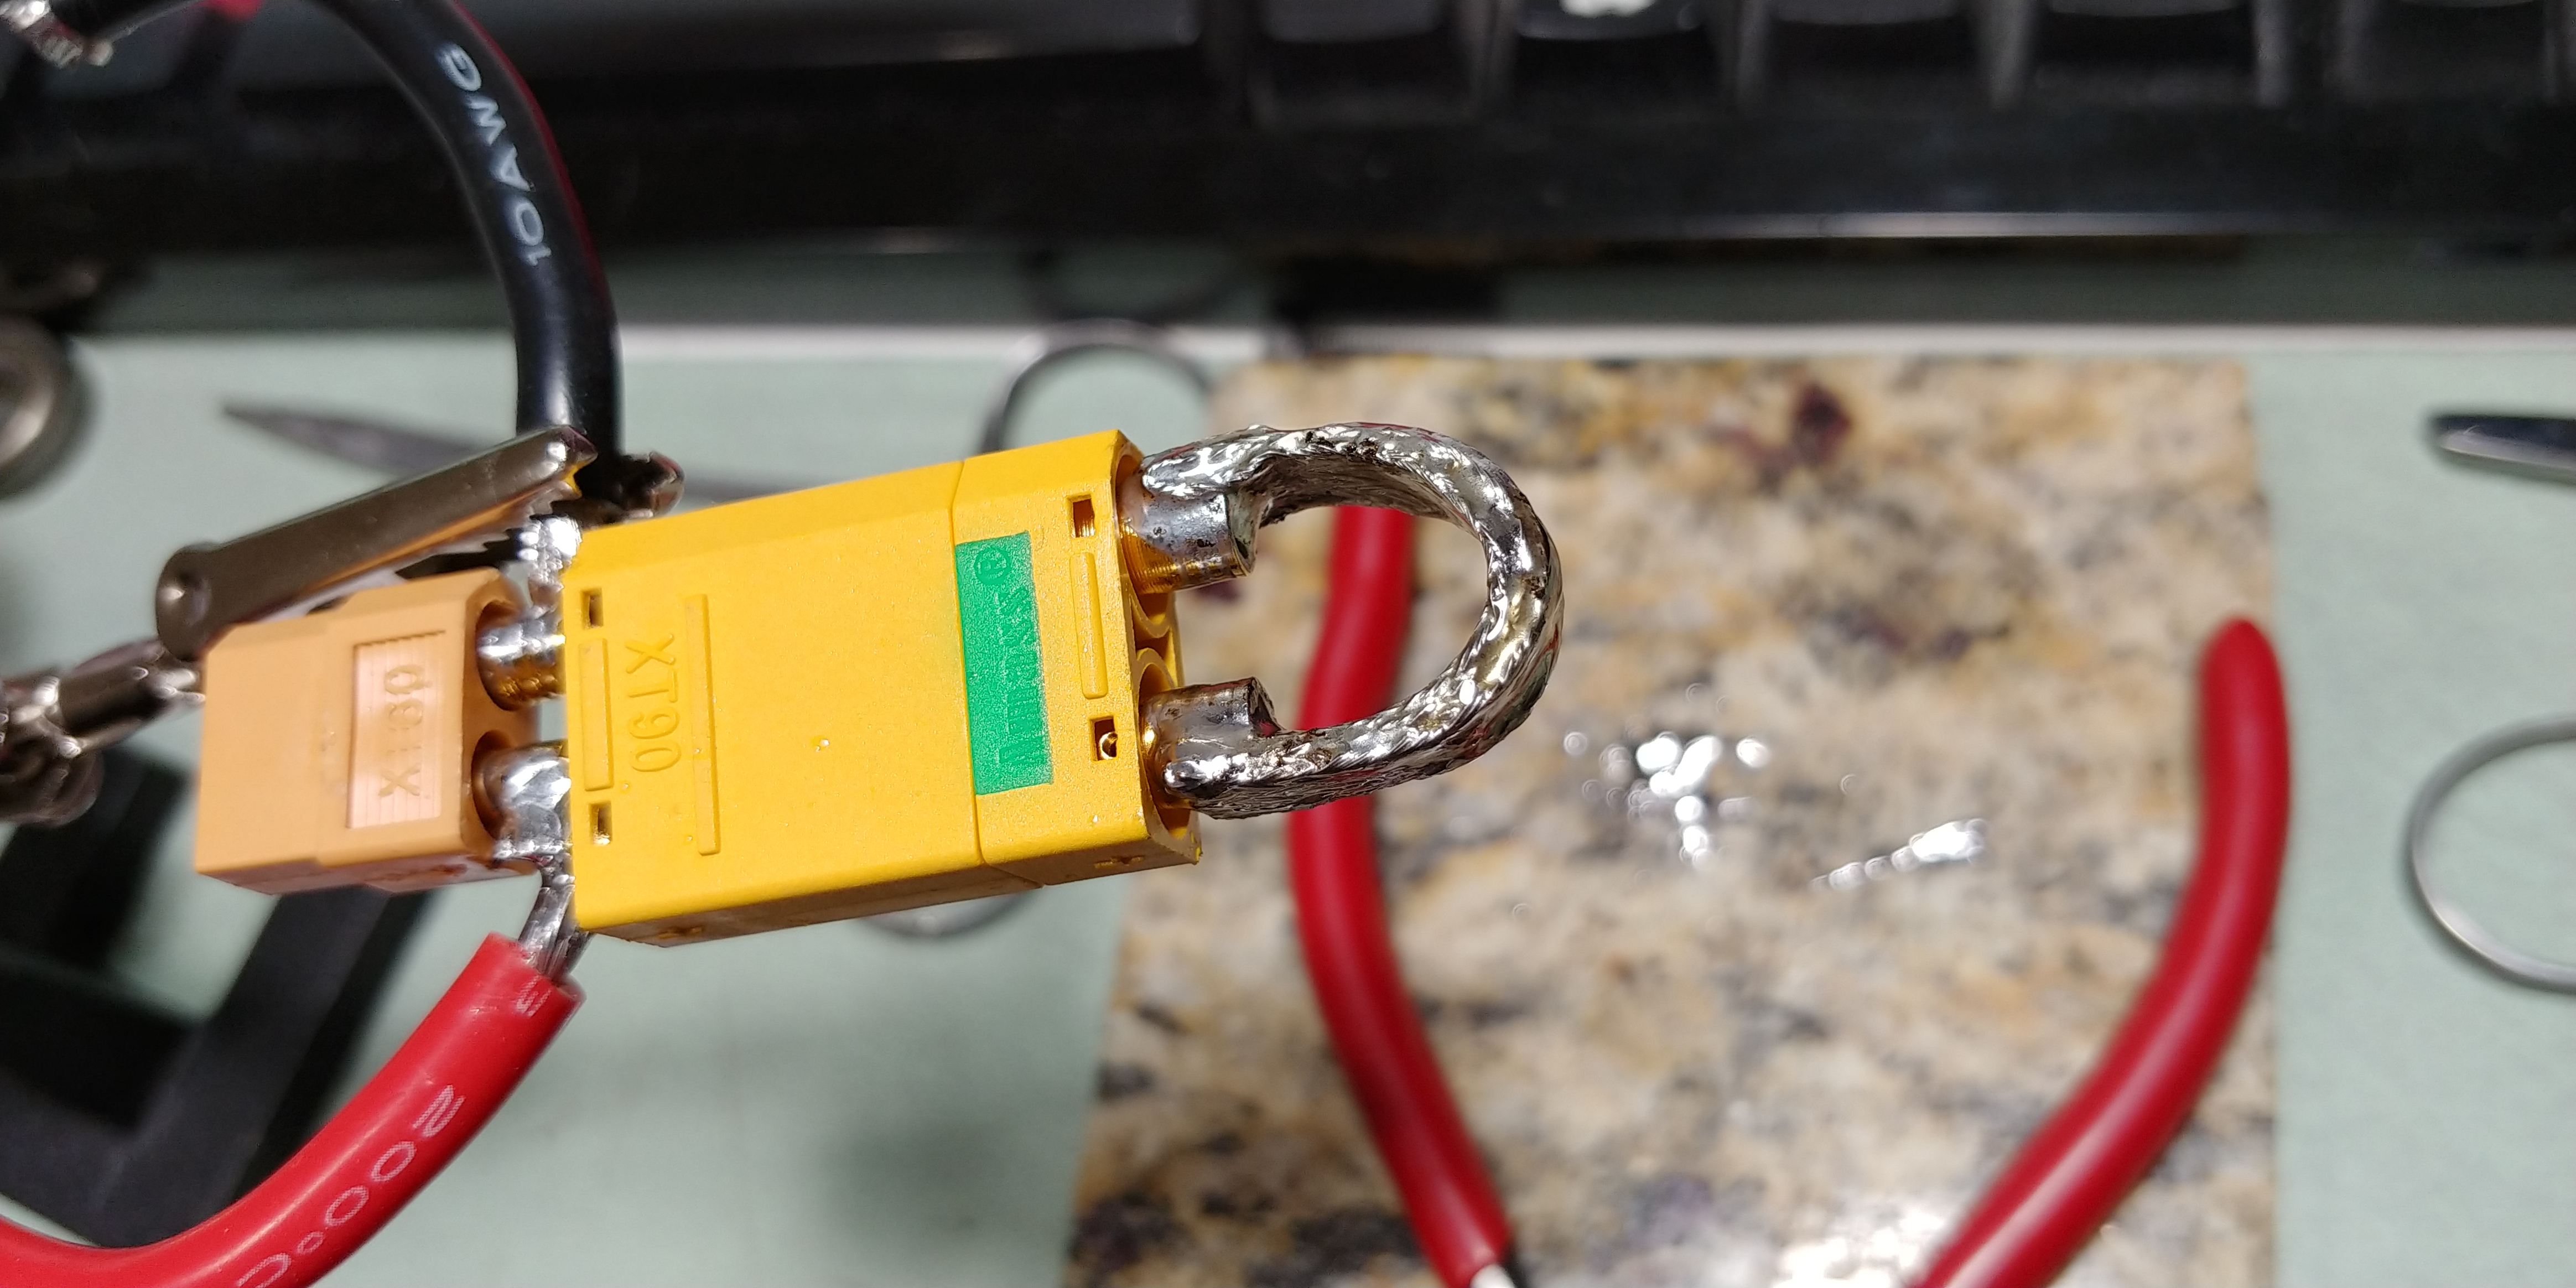
- Put one coat of sealant on it. Wait until dry. Repeat 25 more times until very thick.
- tie a loop of string on it so you can use it to remove the key after riding


When you use the loop key, make sure you push the plug in ALL THE WAY every time you use it. If it’s only partially plugged and you ride around on it, you will burn up the resistor inside the key, requiring you to make another one. Also, that’s one of the multiple reasons to mount the male side to the board (making a key from the female side).

or

example with lights/accessories circuit:

this way if there is a battery issue, your lights will turn off – consider this a warning from the BMS to pull over and pull the loopkey as soon as it’s safe to do so!
example without lights/accessories circuit:
use the above diagram, but omit the lights
For mounting the male part on your board, see the sister thread