These are the types of thumb-sticks that get used on military air-craft. They’re a step above.
1 Like
It really shines when you’re flying down hill. The micro control of the breaks is insane.
1 Like
Progress has been made. The deck is done, as well as the mechanical build. I’ve also finished the remote enclosure. Here is a run though of the fiber-glass lay-up. I’ve seen a lot of tutorials on this subject and, honestly, I’ve learned a little something from all of them, so I’m going to add my two cents right here regardless of redundancy.
Being able to reinforce your deck with fiberglass is really useful, especially for esk8ers. You can make your deck strong and stiff. With the integrated decks it helps to prevent de-lams, while also allowing me to manipulate the flex. Fiberglass cloth comes in different weights. The heavier the weight, the stronger and stiffer the resulting deck. Heavier weights also use proportionately more epoxy to apply. Epoxy is the expensive part of this procedure, so that is important to note. On this deck I used 6 oz fiberglass across the bottom of the deck, as well as, on top of the the nose and tail. Paired with the 6-layers of bamboo in the body of the deck, this ended up giving the deck a nice flex for a guy that weighs a buck-seventy.


Using good epoxy/resin is important. I’ve been using West-systems for a while and like it. I use their 105 epoxy with 207 special-clear hardener. It sets up in a reasonable amount of time and doesn’t yellow. I have also used a product called Super-sap and like it as well. This stuff can all be found online, but locally you can find it at plastics supply stores and stores that have supplies for fixing boat-hulls.

The basic tools are foam brushes, foam rollers, a cup with a mixing stick and a lint roller. Good sheers are helpful as well. When preparing the deck I only sand with 120 grit and go no higher. If you smooth the surface out too much the epoxy won’t bond as well. After sanding, I clean the deck with rubbing-alcohol. It dissolves residues and evaporates quickly. After it dries, I use a lint roller to remove dust from the surface.
After the surface is prepped, I mix up my epoxy. The epoxy/fiberglass application happens in 4 basic steps: saturation, fill, sand and gloss. In the saturation step you apply the fiberglass and saturate it with epoxy.


It’s important to follow directions when measuring out the epoxy and resin. I have pumps that measure it for me, which is very convenient. Once you measure it, mix it for a good two minutes. For the saturation step, I apply a thin layer to the surface using the foam roller and then drape the fabric over the deck and smooth it out using the roller in one hand and the brush in the other.
Epoxy irritates skin and is difficult to clean off of your hands. So be careful with it. Gloves are recommended, but all gloves irritate my hands as well, so I just try to be careful. If I get it on my hands I wash it off immediately with acetone before it starts to cure.
Epoxy does not dry, it cures. It undergoes an exothermic, chemical reaction and turns into plastic. When you add fiberglass to your deck, you are essentially adding a layer of highly reinforced plastic. Make sure to allow it to cure fully before moving on to the next step. Curing rates very depending on the hardener used. It also varies greatly depending on the temperature of the curing environment. Curing in a garage on a hot day could halve the curing time, but you should cure at the temp intended by the manufacturer to get the best results.
After I apply the fiberglass, I always check it after 45 minutes to see if there are any big air bubbles that have popped up under the fabric. You should still be able to chase them out with a foam brush if necessary.
The fill step is easy. You just add another layer of epoxy to make sure that the fiber is filled and the surface is shiny. After this step, I wait a full day before moving on to the next step. If you don’t wait long enough before sanding, the surface will smudge and make a mess. If you are patient, It sands cleanly. When I sand fiberglass, I always wear full protective gear. Full goggles and a dusk mask, I also cover my body. Fiberglass dust is itching-powder. If you aren’t careful, you will itch like mad for days. I promise.

I sand the surface smooth with an orbital sander. I start with 80 grit to level the surface and then work my way up to 220 grit. After sanding I clean the surface with rubbing alcohol again and dust roll it. The gloss layer is a thin layer meant to give a nice finished look. If you can apply this layer in a low dust environment, that is preferred. It’s disappointing to wrap up a perfect mirror finish only to return in an hour and see little dust particles all over it. Colorado is dusty and I’m a wood-worker, so I’ve learned to accept a certain level of disappointment in my life.


That’s the basics of fiberglass and epoxy-resin. Now this thing needs a lid or I’m going to be standing on my battery. Then grip.
10 Likes
Two question:
Do you let it dry between saturation and fill ?
Do you throw away all your rolls/brushes after each round or do you manage to clean them?
2 Likes
The lid is made form bamboo lumber that matches the grain of the deck. No bent aluminum here, friends. It is reinforced with plexiglass to keep it from splitting and backed with cork to help it sit nicely and resist moisture. These layers are all bonded with the same epoxy that I used on the board.

The CNC cuts the lid out and removes some material to help with the shaping step. I use a 6.25/30 degree double-bevel along the edge. The bevel makes it easier to fit and remove the lid.

The lid is then bolted in place and contoured to the concavity of the deck. I use a grinder and orbital sander to get the job done.


It took me a while to get this lid just right. First, I tried just bamboo. It split on some of the test decks, so I reinforced it with plexiglass. I thought about using neoprene for the seal, but the cork mills really cleanly and looks nice. On the initial test decks that I made the lids would stick and not come out. The bevel helped, but when the compartment is bored out the deck “tacos” in the middle by about 1mm. This makes the opening slightly hour-glass shaped. I was able to compensate for this in the CAM software. Now the lid is slightly hour-glass shaped as well. The lid is a pain in the ass, but now it’s right.
The bottom and top have now been reinforced and I have a lid. Paint and grip is next.
5 Likes
I let it cure between saturation and fill. Everything gets tossed. I’ve tried cleaning and reusing things but it is not easy with epoxy. Unfortunately, it is a wasteful process. There are some real pros out there that just use a spreader. They’ve got skills.
3 Likes
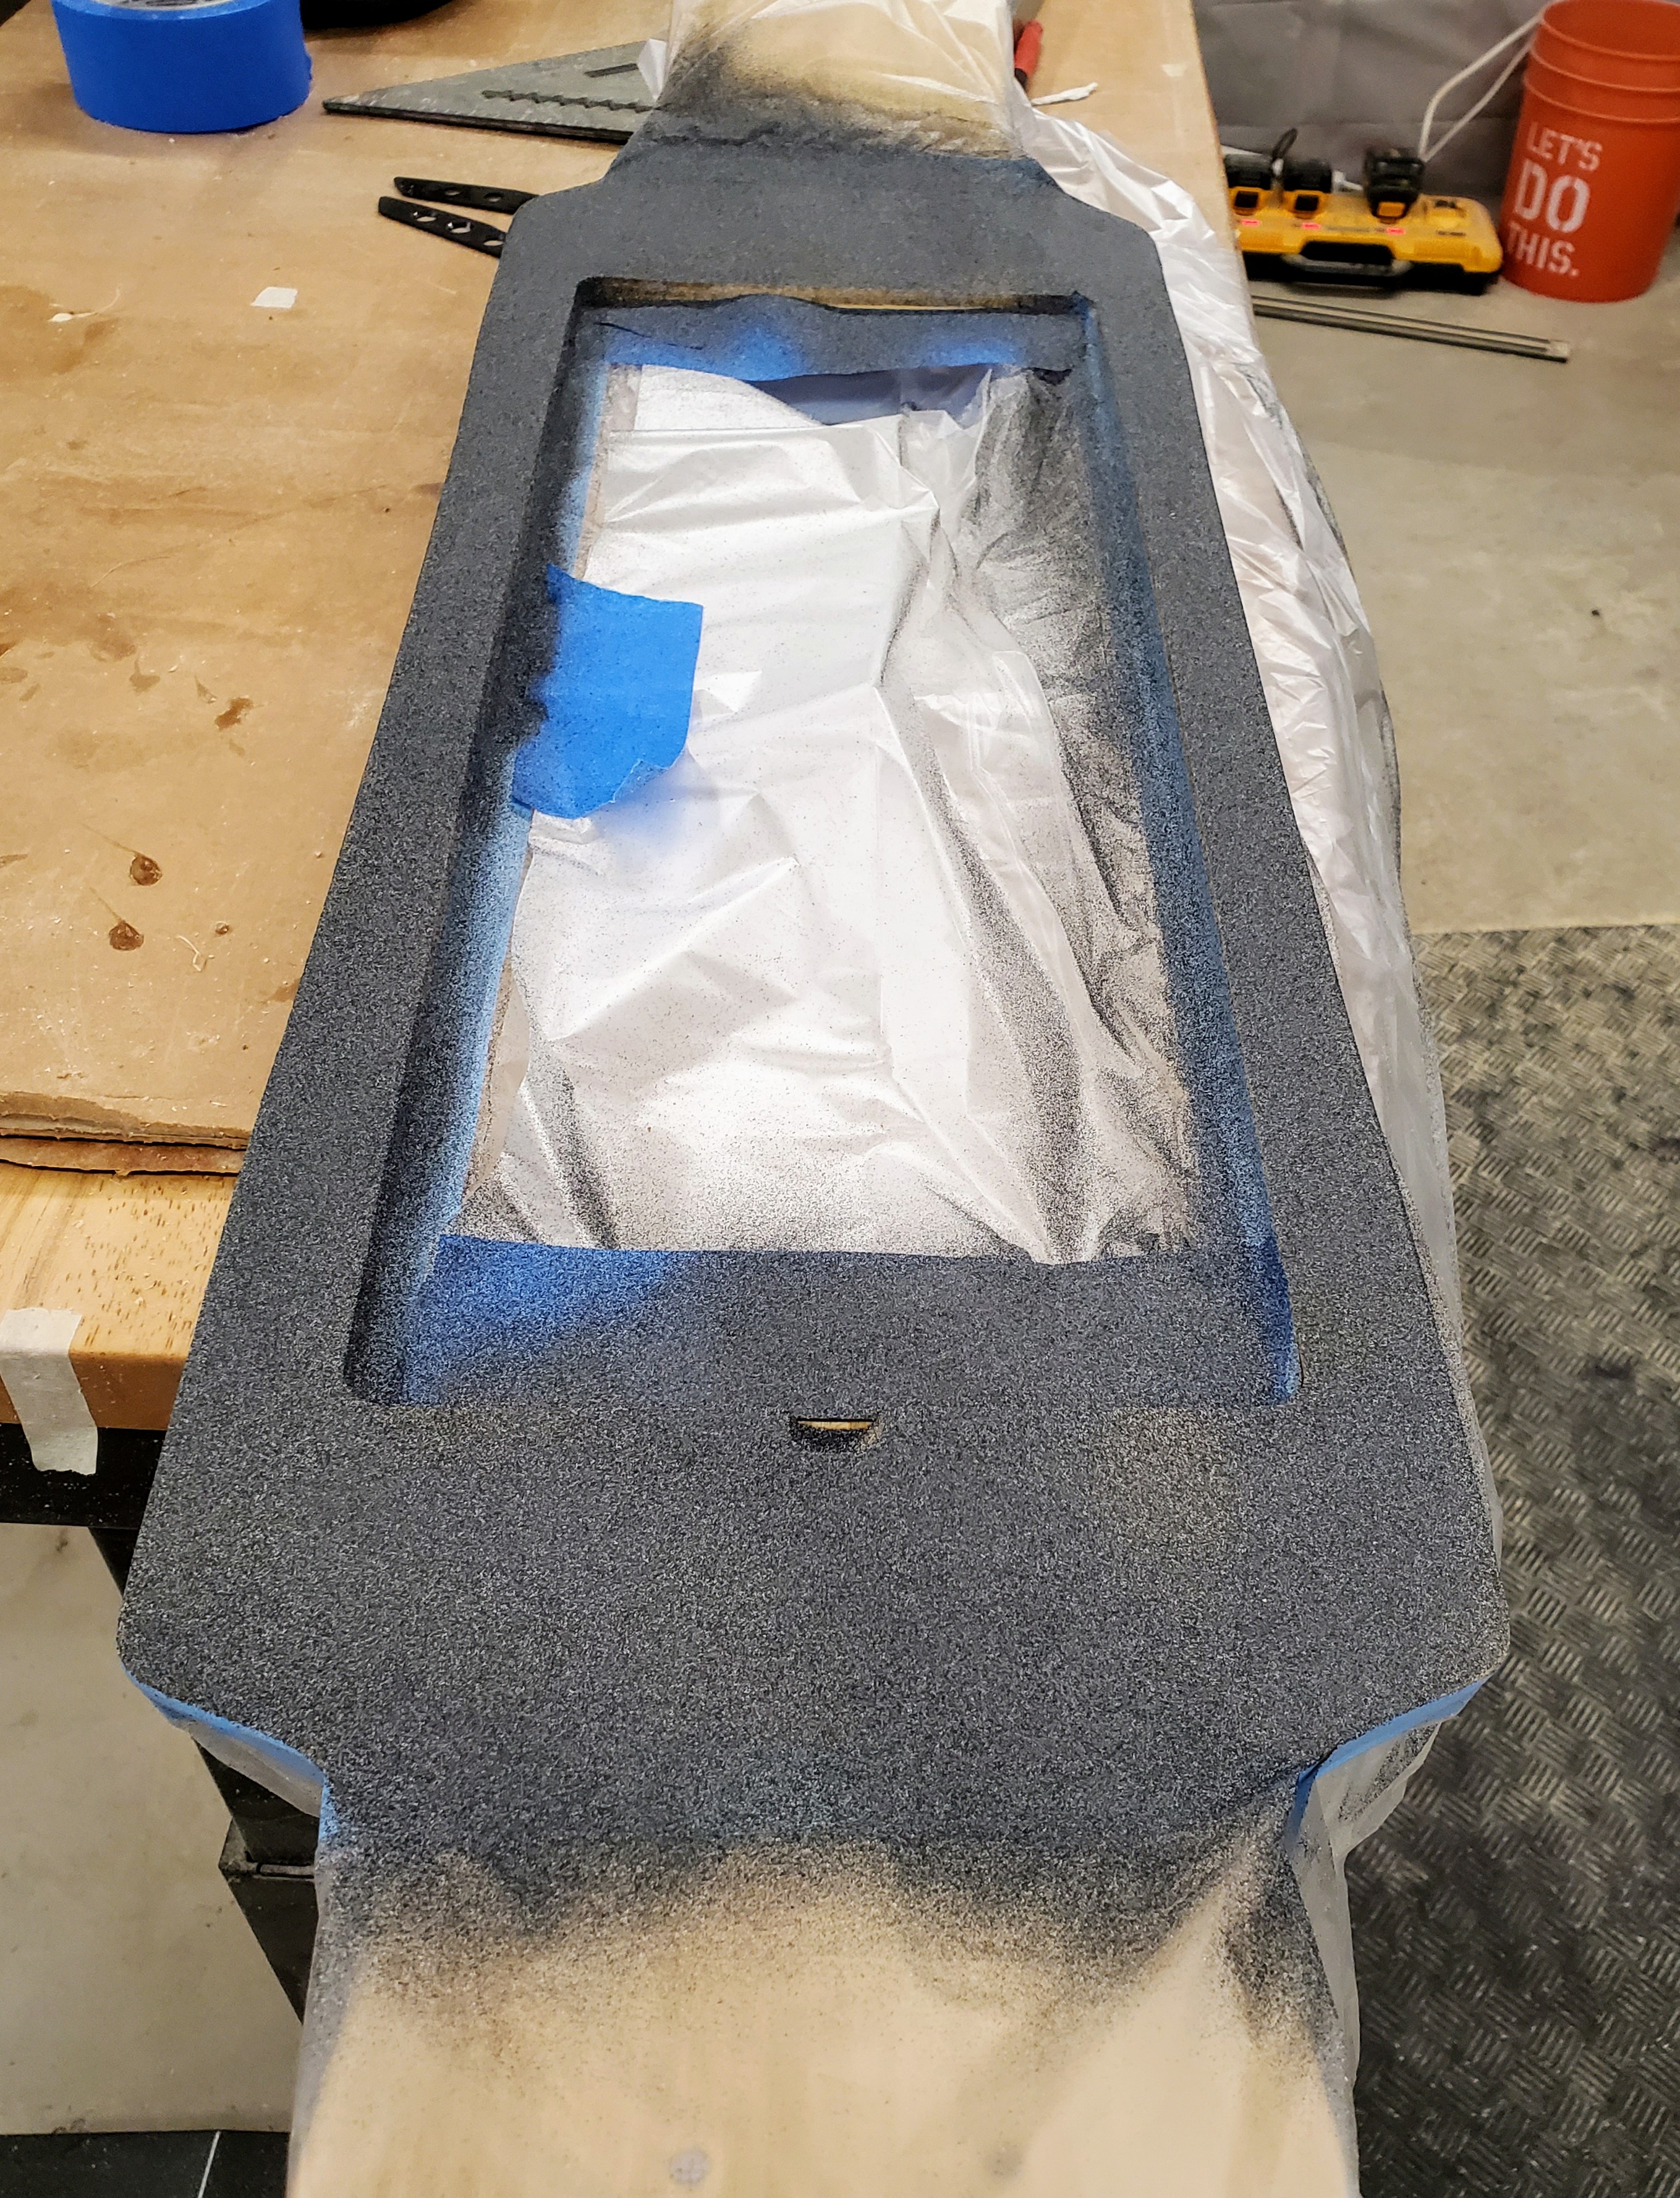
I’m used color grip on the deck, but I still painted it, because it looks sharp. I taped the board up and used an asphalt-colored splatter-paint. After, it dried I went after the grip.

For grip I use products from Lucidgrip.com. They sell a growing variety of recycled glass-grit. They have three grades and a palette of colors. For this deck I used black grit speckled with course and glow. It’s going to look like I’m riding on top of deep-space at night.

I don’t prefer Lucid grip’s adhesive. It is weak and it smells bad. I just inlay it in the epoxy that I have. I put down a layer of epoxy and sprinkle the grit over the surface liberally. After the epoxy cures, I shake off excess into a trash bag and collect it for use on another project. Then I roll on another layer or two of epoxy depending on whether or not the grip has properly adhered. A roller is best for the last coats. You want thin layers. I’ve layered it on too thick before, and the grip literally disappeared into the epoxy 


There she is. She looks kind of like a Viking ship so I named her Gulvieg after one of Odin’s wives. She was cast into the underworld three times and some how managed to escape. A real trouble maker 


I’m almost done with my remote. The basic assembly of the deck is just about done as well. I still need to make a battery.
9 Likes
This is super cool, I had no idea a layer of fiberglass could come out so clear
3 Likes
Check out the fiberglass work that surf-board makers do. They don’t even do gloss coats. They wet sand the surface and buff it to perfection. Because my decks don’t need to be hyrdodynamic, I don’t take it that far.
4 Likes
I bought my CNC for wood related projects. I knew it could work with aluminum, but I thought it’s capabilities were limited. Come to find out, it can mill all aluminums so long as I use the right parameters and bits. Very expensive bits. This is really going to open up some new possibilities for my designs.
For my first aluminum project I kept it simple, I just cut some clean holes in my heatsink enclosure. It worked like a champ. I like the results.


5 Likes
Last week I also wrapped up the enclosure for my remote. I like the peanut shape. If you use your imagination, it kind of looks like Mr. Peanut. The thumbstick is a little top-hat and the antenna is a cane. But seriously, it’s ergonomic and it doesn’t force you to hold it any certain way.
I epoxy inlayed the screen. This gives it a really nice professional finish while increasing sharpness and visibility. Additionally, it makes it super durable. I have a little trick that I do to get it just right. I pour the epoxy before I mill the second side. This helps me get the bubbles out. They float to the top and then I remove them when I surface it. After milling, I sand it all the way to 2000 grit. This makes it super smooth in the hand and polishes the screen. I finish it by rubbing in some tung oil mixed with some citrus solvent.
Word through the grape vine is that I might get my hands on some OSRR/Freesk8 remote electronics soon. I bought some malagasy ebony hardwood to make an enclosure, and I might even make an aluminum chassis for it. 


15 Likes
I wrapped this build up and I’ve been riding. Here’s what I’ve got.
The battery is a 12s4p 18650 pack made form efast cells rated for 3500 mAh and 10-15A. So I’ve got a total of 14 Ah and 40-60A current. Enough Nickle strip was used to handle 50A and 8 awg wire was used to link the four parts of the battery together. This is my second battery build and it is an improvement over my last one, so I’m pretty happy with it. In the future I’m going to make tabs so that I don’t need to solder the wire so close to the cells’ endcaps. I welded an extra layer of Nickle to the end to help insulate them, but they probably still got some heat damage. A haltec BMS rated for 40-60A was used to tie it all together.
The motors are Maytech 6374 190kv. I was going to use some generic VESC 6 hardware, but I had really wanted to try out Lacroix’s Stormcore. I caved and bought a 60D to manage the motors. Here is a short review of my experience with it so far. I love it. It’s solid as a rock. I bet you could run it over with a car and it would still work, no problem. I haven’t put 1k miles on this thing, but the performance has been stellar. I’ve been doing a lot of hill-climbing in 90-100F weather, and I haven’t had a lag in performance like I have had with other ESCs. Also, the built in switch is dope. It changes color with the battery level. Genius. The only downside is that this is a chunky ESC, but If the performance keeps up, the size is worth it. I’ve meddled with most of the available hardware based on VESC 6, the storm-core really seems to be heads above the rest. An additional perk for people in North America is that you can get one in 3-4 days. It’s a pricey ESC, but it’s really nice.
I made a larger heat-sink enclosure because things were a little claustrophobic with the Stormcore. I used square mount-holes on this one so that I could use round-topped bolts. They fit nice and flush, and won’t snag wires. The enclosure is solidly affixed and doubles as an extra-large and very functional foot-stop.
I’m happy with this build. It turned our clean and it can boogie. The short AT deck has tight handling and has been really practical in an urban setting. The peanut remote has been the cherry on top. I’ve already started my next build. There’s a sneak peak in the last pic. 13s baby 


5 Likes
Oh LORD that’s a big enclosure! Looking spectacular though
1 Like
Just seeing this remote update – love that peanut!
2 Likes
It’s not that big  Some people are riding around with suitcases between their feet.
1 Like
Bruh that esc volume to enclosure volume is like 1:10, I have boards that can fit all the electronics and battery in that 
1:4 
2 Likes


How big is that enclosure?
Uhh, not that big, it’s a Pelican Ruck R20