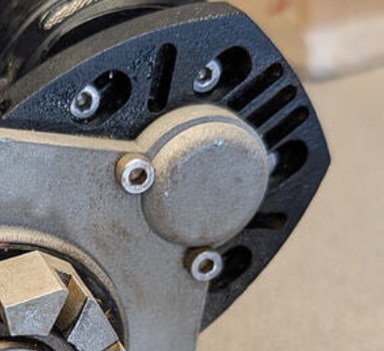
SLM printing of metals is becoming more common It’s used in a huge range of industrial applications from aerospace to medical. Many of these are more demanding than what we need for esk8, so why not use it to make drives?
The goal of this project is to design a set of SLM produced esk8 drives that can hold up to the demands of electric mountain boarding. Anyone can just order, print, assemble and ride. Replacement parts becoming unavailable when companies decide to quit becomes a non issue. There is no intention to replace drives made by the pros. I’ll continue to buy those too. This is just a fun hop-roots DIY project, and who knows, maybe one day we’ll be able to print shit like this in our garages. Welcome to SirVesa’s SLM Shit Show!


What I think is great about these drives
-Push fit adapters for hubs, easy flat fix if you carry a full spare. No hardware needed.
-Herringbones! Theses are a bitch to have machined, but effortlessly produced with SLM. Fuck axial thrust!
-Push fit adapter from hanger mount to gear housing. Eliminate some hardware and it make it easy to remove the entire drive from the truck to service it if you want to. Just might have to cut a couple tie wraps.
-Already mentioned, but zero unobtanium.
-Low profile. They hug the wheel and take minimal abuse. Guards will eventually be designed and printed just for fun.
-Backlash is adjustable without opening the gear housing cover. Could be handy after a hard housing bash.
Current state of project (Including Files)

Description of Where I’m at
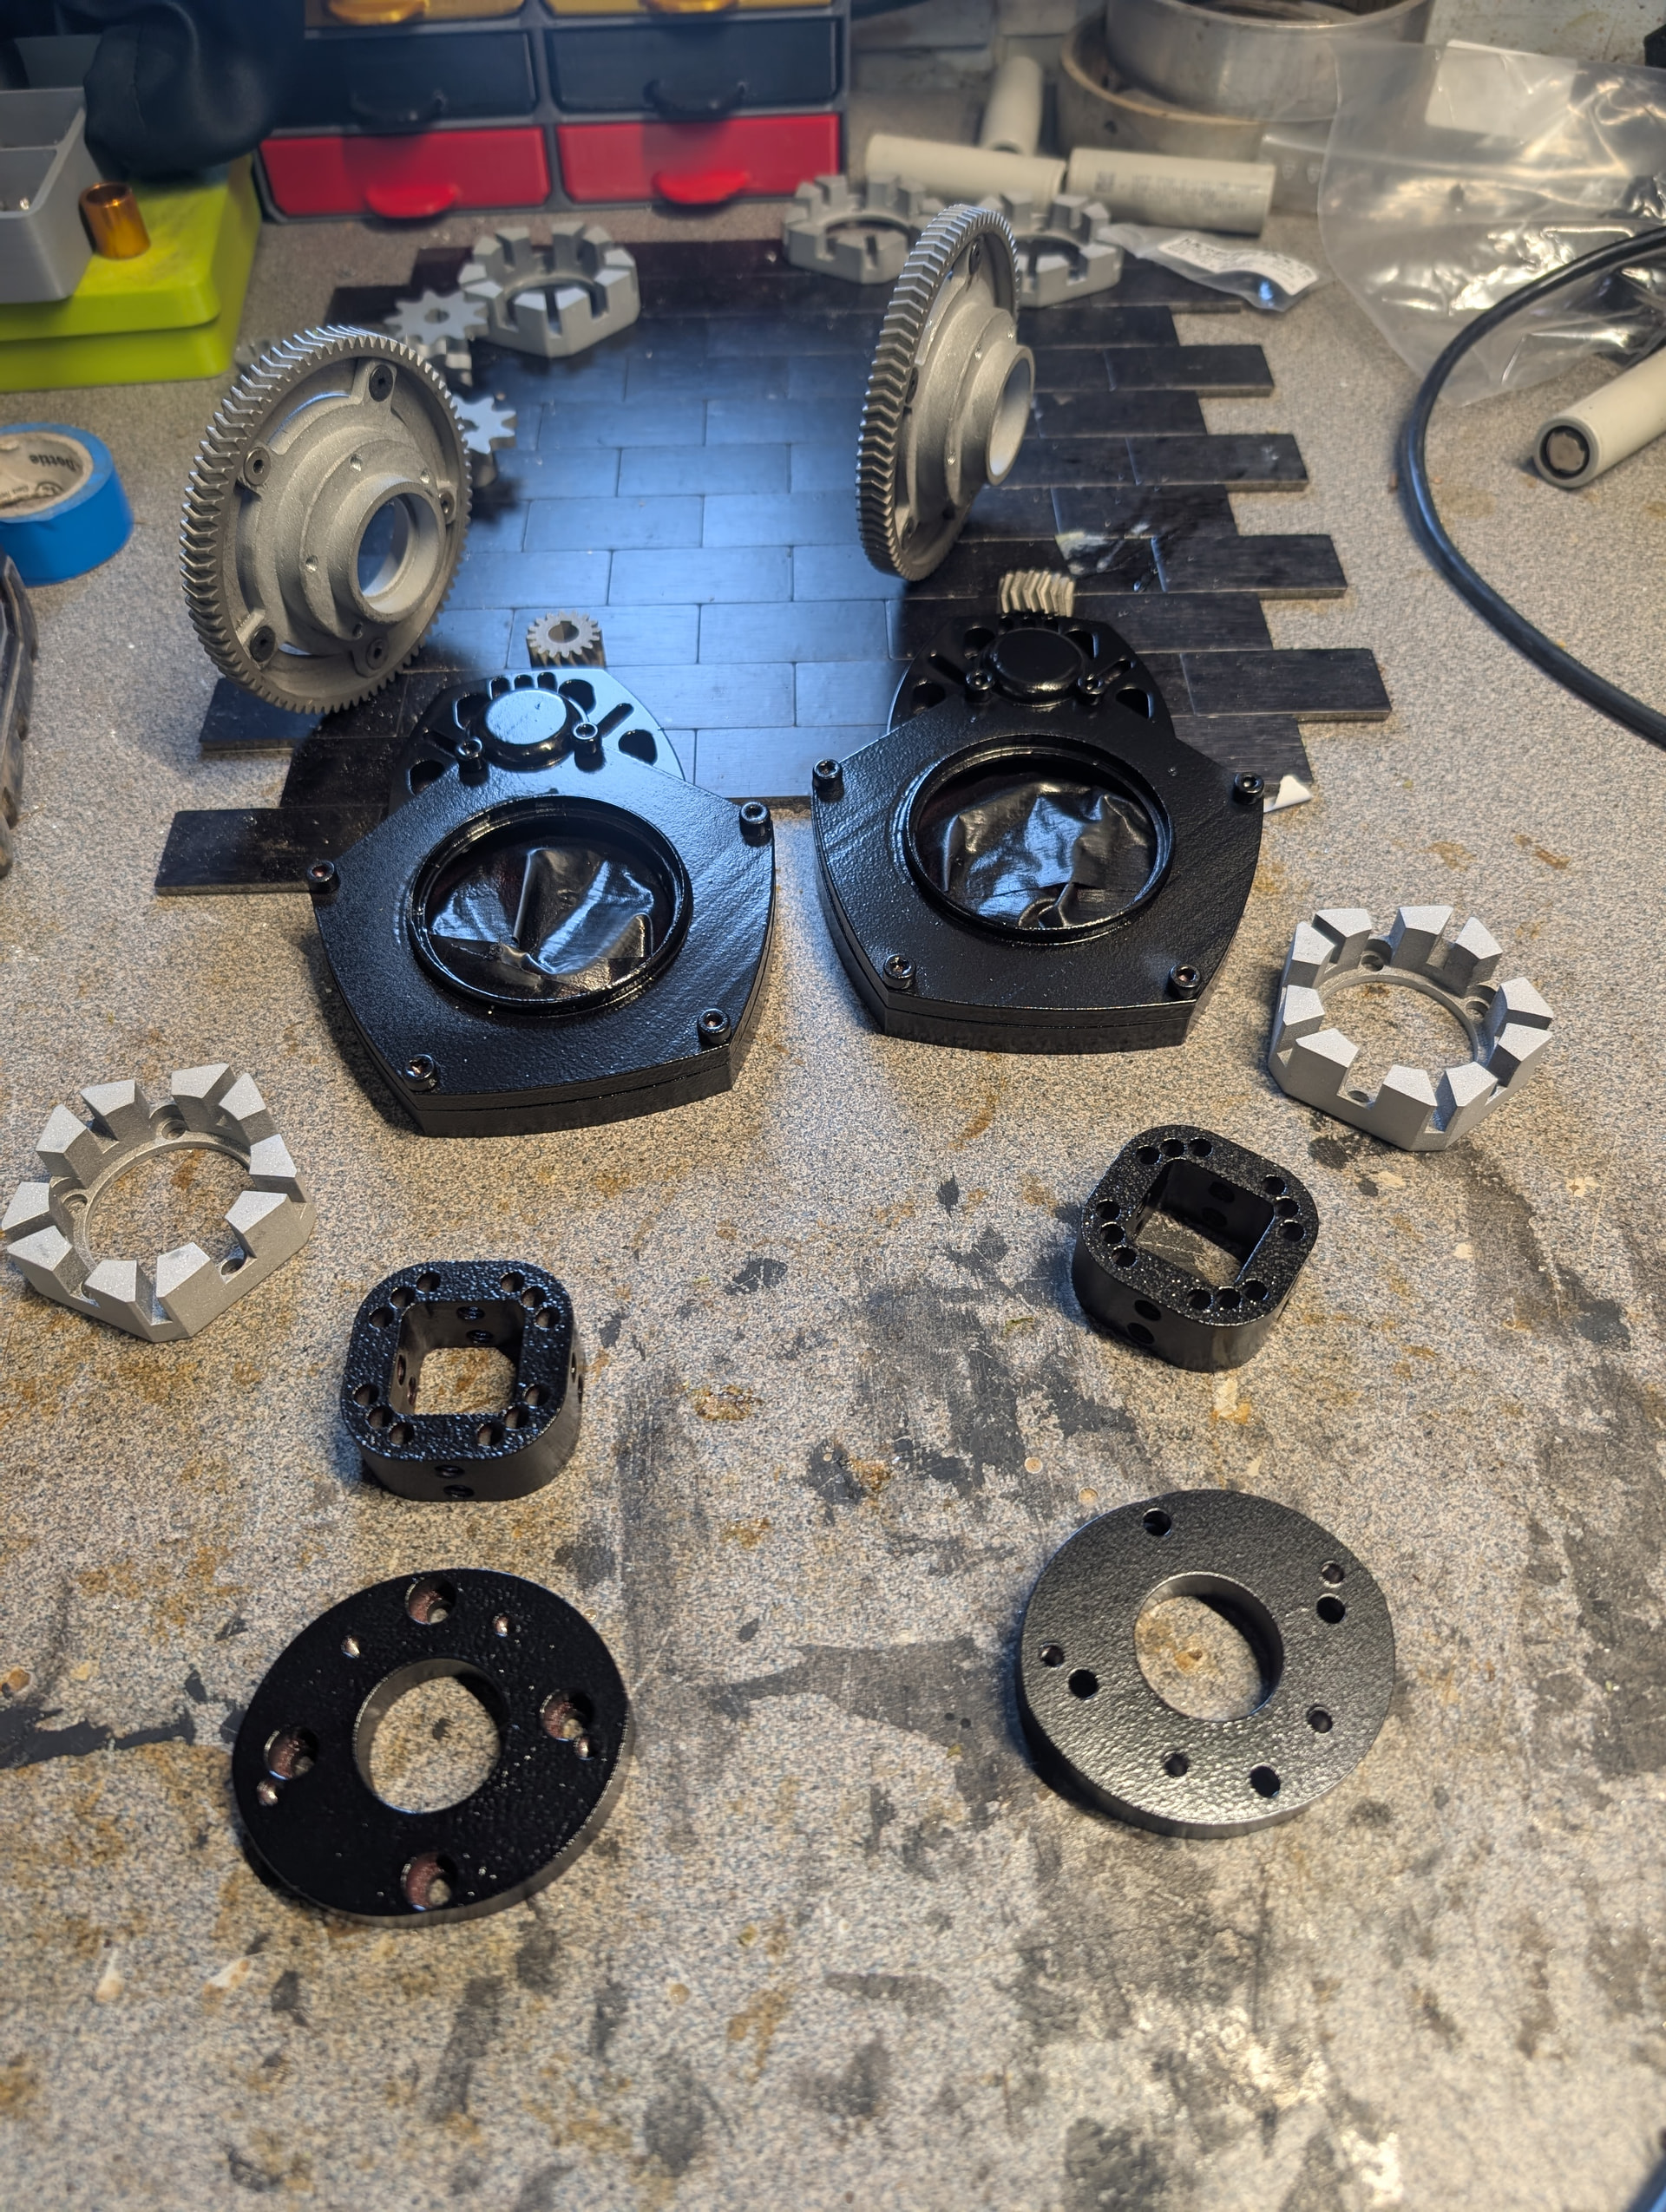
Since the back wall failed on the last set, I’ve printed three different solutions.
First and easiest, bottom right. Only thing that changed is material. SLM 6061 to SLM M300 Maraging Steel. I’ll be surprised if these break but they’re heavy as fuck, weighing 335 grams apiece, and that’s just the gear housing itself.
Top Left, It’s the same drive, with the back wall thickness increased from 2mm to 4mm. Printed in 6061, then hardened and anodized. Weight - 156g This might be good enough.
CURRENTLY TESTING THIS VERSION AS OF 8-15-26 Top right, fat chamfer under the bearing stop and back wall increased to 4mm. Also printed in 6061, then hardened and anodized. Weight - 160g. I’m really rooting for this one
My friend will be running the all steel version. I think these will hold up well and are the safest bet. I’m going to test the chamfer option. We’ll do our best to break them and post updates. It’s going to be nice having two testers.
The Files (latest being used)
STEP
STEP files for the gears aren’t listed here. I can probably find them. Same with the push fit hub adapters. They are all listed in the STL file drop down. M300 Maraging Steel Parts are gears and truck adapters (other than option 1)
Option One All steel version printed with M300 Maraging Steel (have them tap everything for you)
Beer Drives Remastered All Steel PUSH FIT VERSION.step (1.3 MB)
Option two, only change is reinforced back wall to 4mm. Print in 6061 aluminum, hardened. Anodize what you want to. USE GEAR ADAPTER FROM OPTION 1
Beer Drives Remastered PUSH FIT VERSION.FCStd (1.3 MB)
Option three, gear housings have chamfer on bearing catch and back wall thickness increased to 4mm. Print in 6061 aluminum, hardened. Anodize what you want to. USE GEAR ADAPTER FROM OPTION 1
Beer Drives Remastered PUSH FIT VERSION 12mm Height Bearing Chamfer.step (1.0 MB)
STL
Another note, rotary shaft seals are being used to seal the gear adapter where it protrudes from the cover. I’m not convinced that they are worth the money. I would suggest just printing a TPU seal. Will get around to making the file when everything is ironed out.
Gear Housing option one, everything the same, but hear housing is printed in M300 Maraging Steel. Have them tap for you then harden.
Beer Drives Remastered PUSH FIT VERSION FEMALE GEAR ADAPTER-Gear TubsBody.stl (1.4 MB)
Gear Housing option 2 just reinforced back wall printed in 6061 then hardened and anodized
Beer Drives Remastered PUSH FIT VERSION Gear Tubs 12mm HeightBody.stl (1.4 MB)
Gear Housing option 3 Chamfer Tubs printed in 6061 then hardened and anodized
Truck Clamps for 22x22 or 20x20. The 20x20 clamps are a little tight but it doesn’t take much filing. Print them in M300 Maraging Steel and have them tap the M6 grub screw holes then harden. 704PH stainless would probably be fine too if rust is a concern.
22x22mm Version Beer Drives Remastered PUSH FIT VERSION-Truck Clamp.stl (1.4 MB)
20x20mm version Beer Drives Remastered DOUBLE DELTA SAUCE PUSH FIT VERSION-Truck Clamp.stl (1.4 MB)
Gear Adapter, printed in 6061 aluminum, hardened.
Beer Drives Remastered Gear Adapter 1mmH.stl (741.9 KB)
Gear Housing Cover 6061 or whatever you want. Nothing structural here. I’m tempted to try an ABS print after everything else is sorted.
Beer Drives Remastered Tub Cover Deeper Cuts.stl (1.1 MB)
Motor Puck - Butt crack goes toward the hanger. Printed in SLM 6061 aluminum. Ask for hardening.
Beer Drives Remastered -Motor Puck.stl (346.2 KB)
Push Fit Adapters. One is for MBS Rockstar XL, other for Trampa Phatlads. They have both been great.
Push Fit Hub Adapter 14mm H Phatlads.stl (286.4 KB)
MBS Rockstar Pro II XL Hub Push Fit Adapter (16mm Height).3mf (98.5 KB)
Gears, printed in SLM M300 Maraging Steel. Message the company ahead of time and ask if they can tap and then harden these for you. Save yourself some frustration. Shenzhen 3d will do this. Note, I haven’t used the 17t pinion version, but it’s on the bench and I don’t see why it wouldn’t work. You may need to do a bit of filing with these to get them over the motor shaft and keyway. Precision files and chainsaw sharpening files are awesome. This isn’t too hard to do and it’s better than a loose fit.
JJ 10mm 16t Master Herringbone Fillets Corrected.stl (5.4 MB)
80T JJ driven Herringbone Fillets Corrected.stl (20.5 MB)
Right 80T JJ driven Herringbone Fillets Corrected.stl (20.5 MB)
JJ 10mm 17 Master Herringbone Fillets Corrected.stl (5.7 MB)
This text will be hidden someday
General Advice for Printing SLM
You don’t really need to worry about this if you’re using my files (once proven). A little elbow grease will be required, but you can and should push as much of this on the printing shop as you can. Especially for tapping any M300 parts.
Bearing Seats print larger, as does any protrusion. Bearing catches print smaller, as does any indentation / recess. For example, the 6061 chamfered bearing seat is modeled with a diameter of 39.9mm. Actual size printed is 39.95mm. The 40mm ID of the 6808 bearing fits niceley over this surface.
You aren’t stuck with traditional gear mods. Make whatever you want to fit whatever OD and tooth count you’re going for.
Herringbones! They don’t cost extra to print, so why wouldn’t you print them? Better strength, quieter, no axial thrust. I have not tested any other type of gear, though I have printed them.
Craftcloud3d.com is the main service I have been using to order. It let’s you upload files, then gives you a list of manufacturers and their price. The manufacturer you pick matters. Shenzen 3D is the best I’ve used concerning consistency and overall quality. You can message them directly for special requests and quotes.
Another site worth checking our is in3dtec.com. They seem to have more options although the site is a bit clunkier to learn hoe to use, especially with different material types and quantities for different items in your order. Prices may be a little higher depending on what you get. We’ve only placed one order through this service so I really can’t speak much to their quality.
This is additive manufacturing, meaning the more material used, the higher the cost. If you can add slots / grooves / holes to your model, it saves money along with weight because less material is used and less print time is required.
Chamfers and Fillets are free. Use them.
Ordering more of an identical part makes each unit a little cheaper.
This text will never be hidden
Failure Photos!
This is just a small sample of parts that were abandoned/ broken along the way. There was a 5 gallon bucket of shame building up but it was dumped in the recycle bin. I’ll add more fails as they accumulate!

I’m not there yet, but every prototype gets one step closer.
The gears themselves have been great. First set still running were put in service October 2025. The sets taken out of service were only due to housing design changes. Two sets (soon to be three) are currently retrofitted in Apex Jump Drives. Another set has been continually used to destroy the new housing designs.
The housings have been a bitch. I’m fully convinced that this can be done, but so far each failure has exposed another one to fix. I believe each of the three new prototypes will hold up but time will tell. Another rider is helping me test now which will be a huge help.
I’ve posted quite a bit on here already about this project but it’s unorganized, this thread will be an attempt to keep everything in one place, and hopefully a good spot for a victory lap! Check out the “Current State of Project” tab above if you’re curious. Files will be updated there too. I should have time to get everything tapped and assembled tomorrow!
Older posts from earlier versions
I believe this was the second version of the drives. I may not have posted the first ones. These never actually failed, although I’m sure they would have. The gear housings were mirror imaged so you could install on different sides of the hanger to get your motor at different positions. Not a bad idea in theory but also drives up cost because they are not identical parts. There are better ways to change motor mounting positions. Double Agent EMTB - #25 by SirVesa I knew so little about CAD for this design that zero 2d drafts were made to make them  .
.

I eventually learned a little more about CAD and changed the design to a symmetrical gear housing, reducing the price a bit. 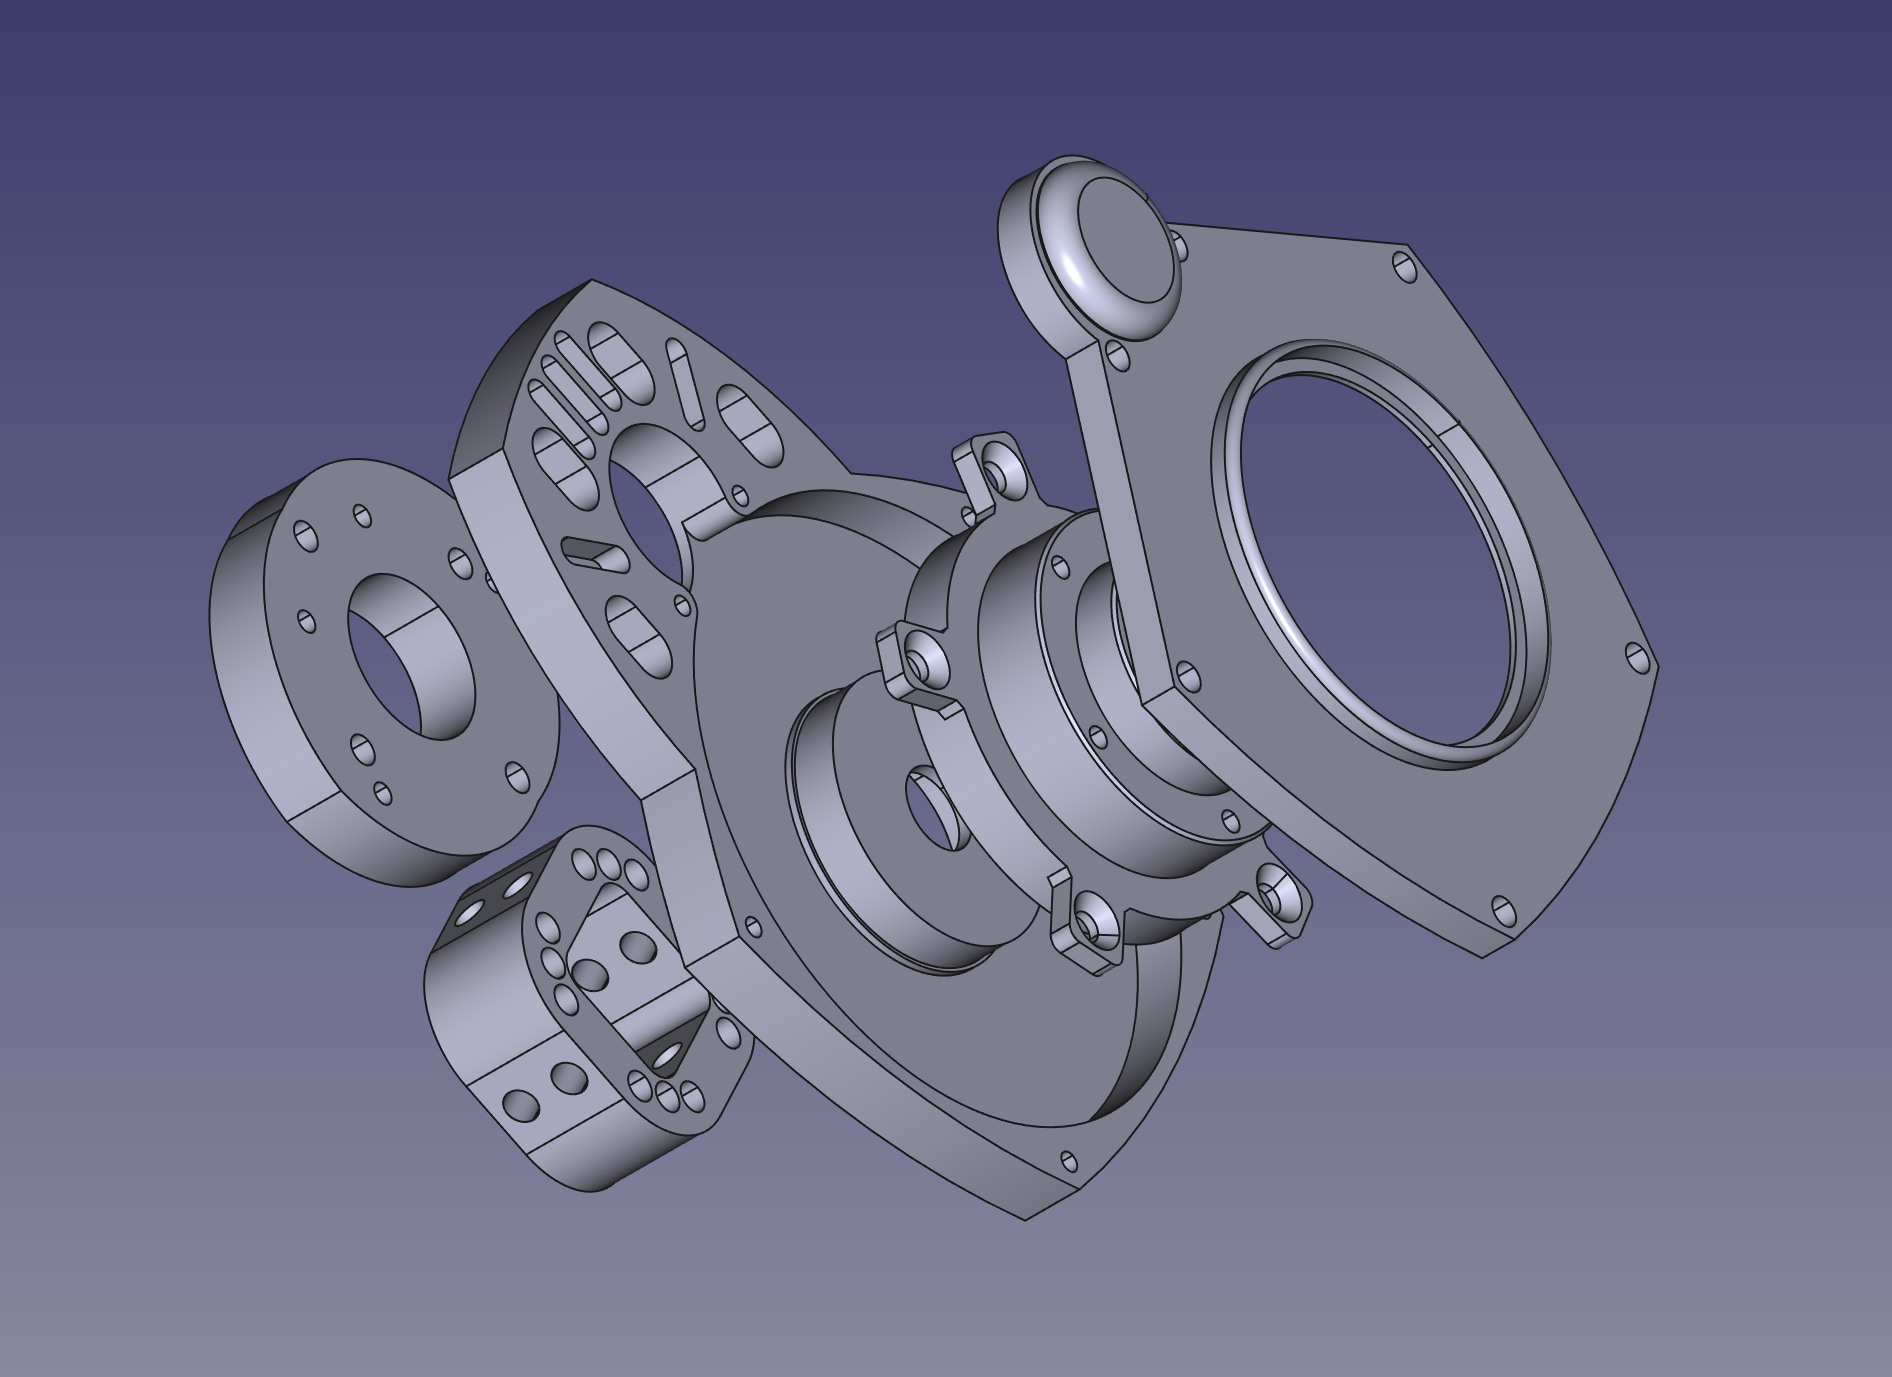
PXL_20260214_2300168831920×2550 1.39 MB
The weaker AlSi10Mg version of SLM aluminum ended up not holding m4 taps well enough. This led to a nice hike and more redesign.
Changing things up on the DIYs - #61 by SirVesa
This is the redesign to solve the weak aluminum threads. Keep in mind, I didn’t try printing in 6061 aluminum and having it hardened then tapping. That may have fixed it. 6061 wasn’t even an option when I first started this project. I did print the tubs in 6061, but decided to take a push fit route instead of using hardware. Nice chamfers on the M300 pegs. I think they’re going to hold up but time will tell. I did not decide to use the pegged gear adapter. Haven’t had an issue with those threads.
Changing things up on the DIYs - #73 by SirVesa
I bashed a rock HARD on the first version of the push fits and I’m glad it happened. This proved that the gear housing wall was too thin to hold up to the demands of riding off road. The drives held up for a few more rides, but eventually failed. More detail in the post.
Changing things up on the DIYs - #85 by SirVesa
There have been more steps and prototypes in between all of this that weren’t posted. Now, having three new prototypes to test, and another rider who charges harder than I do to help out, I really think this is getting close. 
This text will be hidden