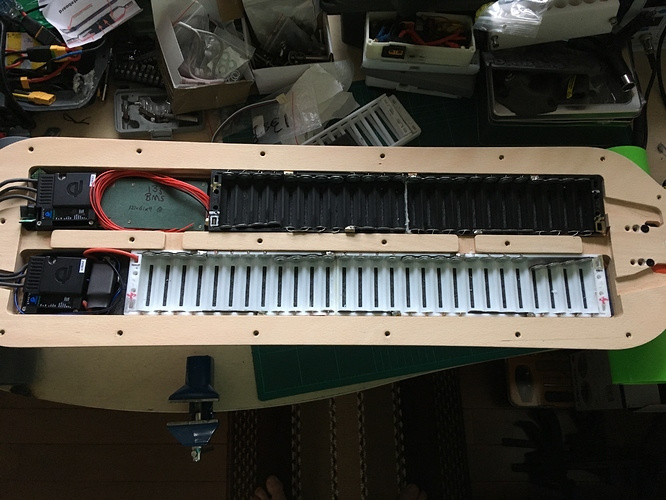
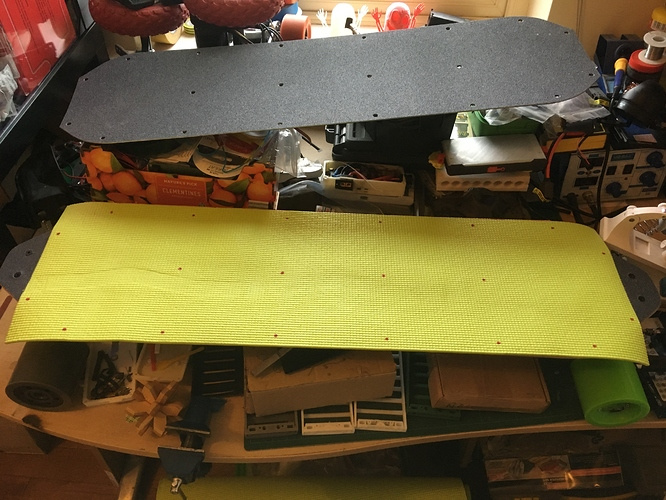
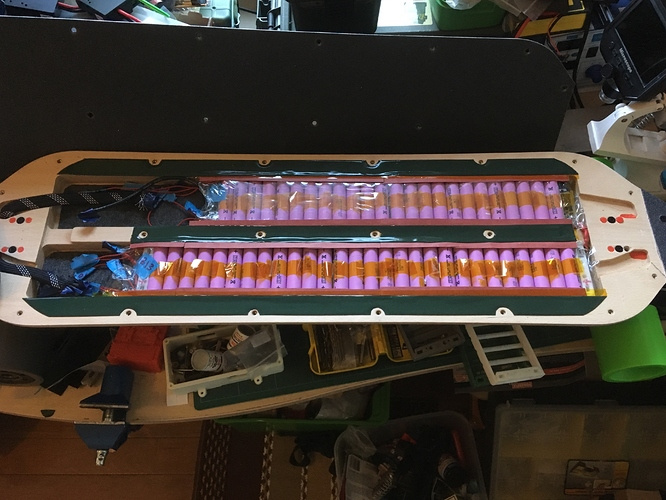
Test fit of the cell trays, need to file down the soldered fuses in some places and glue tabs into place, also solder in some charge leads, with a little more work I should be able to get this done then heat shrink each tray and cut holes for the cells to pop in/out
5 Likes
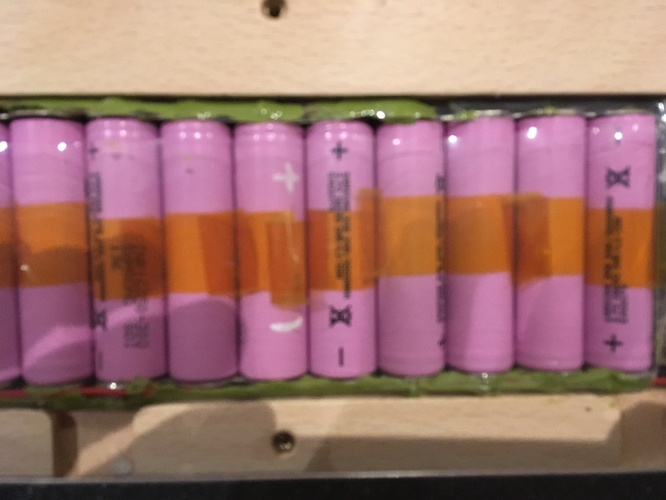
Test fit, still some work to do on her hair, I mean the balance leads, I used @Brenternet’s hair dryer to get the vacuum on the shrink wrap

The tape around each cell is to make it easy to jank a cell out without disturbing neighbors
2 Likes
Some ankle protection and a pair of tights
5 Likes
@hummie: When u do finally get it going I highly recommend the foc program w 30khz switching. Probably said it
Lately foc and that higher frequency’s efficiency has been questioned on this site and people are testing (maybe u) but it’s still the smoothest and most silent.
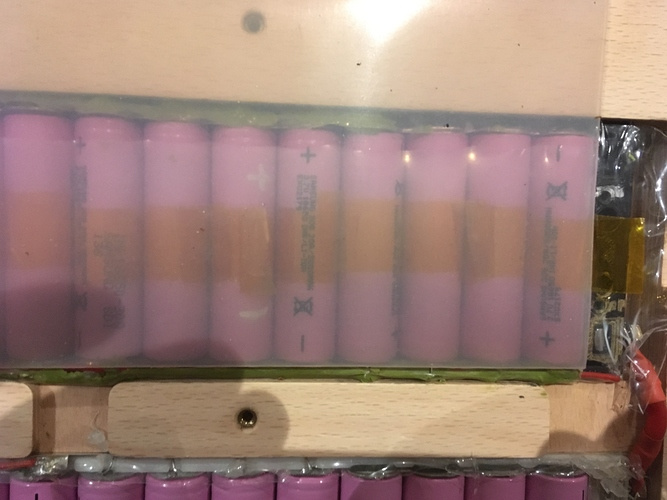
The yellow shrink showing through was too annoying so fixed it
2 Likes
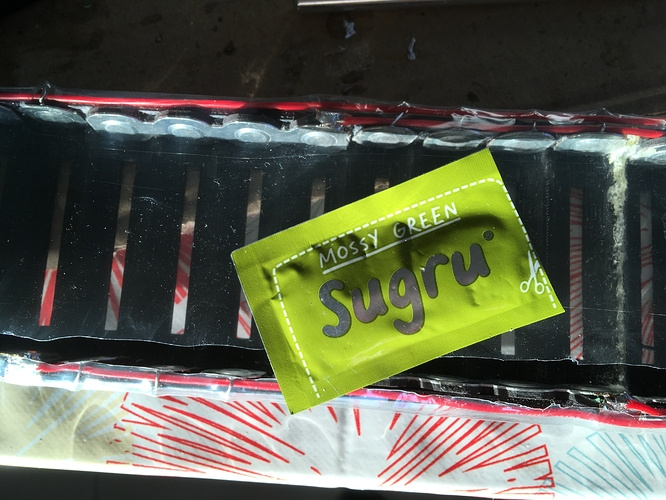
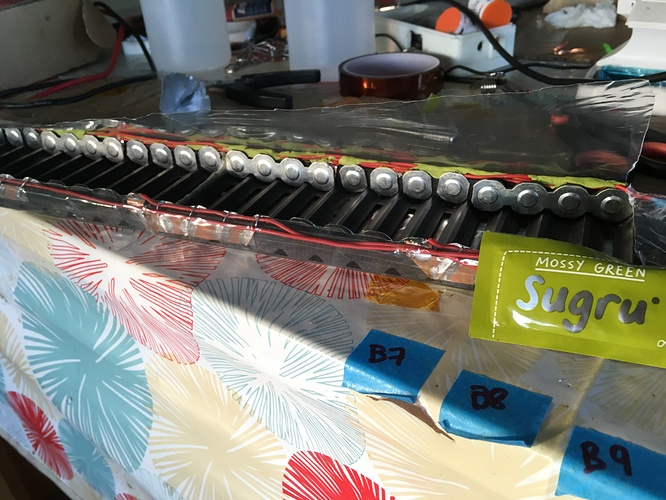
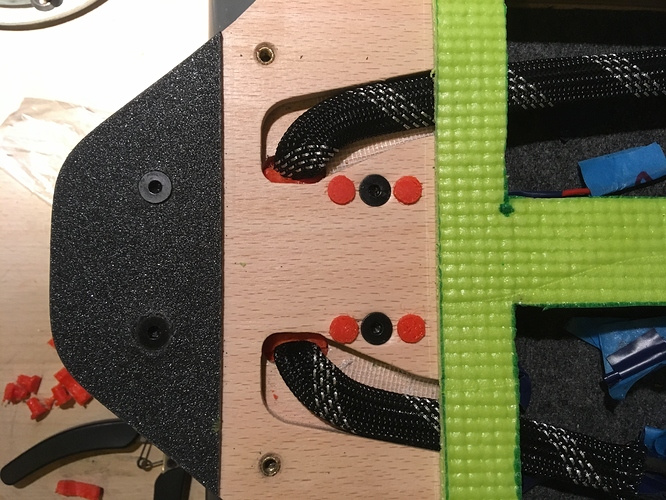
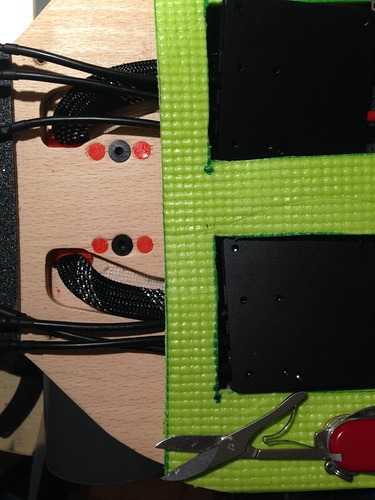
The balance wires are a concern, grounding any of them out against the aluminum deck would be a disaster.
My solution was to sugru them into position
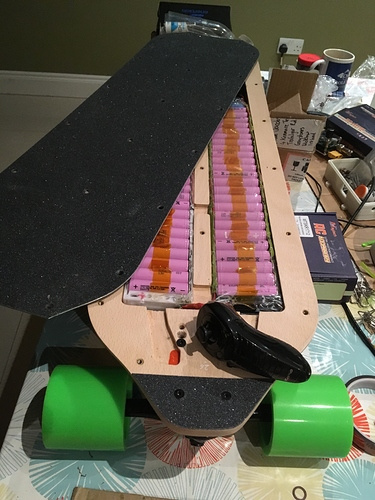
Then just on top of the cells a 1.5mm silicone layer, kind of like this
3 Likes
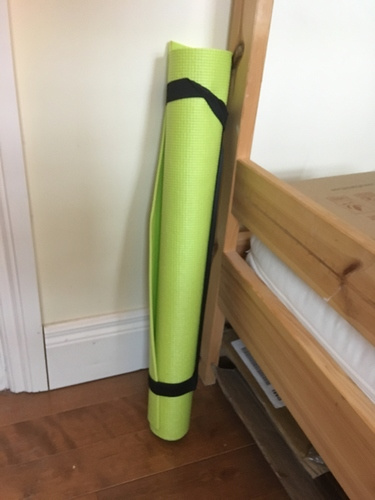
I surrendered to the Kama

4 Likes
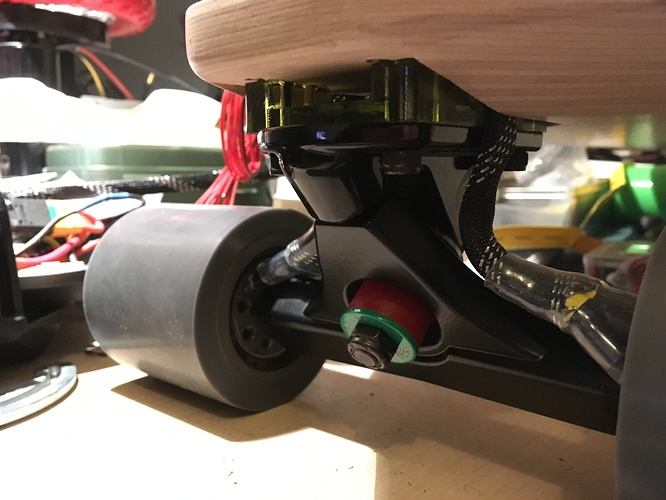
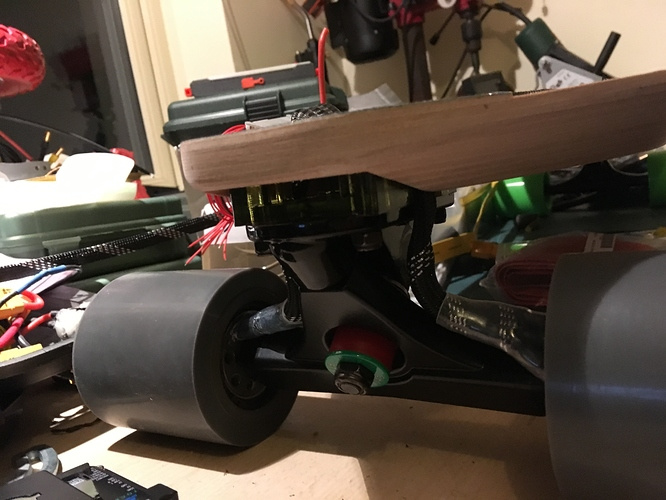
Still not happy with the clearance although I did not test with the special thin NESE cell packs on the NESE thread, I don’t really want to backstep into printing trays again and refitting the hardware so considering taking up yoga
Going to open it up more like a gasket
@hummie: Everyone does it differently but I’d skip the kapton tape between all the cells facing the same way and instead put a complete wrapping or maybe something more abrasion resistant between the groups of four cells. The ends of the cell especially. If the four facing the same way break through the sleeve and touch it’s no problem but if different groups of four were to contact then likely a fire.
You know.
Rodger that, good advice some fish paper is in the works for that under the yoga mat
The tape in that pic is just to easily pull cells
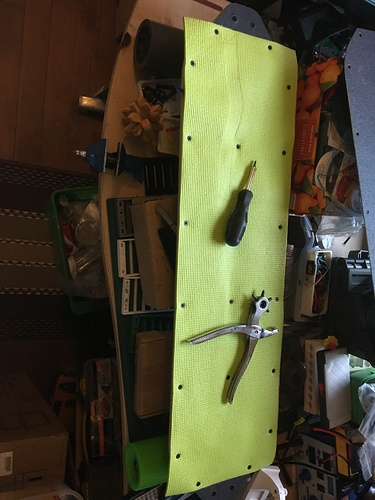
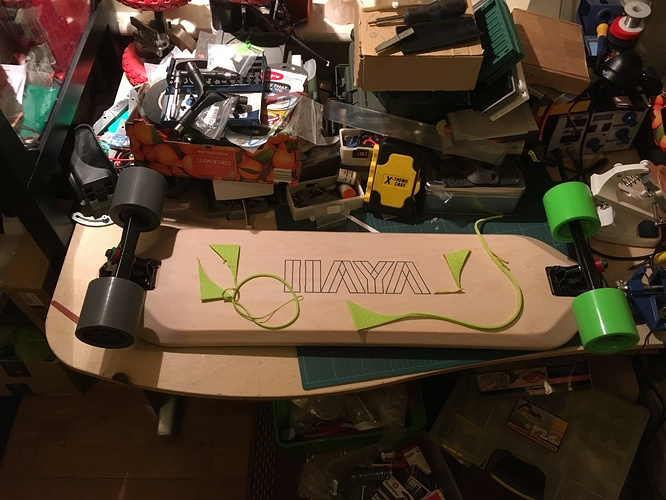
Practicing yoga to leave a lasting impression
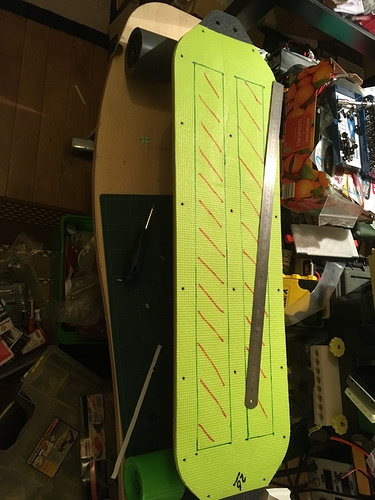
Stand on it and wiggle about a bit to get an imprint without making any template, then trim
1 Like


Hope to make the Conor pass on it on Kerry this sumer.
This has been sanity checked by @akhlut (after 5 pints and 5 whiskeys he concurred it is a great idea)
If you dtrop to road level in google maps
https://goo.gl/maps/RrrDBY6LuK72
@riako: Awesome idea! Like that, it will be really nice.
You make my head spin twice with this, I should think about that for the originally planned Burgunboard!..
Do you think, it could be possible to use this on classic board directly under the grip, somethink like Loaded Pushin Cushion ? 
@jansen: I do this on my decks and put 1/8 and have even done 1/4 inch sponge neoprene from amazon under my grasp just like the pushin cushion and it does wonders for your feet and gives you the ability to ride so much longer without getting that foot ache fatigue. Only works with certain decks I feel but I do it on any board that I can. Highly recommend on builds you travel longer distances with.
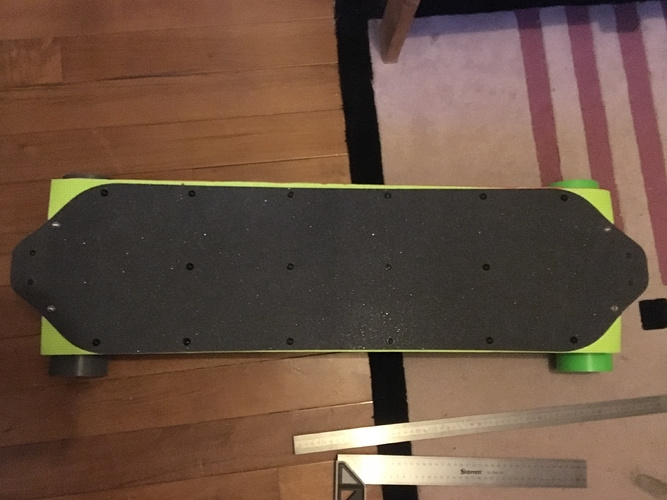
I’d say so from what Jansen said, this is really thin closed cell foam in the cheap mat I got, about 3mm uncompressed.
I’m still working it to get happy with the fitment especially around the ends, there’s an assortment of silicone sheet thickness on the way
@esk8manbabes : That’s a pretty view.
You’d have to eskate on the road yes? Would be a bit scary but if you ever organize a group ride of sorts for that with @bigben @Brenternet I’d sure like to join you. Never been to Ireland before.
It will take some wife convincing though.
I’ve never skated the pass but I know there are some dh peoply using it, it’s knar even on a bicycle surface it mostly good, it would be a summer attempt fully geared up, anyone welcome to laugh along on a pnummie build for sure
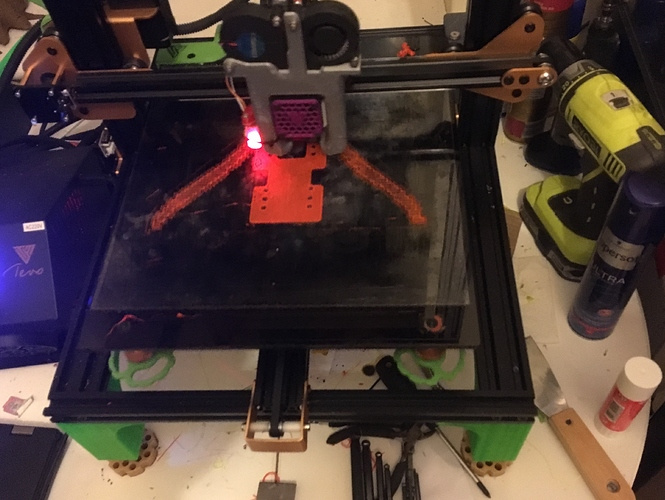
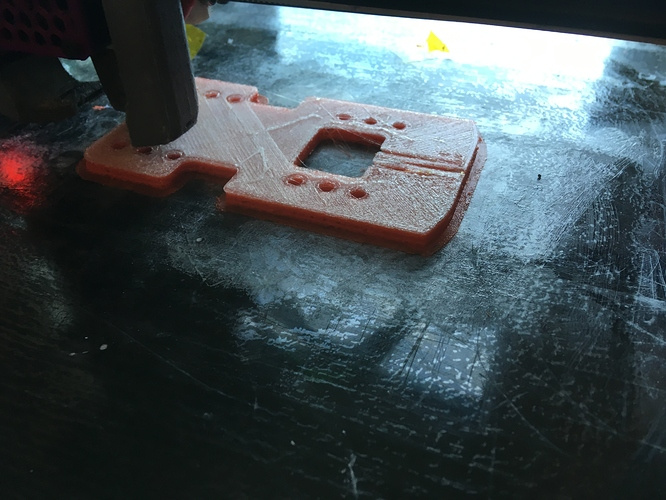
Thanks no it’s an in progress build, just finished printing out some TPU plugs for the unused holes, sitting on a riser I picked up here 
The printer runs a boden volcano, not good for flex, so scissors to trim up the stringing
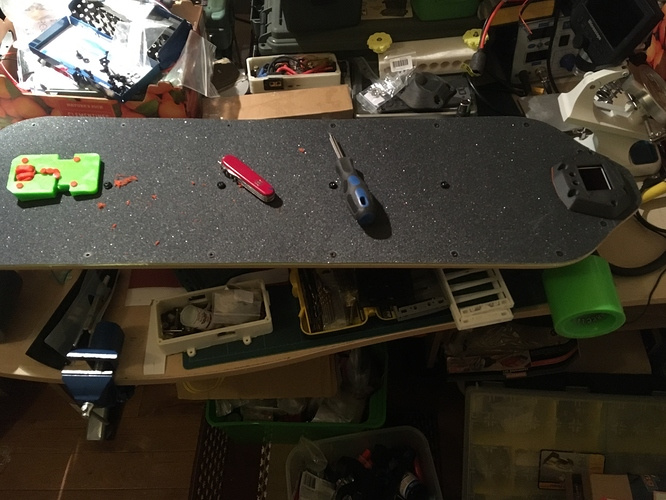
Oh and that’s a DaveGA housing yo the front, I removed some of the foam from the yoga mat and it looks better, still waiting on silicone sheet
2 Likes
Here’s the plugs fitted
@bevilacqua : nice, can you share the 5mm plug files/(thingiverse link)?
I made it countersinked instead, neater and better for clearance
Sure ting
1 Like
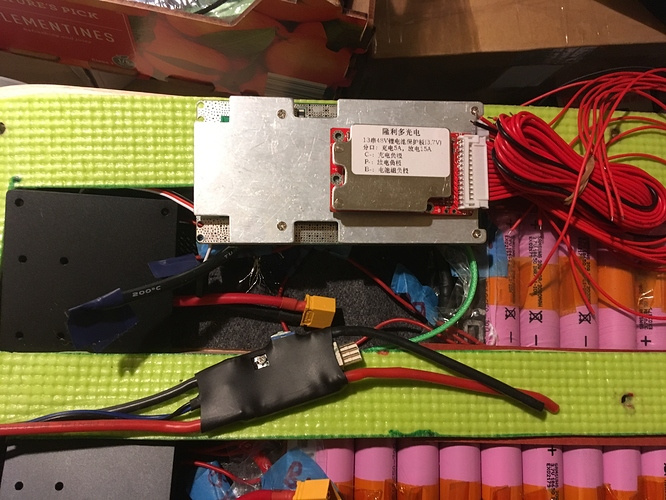
The cheap charge only bms arrived, look how small this thing is!
I bossed together something with @bevilacqua nose cad shame my printer isn’t good at TPU, too lazy to put together the flexion anyway
Will it work or even print? I don’t know
@Riako : Nice move for the tiny bms !
If it finally breaks, this should be easy to do it in wood (plywood)!?
And it will be stronger  Plus now you get your pattern to draw it and drill iand use it as centered helper maybe !
@bevilacqua : what are the dimensions of the mini BMS?
@Venom121212 : @Brenternet is sooo tiny where it matters like this bms
It’s got me wondering if I’ve fmgotten something wrong
Size L W H 60 34 10mm / 2.36 1.33 0.39"
It probably does not balance right, any suggestions?
@IndianGummy : I would guess it does not balance. I found something similar and it dosn’t balance either.
http://litechpower.com/product-detail/HCX-D503V1LI13S15A-07.html
@Sebi : well that annoyed the crap out of me as well, and it’s not even my board 
good thing you took care of that @banjaxxed and this build looks awesome. didn’t see it until now and I have yet to scan through the whole thread…
Ok looks like I will have to spring for something like a Neptune 15 or jank cells occasionally, I may do this and some13s small bms discovery the riser failed, trying again
@bevilacqua : You can combine the bms with a balance board. I have a 13S laying around that I could mail you. You would need to solder the balance wires to the connector of the BMS/PCB. Staked over it should take the same space
This thing:

Thanks that’s mighty generous and a great solution
@BigBen : Yep, these are the little bastards that snuck into a battery or two of mine. I have some balance boards to try and some 140s to replace them if not.
@deucesdown :
The 16A ones are tiny, but JST-PH.
There are 2 wire (common charge/discharge) or 3 wire versions. Get the 2 wire if bypassing discharge.
Cheap. Waterproof.
EDIT if your bms doesn’t balance, the balance wires are just for cell over and under voltage protection?
@hummie : where you get it? I got them before but cant find the 13s version anymore.
curious how having one with having so many more connections, what happens when a wire breaks and maybe even shorts the cell and damages it and then you don’t know and charge it. I guess glue it well or something. Its nice to be able to touch the cells while charging or a temp sensor on all of them could be send to the vesc w Bluetooth right?! maybe hopefully possibly yes
bevilacqua : I think this is the one I bought.
Yes just for voltage protection. Think I’ll try the waterproof one thanks
sayekim : What? I thought all bms did balance charging.
Didn’t know you had to specifically check for it.
Haven’t checked but it seem to me that most do balance though right?
Like is it not rarer to find ones that don’t?
I guess you have to watch it with the diddy ones
1 Like
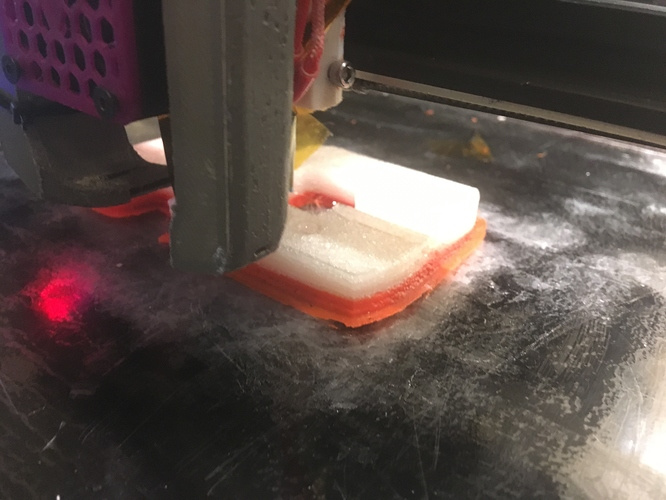
Switched out the yoga mat for some 1mm sticky back foam, much better and elegant too
And hopefully third times the charm
I found a roll of 98A TPU it is much easier to print with then the coral so switched after a few layers 
Still going even with the brim come loose, I’ll leave it run
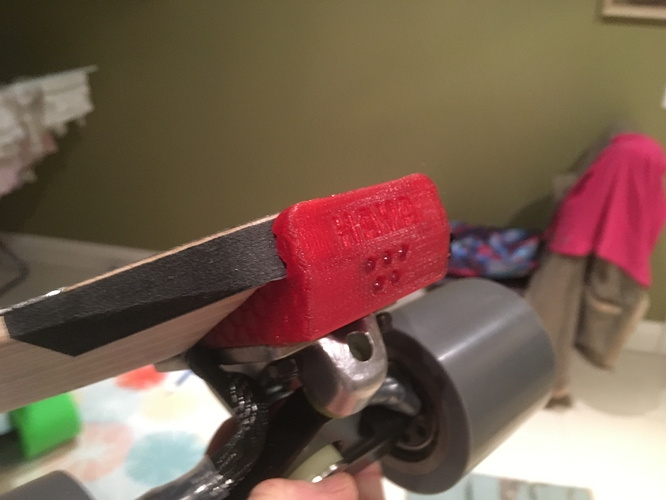
Looks like this, switched to PETG
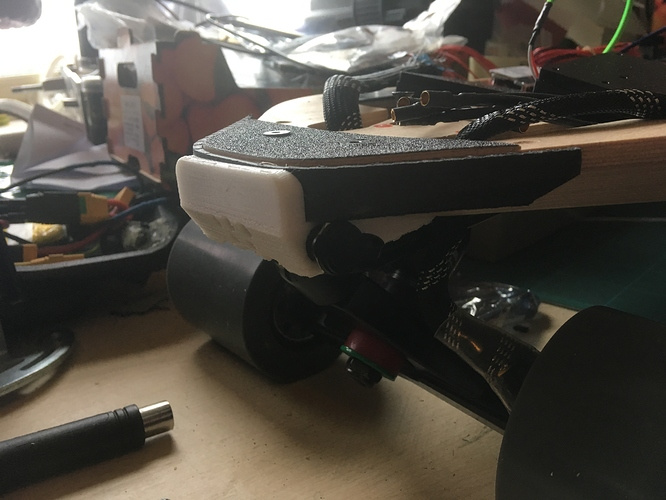
But will look more like this,not sure if I will include a the name as font is wrong & changes etc
I like it now
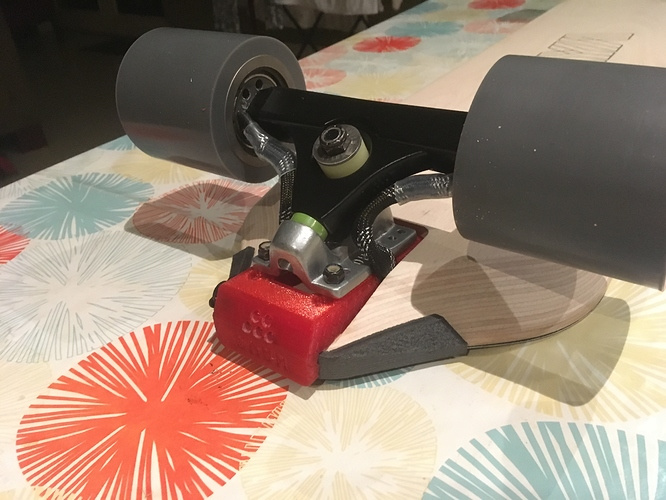
So I was going about switching the rear baseplate of the Hummie drive from the Paris 50deg to a 35deg Randall and could not get a line-up.
It turns out the Randall only have old school pattern which is really jank as you can see, hoping that @drangboards can help me out there when they get more PNL stock.
Or…
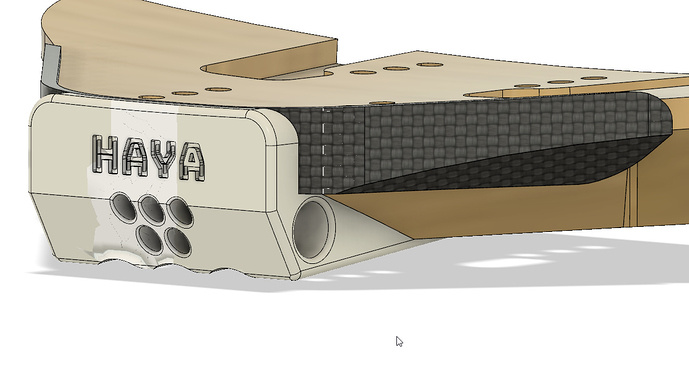
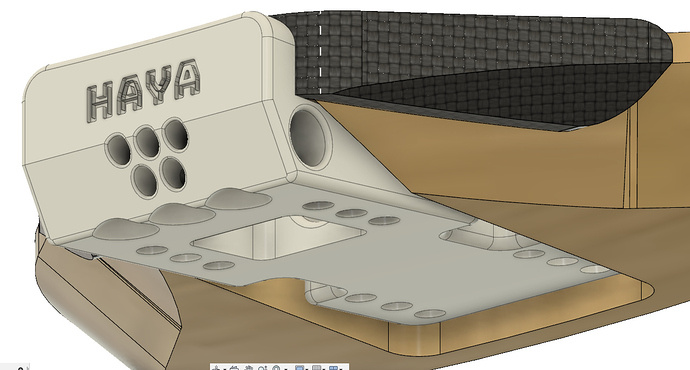
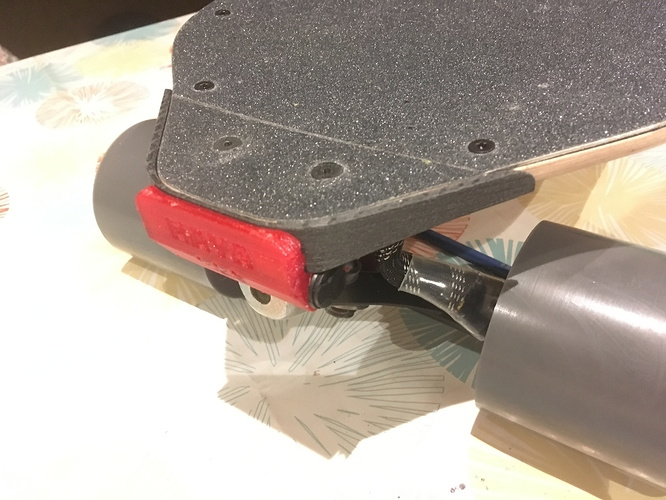
Still working this design, need to bring up the wing 3.8mm to meet the base of the deck, otherwise just about there.
The beauty of these 83mm hubs is a low wheelbite coefficient,.or something.
Take a look, there’s a 5.5mm charge port, 5 X 5mm LEDs, in translucent red to maximise rear lighting, the possibility is that the entire unit may glow a little from the LEDs, if not then Red increases speed 14% anyways.
@drangboards : To my knowledge the old randal plates dont fit the new randal hangers. I might have one or 2 slots left for 23 degree PNL plates, I’ll be receiving them tomorrow and then I’ll total up everyone who’s buying.
@Hummie’s motors use a hanger which essentially is a Paris v2, at least it came with a Paris baseplate and the front is a Paris v2, is should be modable im hoping
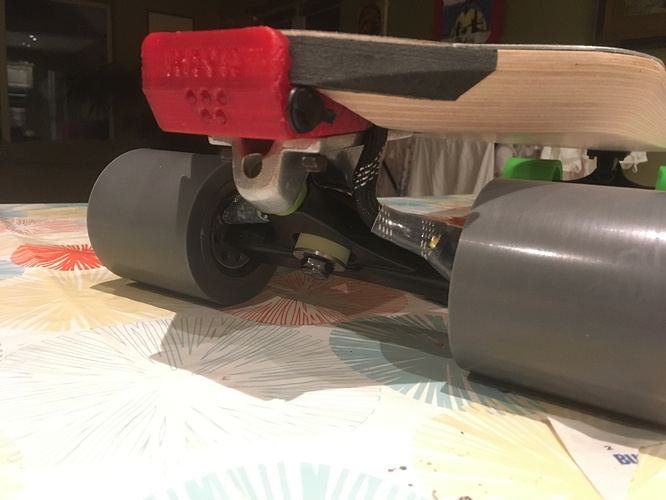
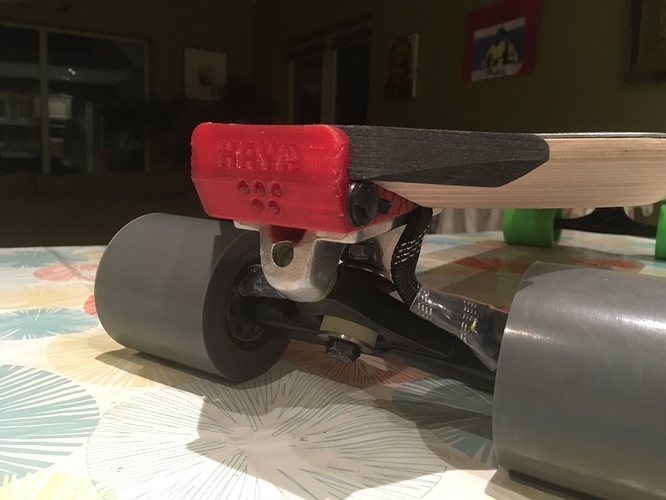
Here’s the newer wing which I already sorted out, seems like the mess won over tonight
@drangbaords : Yeah, PNLs would work for that. Check out Rogue trucks too. They make low angles. Not sure on surfrodz, Aera, Skoa, or any of the others on geometry.
4 Likes