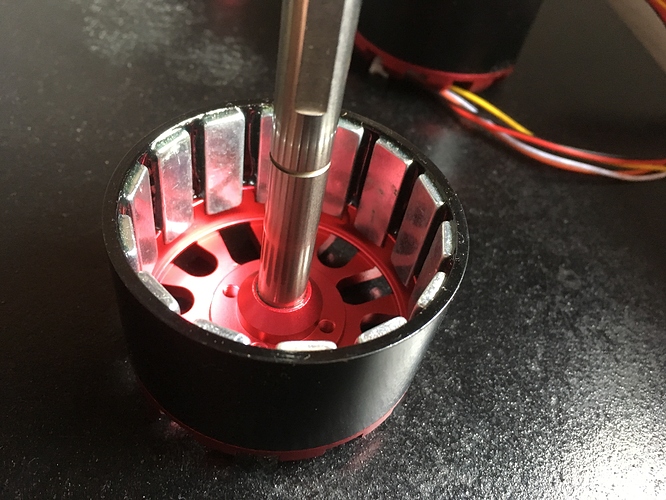
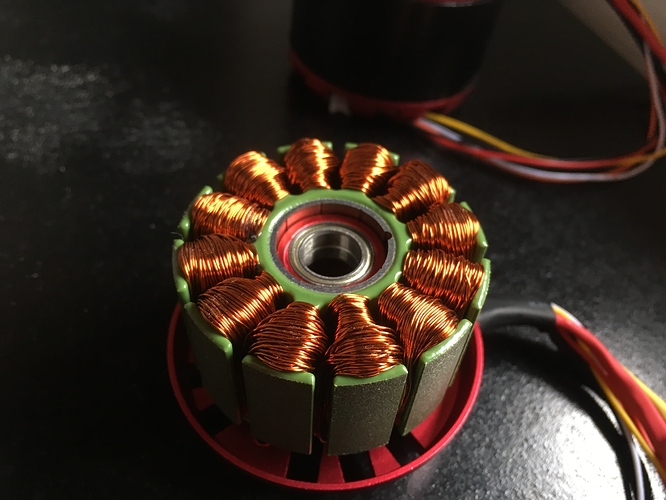
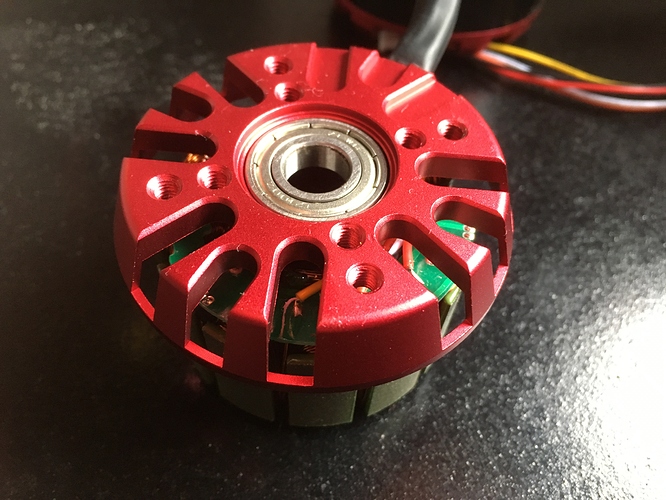
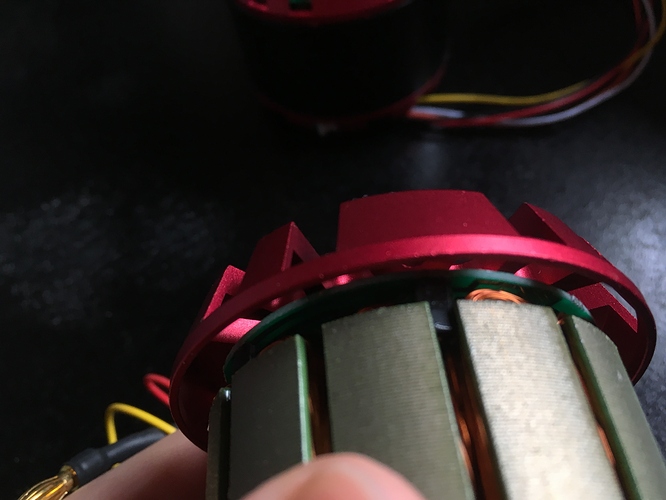
Careful with heat, you really don’t want to delaminate the windings.
That would be a bad day.
Yeah, but if it’s epoxy only a bit above 100°C would be enough, I only have a hairdryer as source of heat anyway
I was looking at my motors again and I think there is a chance that it’s held only by friction, that would be a pain to remove
Friction fit would be rather difficult to remove.
What kind of motors do you have?
This ones, same as @rich is running, aka the cheapest ones on AliExpress
I can’t see any glue residue inside the stator
Ooh, yeah - especially with that sensor pcb, taking off that shell is basically necessary to reterminate those windings…
I don’t see much glue either, so you may find success with a liberally padded pair of pliers and loads of patience. Just be careful not to mess up your stator.
I have a drawer full of shorted maytechs i’ve collected over the years. Any tips on getting the stator off the fram on those? They’re the old style with the wide open holes everywhere.
I’ve never removed a stator from its frame myself, but if I were to try I’d say a little heat like @Pedrodemio mentioned, and then careful wiggles with padded pliers to loosen it up.
you do not see the glue. If there is epoxy (optional) is only at the rear contact point between the pipe and the stator. Believe me they are all connected in the same way. Whne I talk about heat I mean a heat gun not a torch. Doens’t have to be crazy adn only at the back is where matters. IT has to be enough to soft the epoxy. For the rest they are all held in polace by friction. You need a find a tube or pipe of the same diameter and hammer it slowly but with precise hit from the front. I think I posted pics in the older forum. One the stator is out most of the time a key way will follow. Of course you have to remove the bearings before.
Same for the shaft. There there is no glue, one or 2 grub screws instead. then place the plate on heavy surface having the shaft in the air. Hammer it on the shaft alone form the outside and walla’.
th keyway is inside but placed like this most of the time
(I used a different pipe, first 2 pics are from the facotry when I asked how to disassemble the stator the first time)
maybe you did not realized how much friction there is between a stator and pipe. Pliers won’t work. As for milling machine bearing replacement you need a pipe of the same diameter so that you focus the pressure in a specific point.
Further update - I’m doing continuity checks between the 6 terminations, and I find that between the start and end of each phase there is a very low resistance as expected - what I didn’t expect is a ~0.5MOhm resistance between different phases - i.e. A start and B start have a connection between them. Does this mean the motor is already wound in wye? How should I proceed?
EDIT: Unless I’m reading the winding diagram wrong…?
I think to be 100% sure you have to remove the the rear plate, therefore the stator. Then you can check the terminations. If you need to work on them you will need to do it anyway.
Here’s how the motor looks right now.
I don’t have the equipment to remove the stator from the frame, so I’m looking for solutions that don’t require that.
As far as I can see there’s no connections between the 6 leads shown here, but they still show resistance between them on the meter. I’m wondering if that’s normal since I haven’t done anything to cause all these wires to connect.
Once separated like in your case they should be connected in 3 pairs, since are 3 phases motor. So only two ends at the same time.
I’ve found the 3 phase pairs as described, but the issue I’m describing is that each phase has a weak connection to the other two phases (~0.5 MOhms). Is this normal, or have I made some mistake?
BTW, it’s the exact same for both motors, and for all phases.
put the function on the meter to sound in case of conduction and test it. If they all bip between each other there is definitelly connection.
HAHAHA… I may or may not have the approximate intelligence of a cantaloupe.
I forgot that skin is conductive and I was touching the wires while measuring…
Once I stopped doing that, everything looks normal 
ahahaha ok. I didn’t thought about it. BTW they won’t beep with your skin in contact that’s why I suggested to do it. Your body has Mega Ohm resistance.
Yeah, once I switched to beep mode I realized that it was just my body.
Stupid mistake but at least everything’s good now.
Update!
Almost done the mod - just a few more tests left, then I’ll write up a quick post about my process.


