The back story
About 4 months ago I came up with the want/need of a new board. Something light weight yet decent enough for some group rides or general badassery and could get me to work and home on a single charge. So I started looking around and seen Jared selling the new Tayto deck. I loved the look of it especially with that kick tail. It was perfect for what I wanted to build. Originally I planned to do 12s2p on 5045’s and e-calibers. Then that changed to 6355’s that I bought from BKB as well but with a 10s3p pack. Soon after purchasing those parts the eskate gods blessed me with a set of raptor 2 hubs and here we are.
Parts list
Deck: BKB Tayto
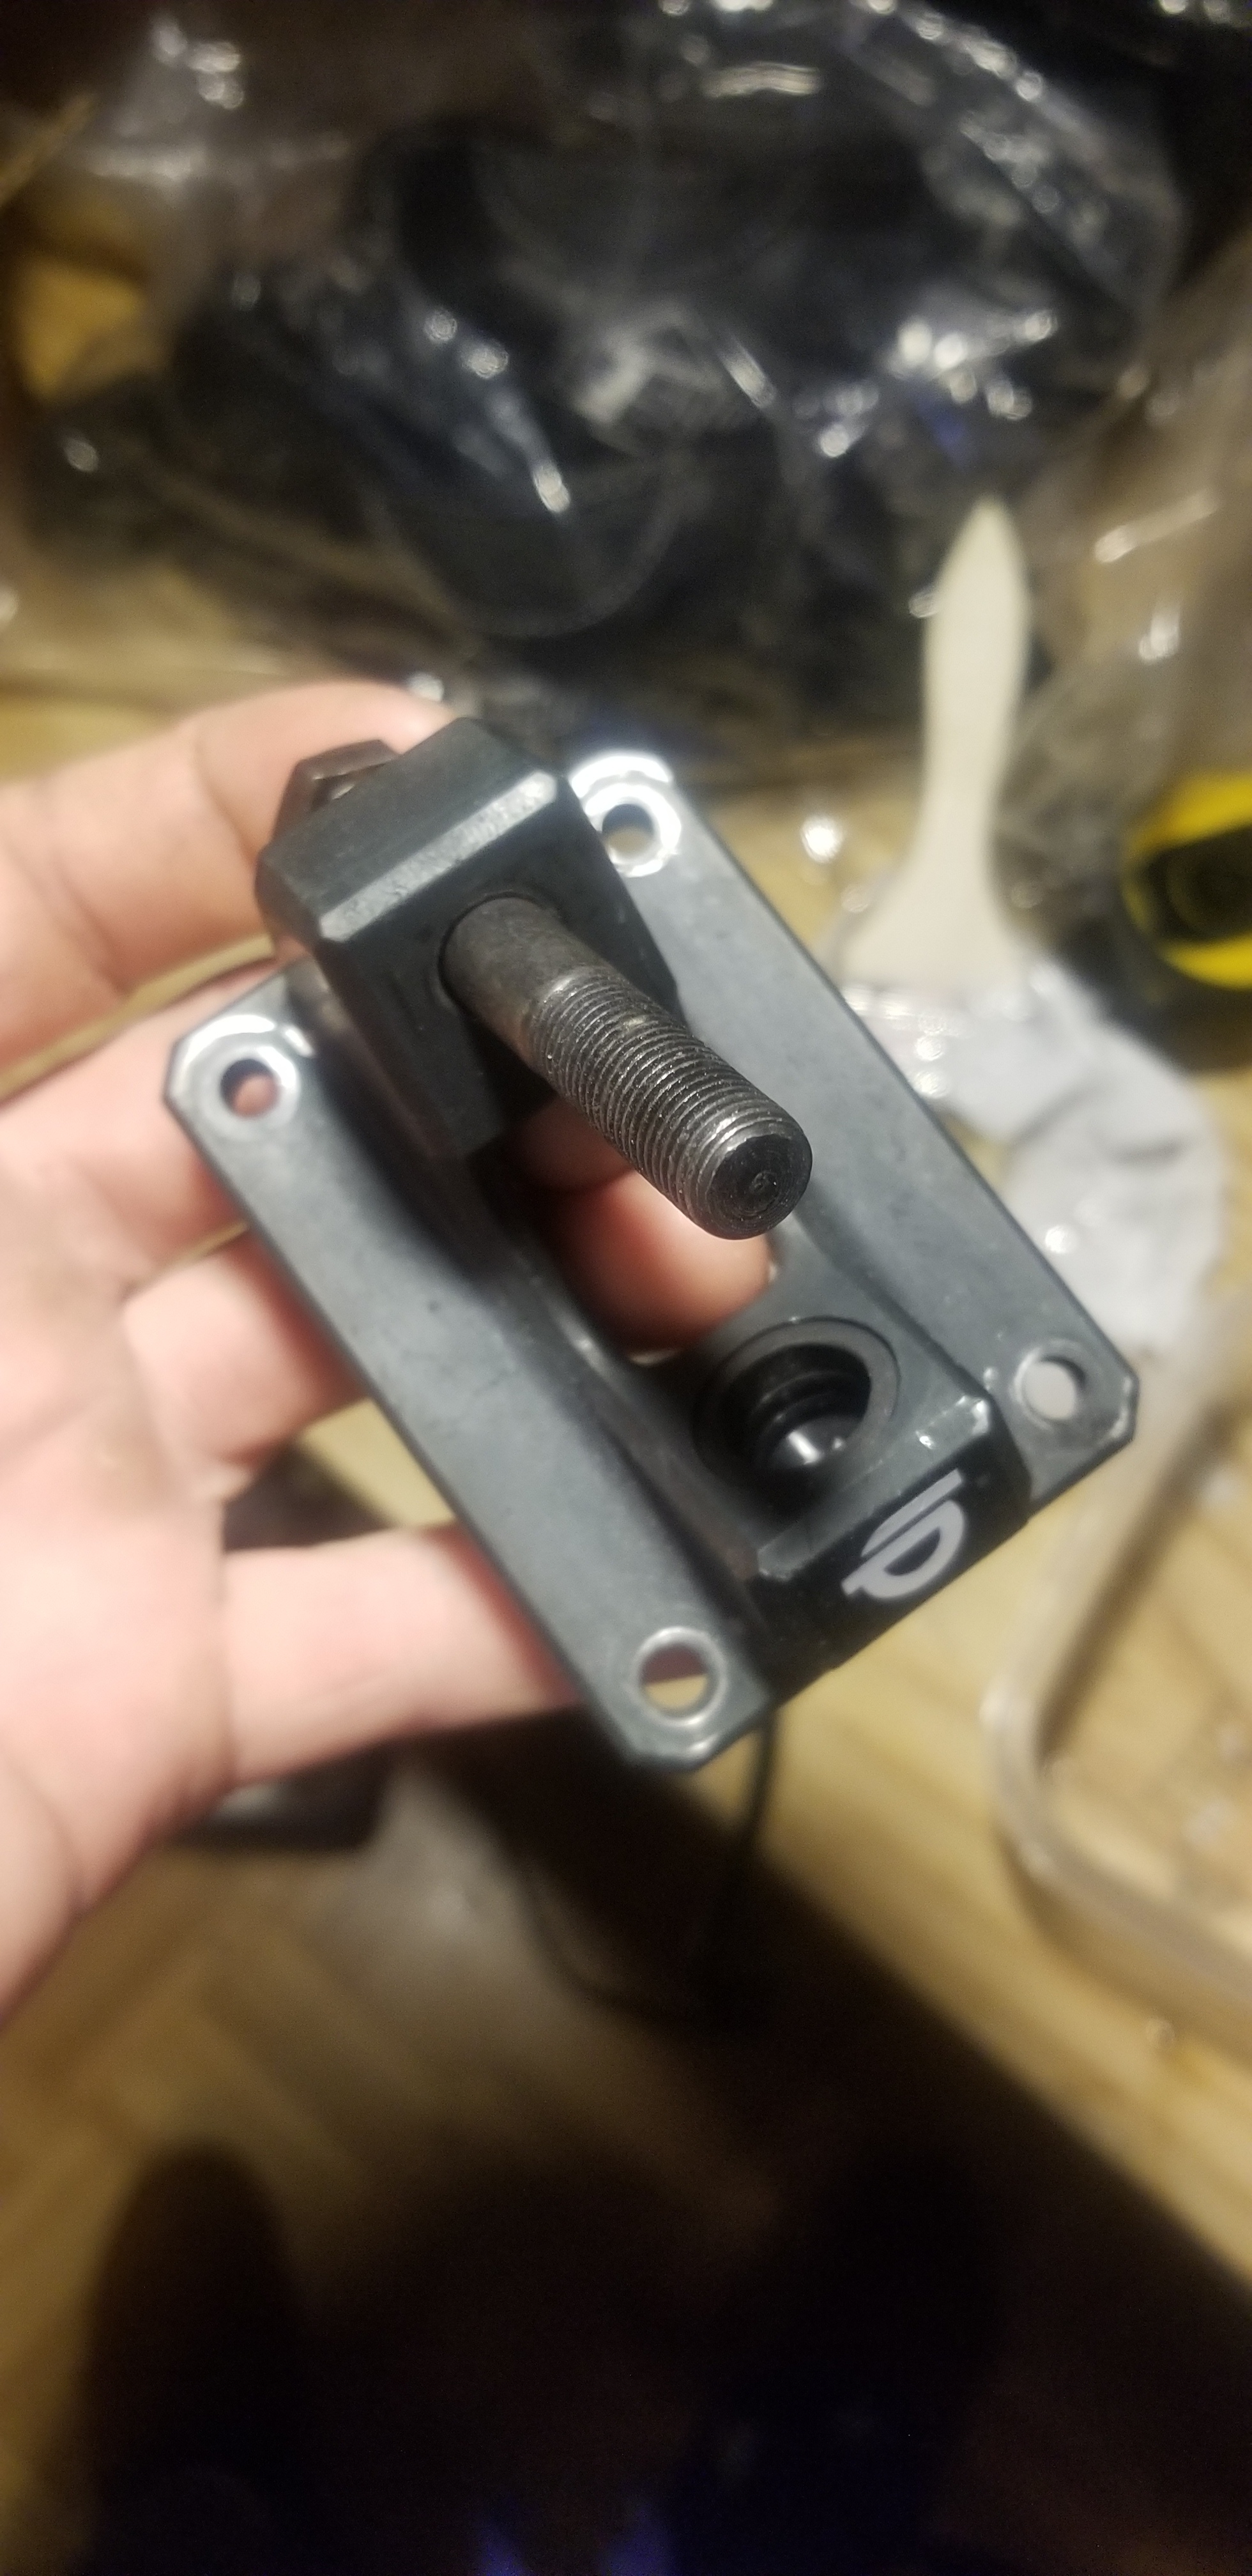
Trucks: Raptor 2
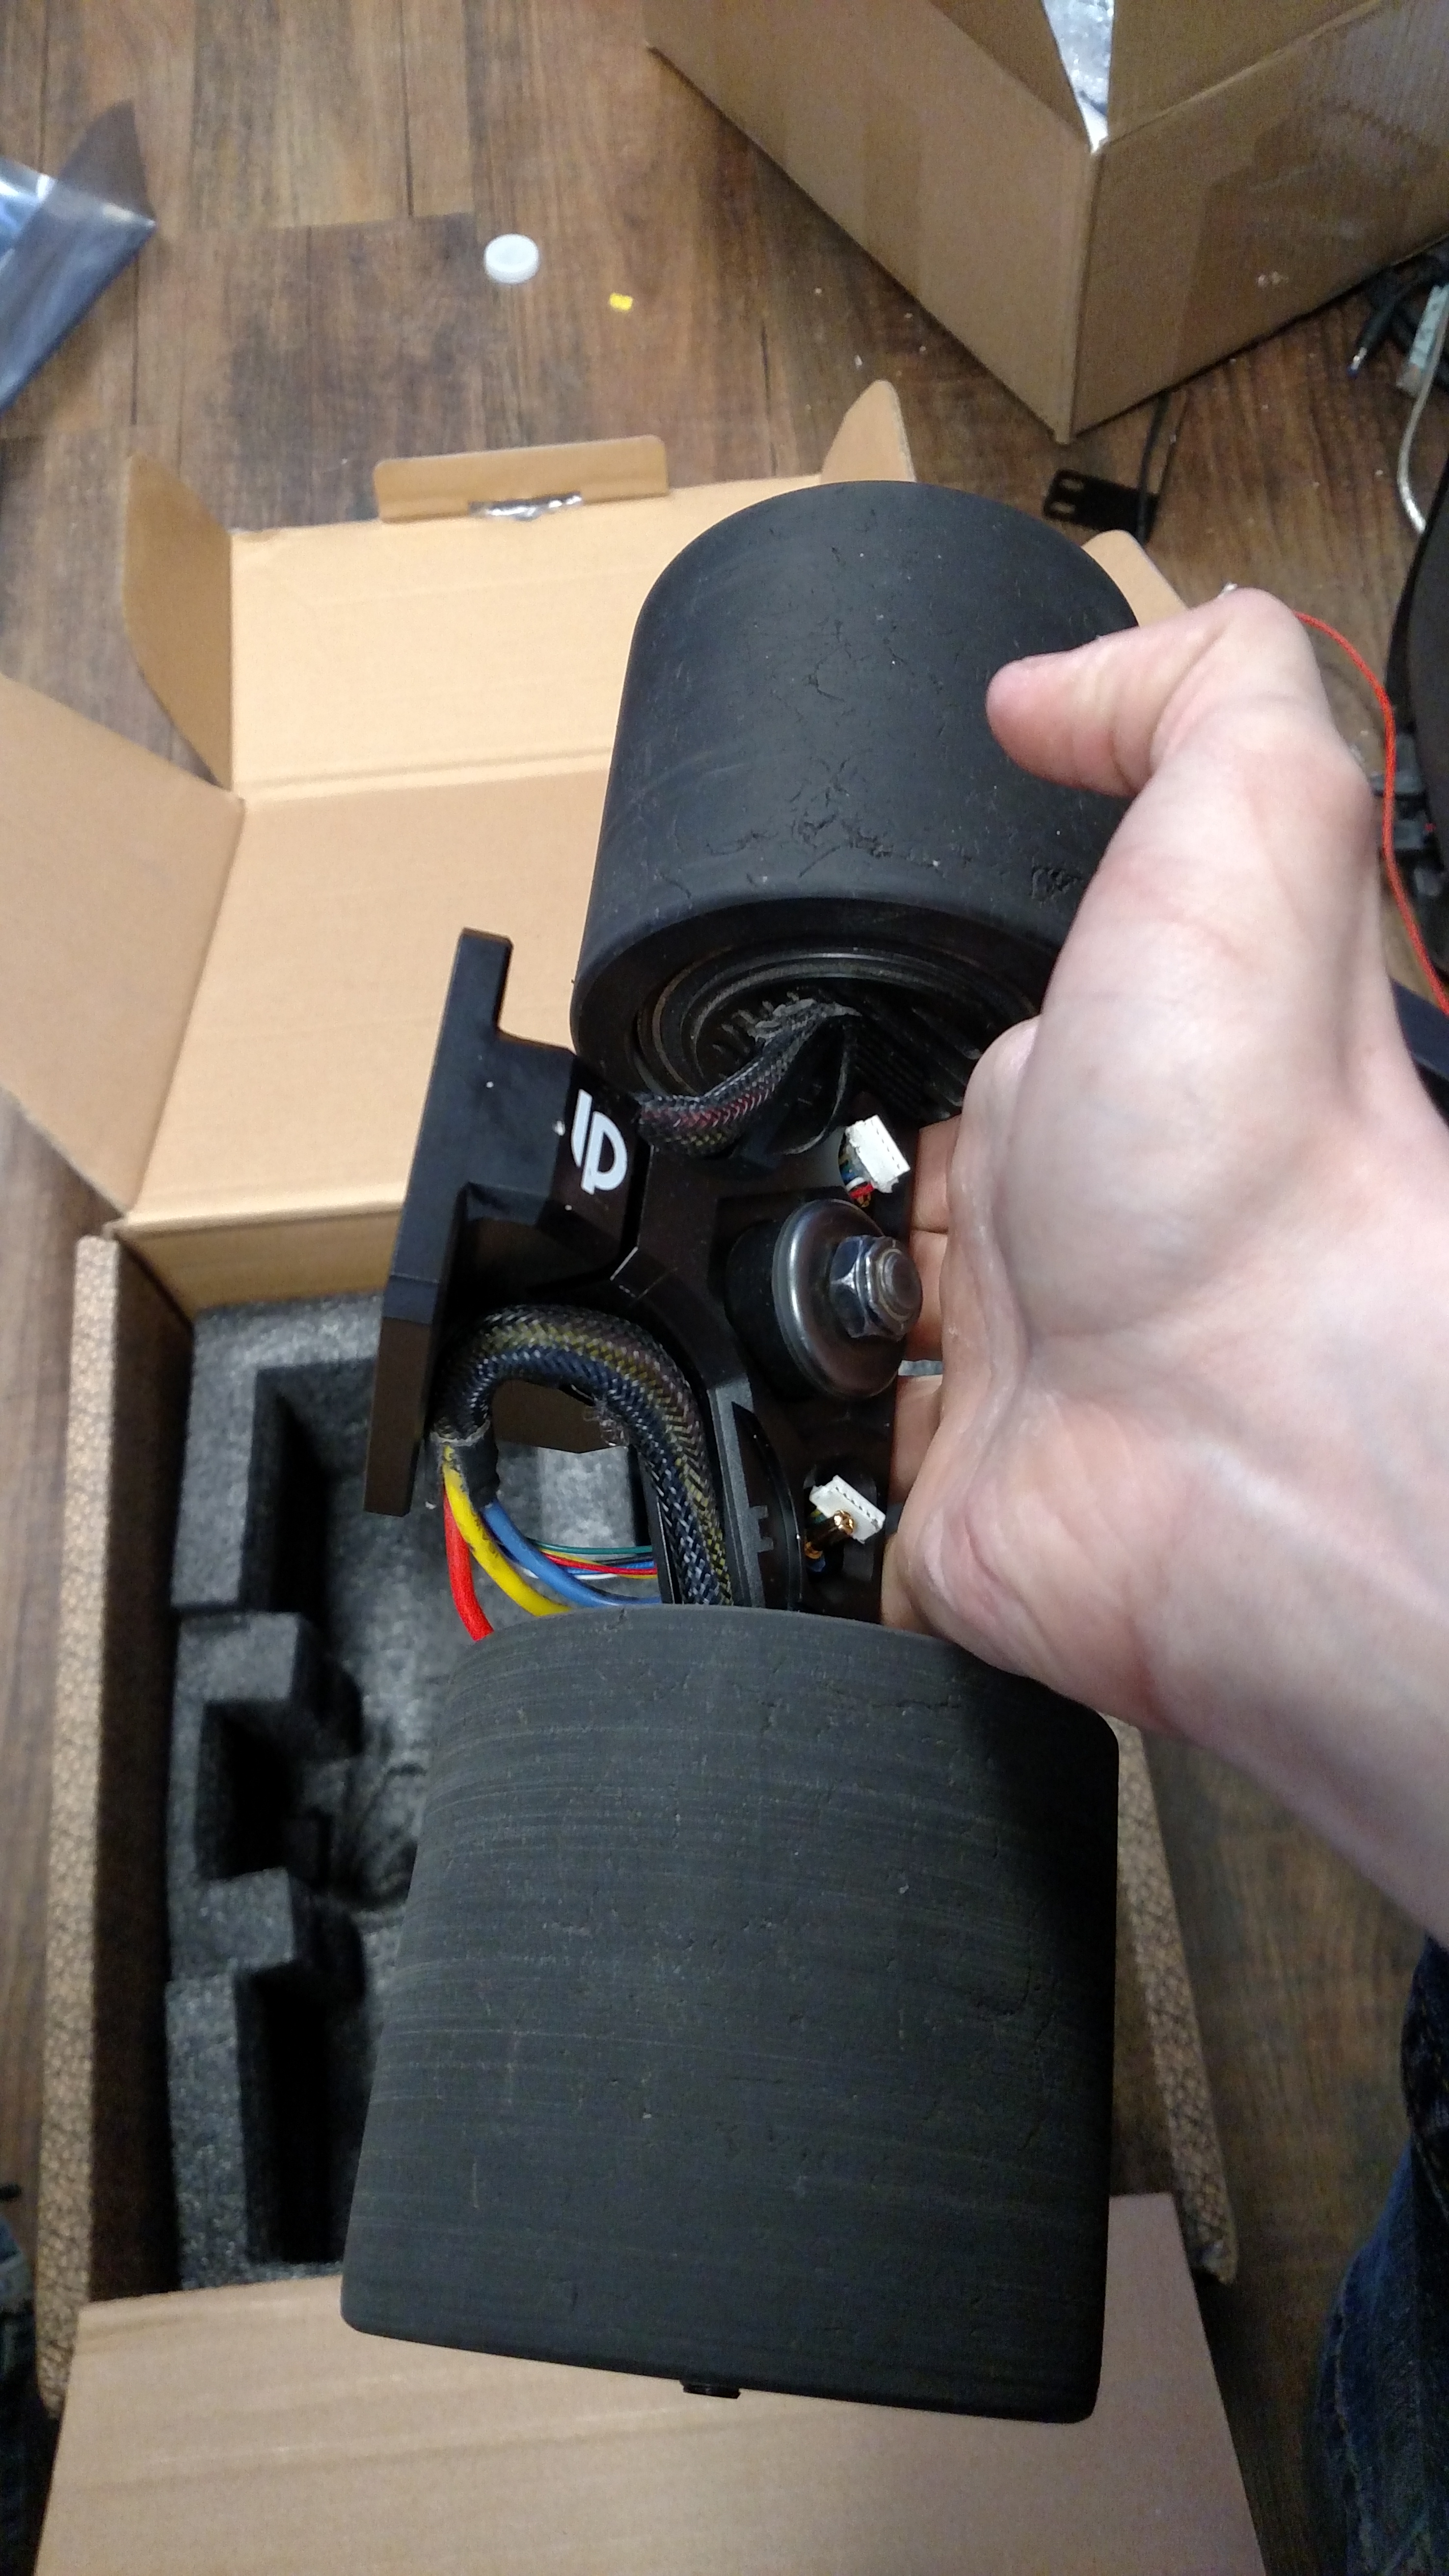
Motors: First edition raptor 2 hubs. Not the newer ones.
Front wheels: Popocas
Battery: 10S3P charge only by @Psychotiller
Enclosure: Knuckles
ESC: Dual focbox’s running the latest and greatest firmware.
Remote: Hoyt Puck
Bluetooth Module: Metr pro
E switch: that push to start one from amazon.
The unknown unknowns
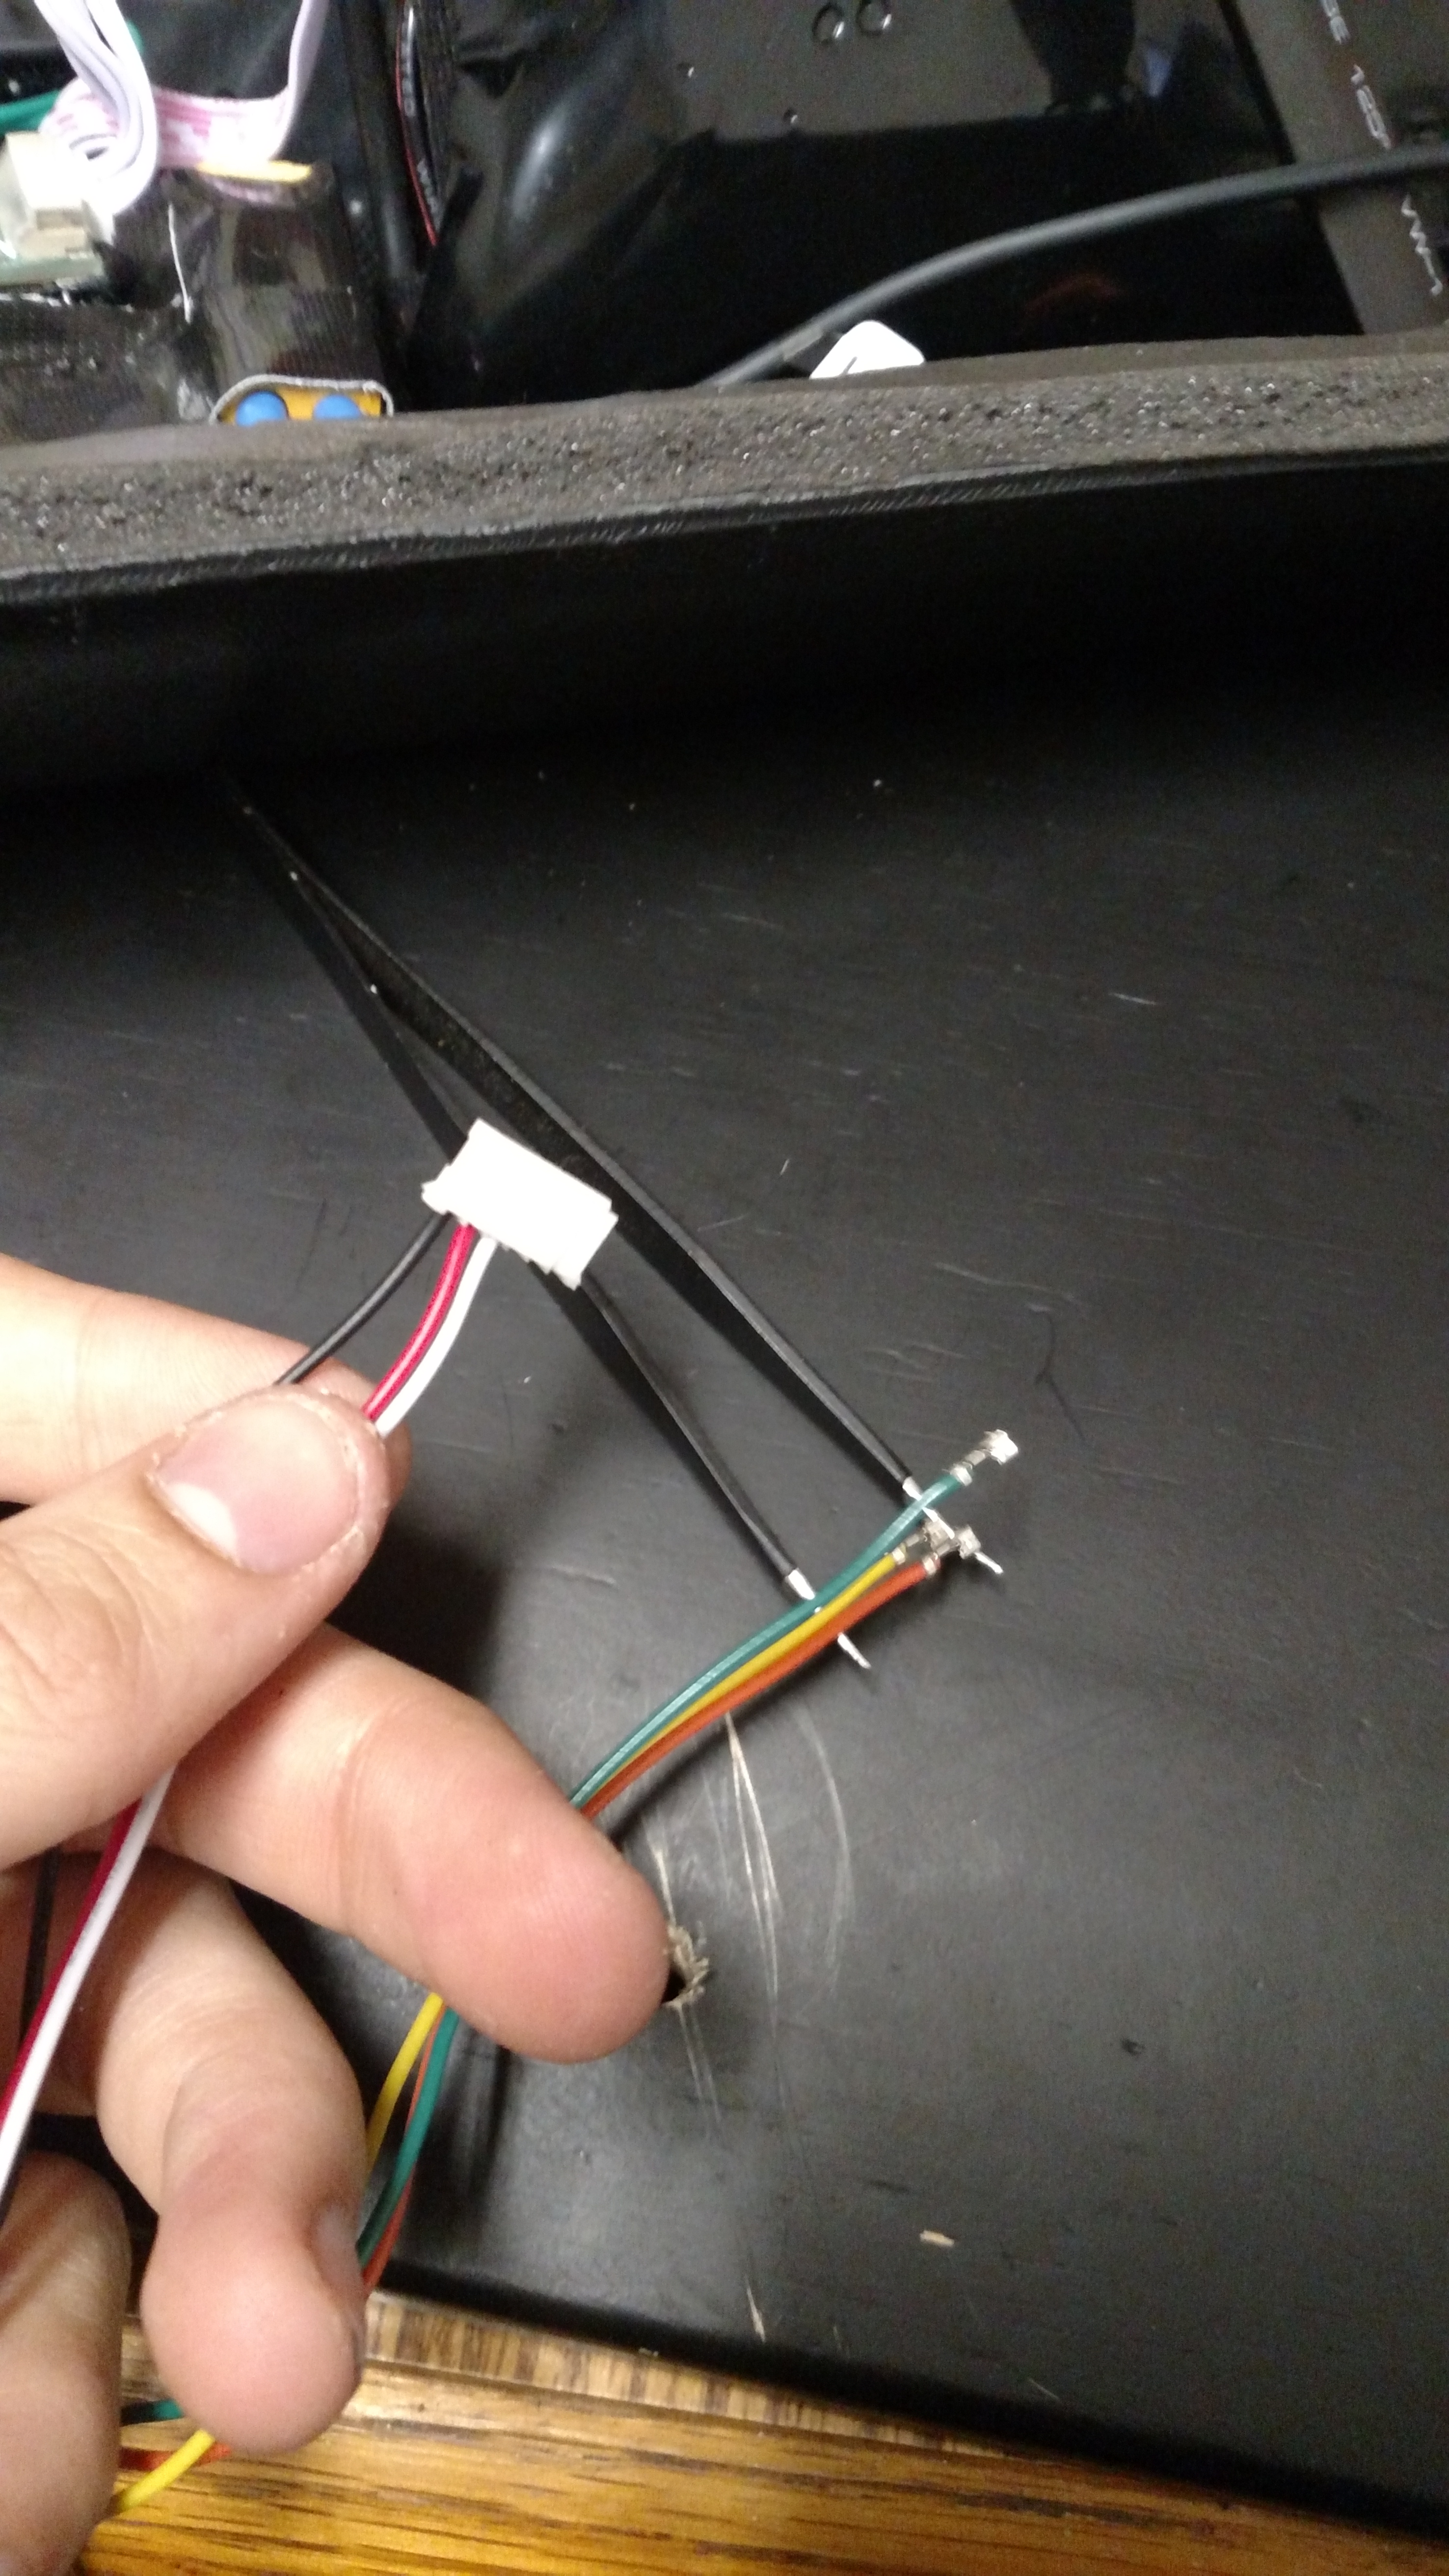
Well after I had all the parts I soon encountered quite a few issues with this setup. First, the Tayto deck has the new standard bolt pattern not the old school that enertion has on the raptor trucks. This was the first pain in the ass. I got my 3/16" bit screamed yolo and drilled it. Came out solid. Wish I would of know about this in the first place though. Second The Tiller Knuckles enclosure I used only fit in the last bolt pattern position. Normally not an issue but with the new standard pattern, if i were to of mounted the trucks in the last position it would leave me with out much leverage on the tail. So I filed down each part of the enclosure where the base plate touched and used the first ones. This was also a pain in the ass. The third pain in the ass was that the Raptor hubs use that tiny JST connector and the focbox’s use the full size ones. GG Jason. Luckily I bought a set of converters for my maytech 6374’s. I had to change the pin layout as it was completely different of the hubs and it was crossing wires.
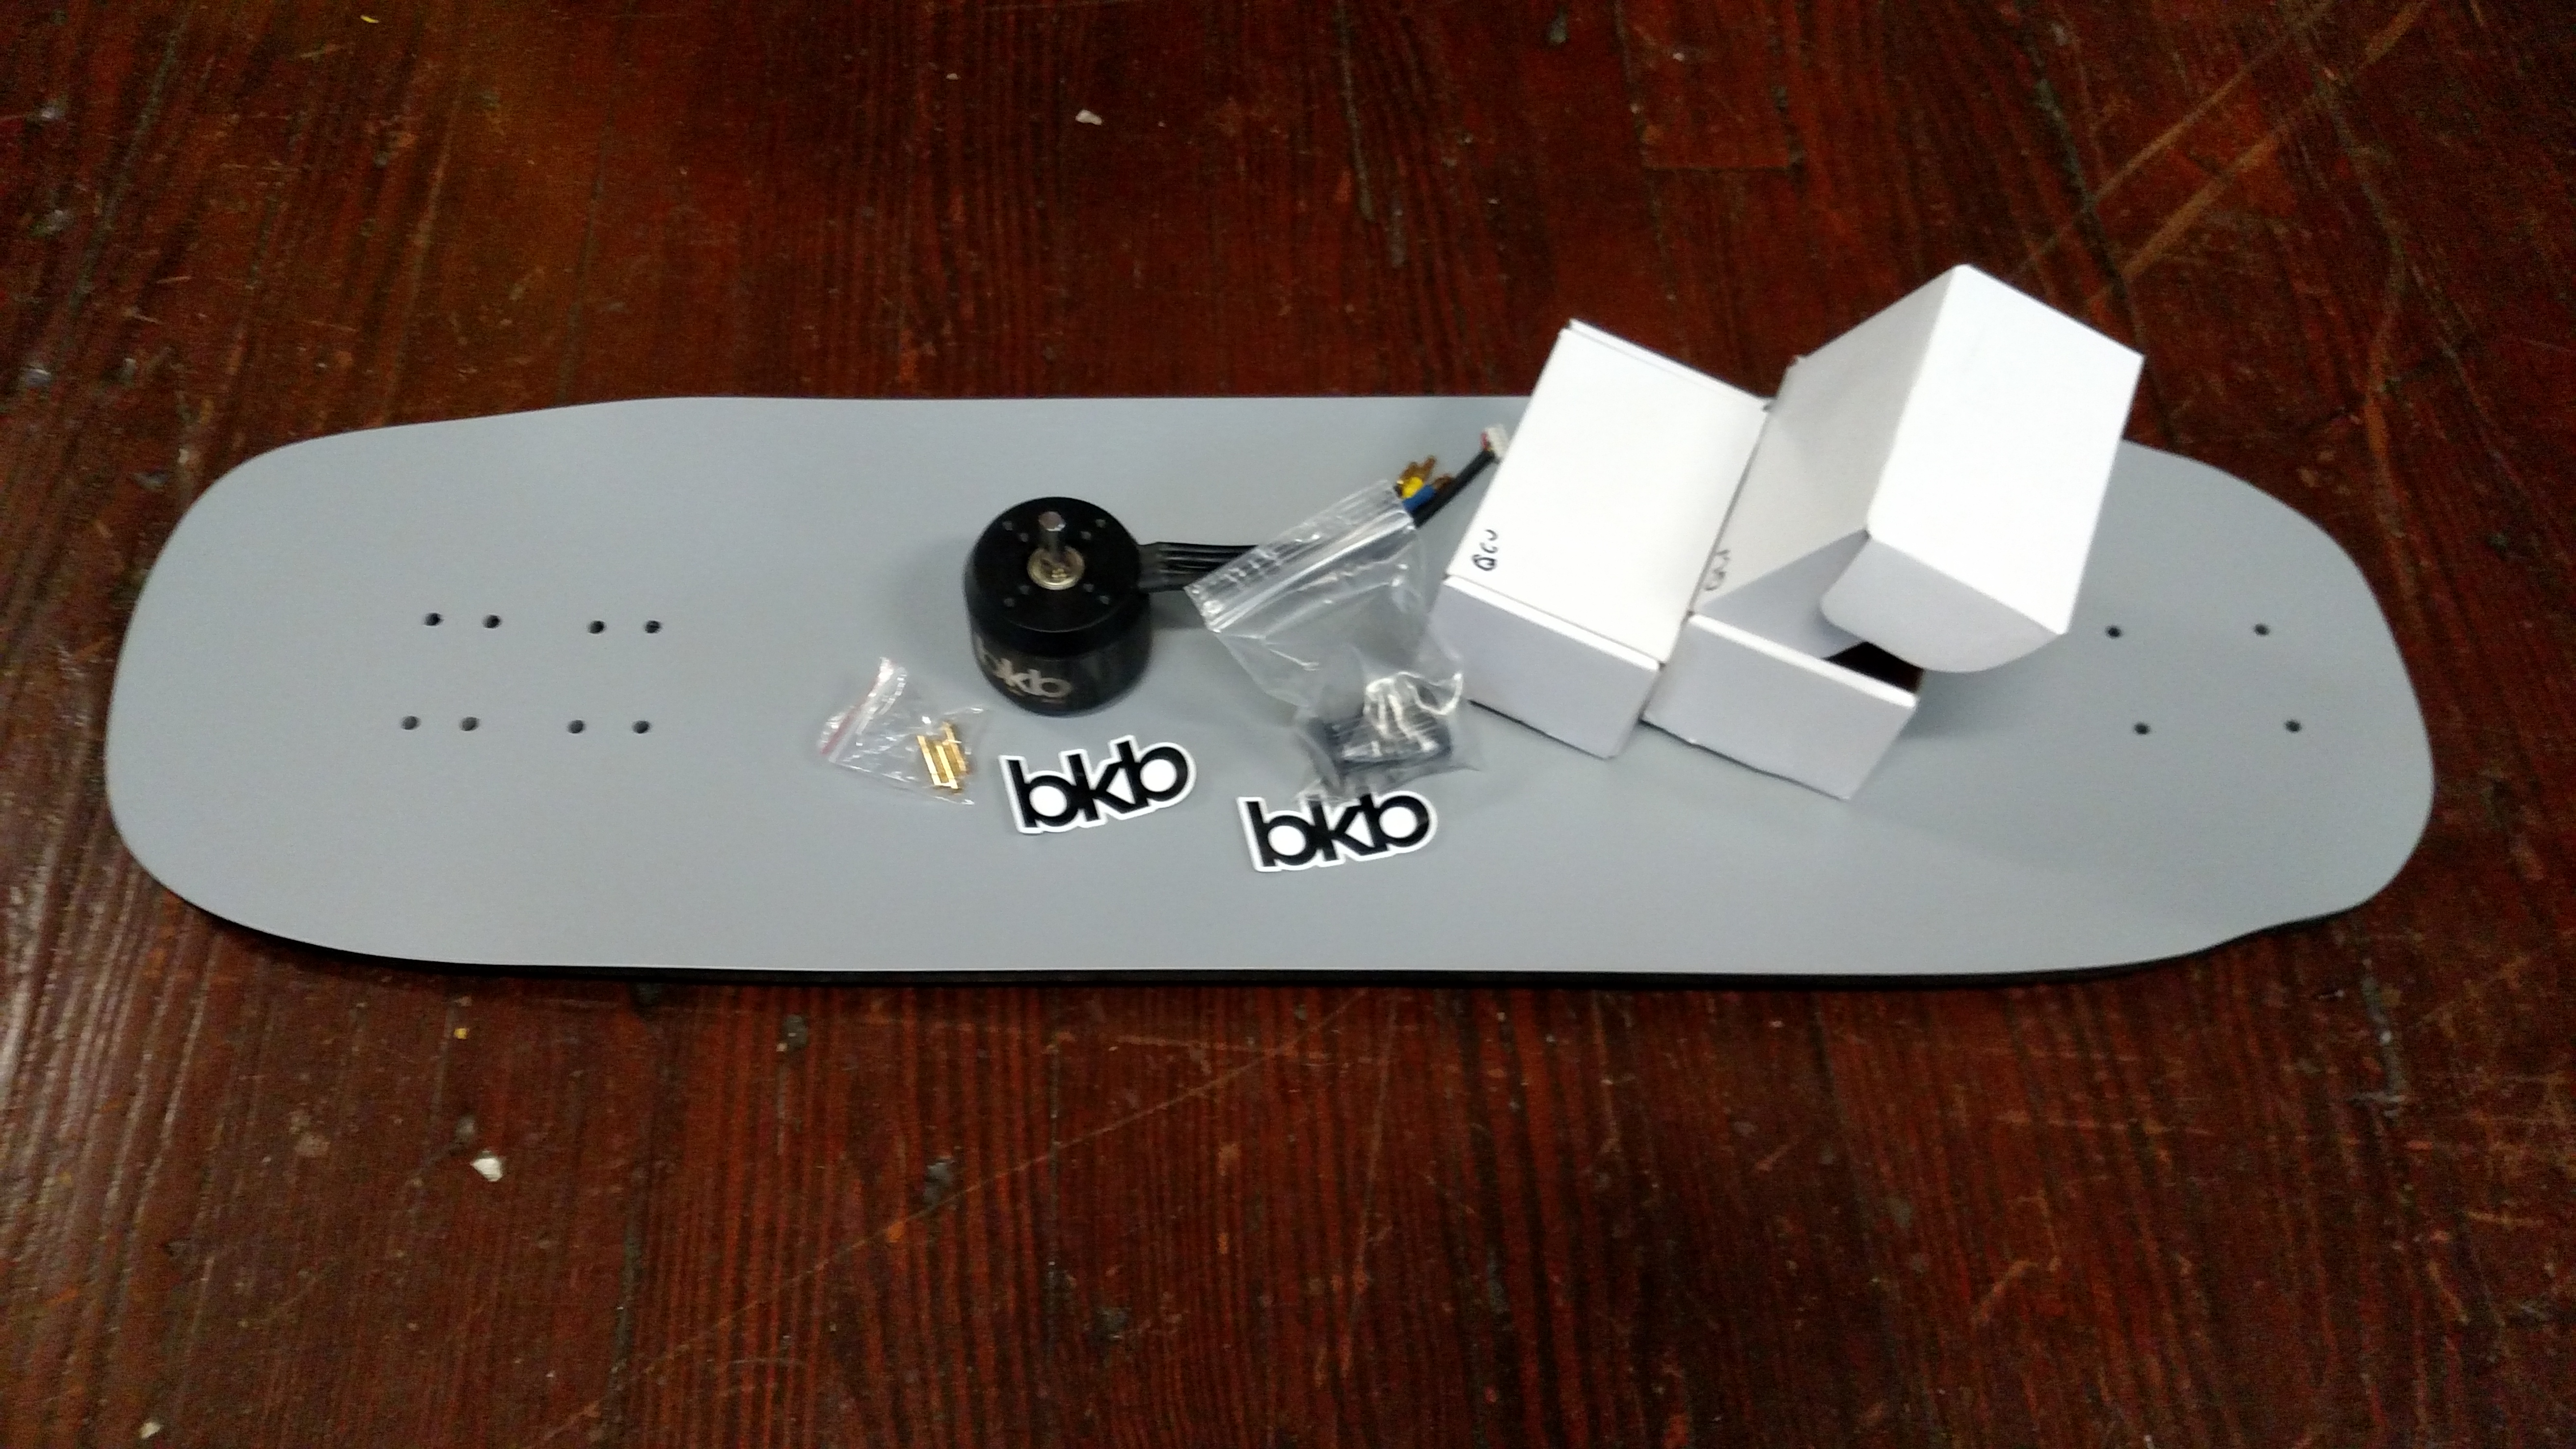
The Parts
All in all, after I got the parts it didn’t take too long to assemble it. I got the deck from Jared back in December. It was pretty hard just staring at that deck for months without anything to put on it.
I got the 10S3P battery and knuckles enclosure from @Psychotiller in February .

After that I got the raptor hubs.
I had two Focbox’s for awhile that I bought from a friend and some Popocas from the black friday sale. I figured I’d use those on the front since Enertion doesnt know how to make a wheel for some reason and to limit the amount of garbage thane I’m riding.
The Build
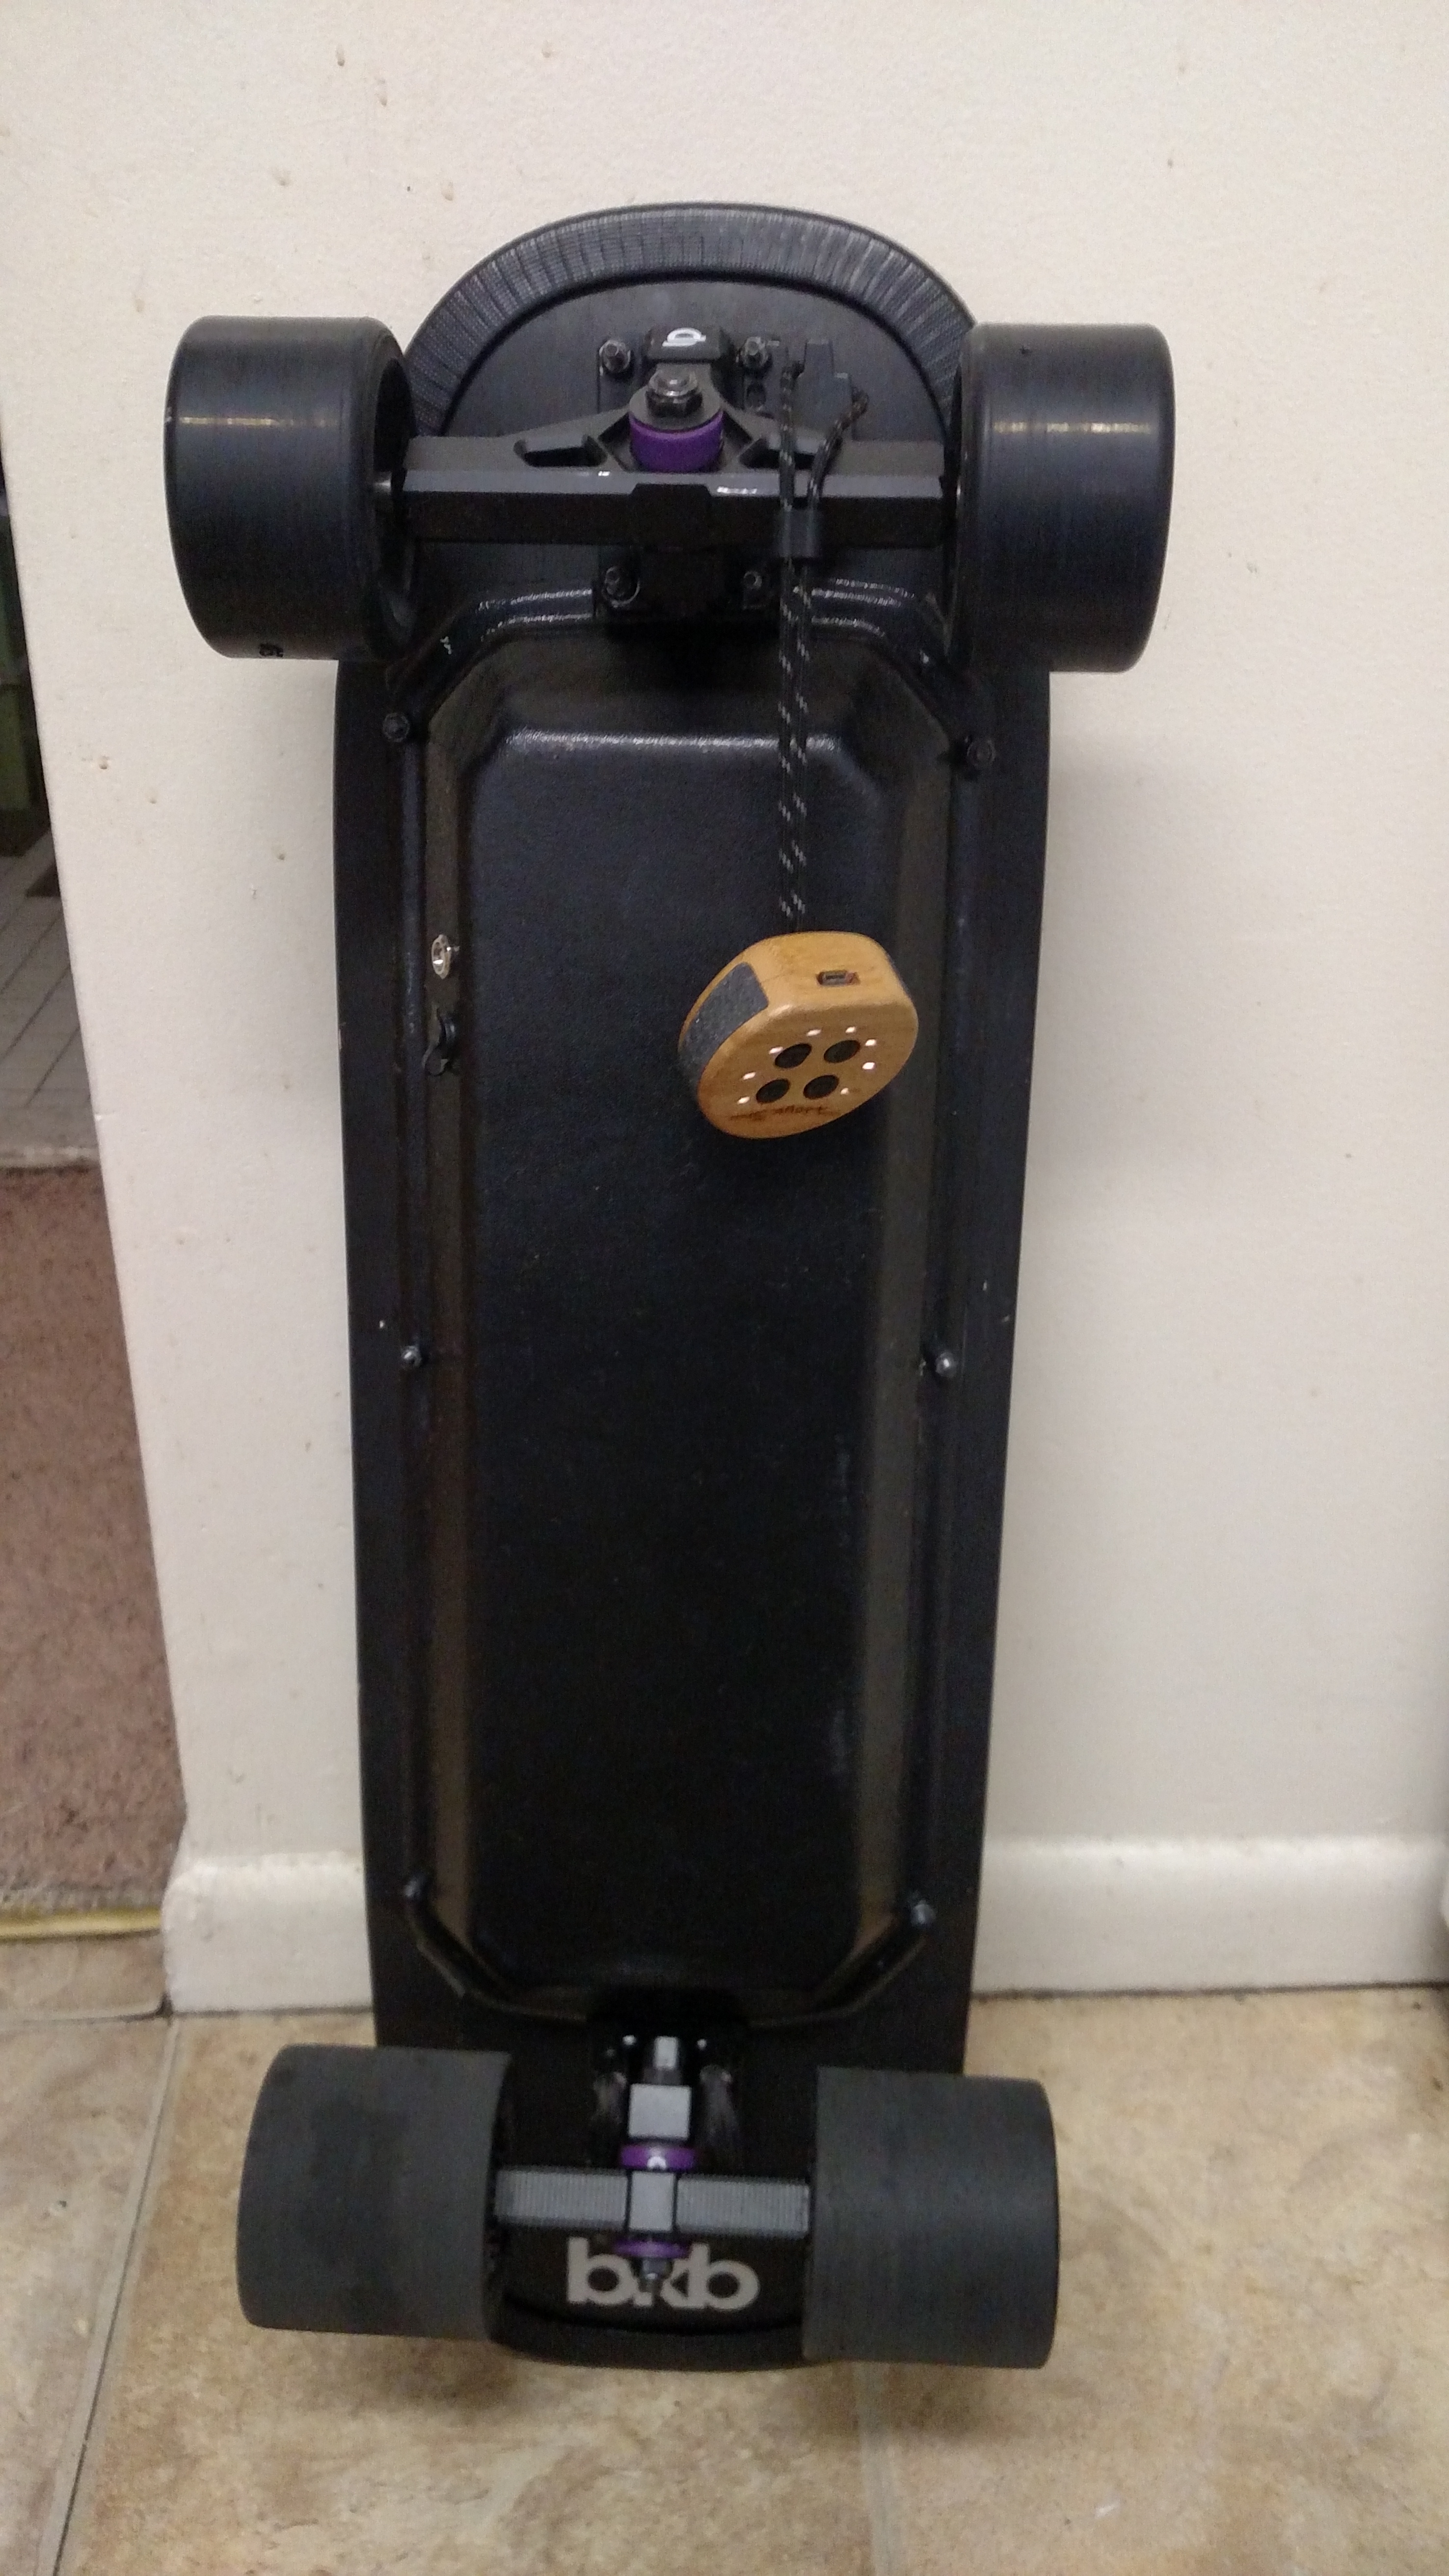
Since the Tayto deck for some reason as I mentioned earlier has the new standard bolt patterns, I tightened down a caliber 2 baseplate and used that as hole references. It came out fine. I shaved down the enclosure to so it could fit perfectly. With no motor mounts to worry about getting in the way this came out sweet. The only issue was that I needed to use 1/2" risers to get it to not rub while leaning as these motors are thicc bois. It’s not too high off the ground and still feels safe so whatever.
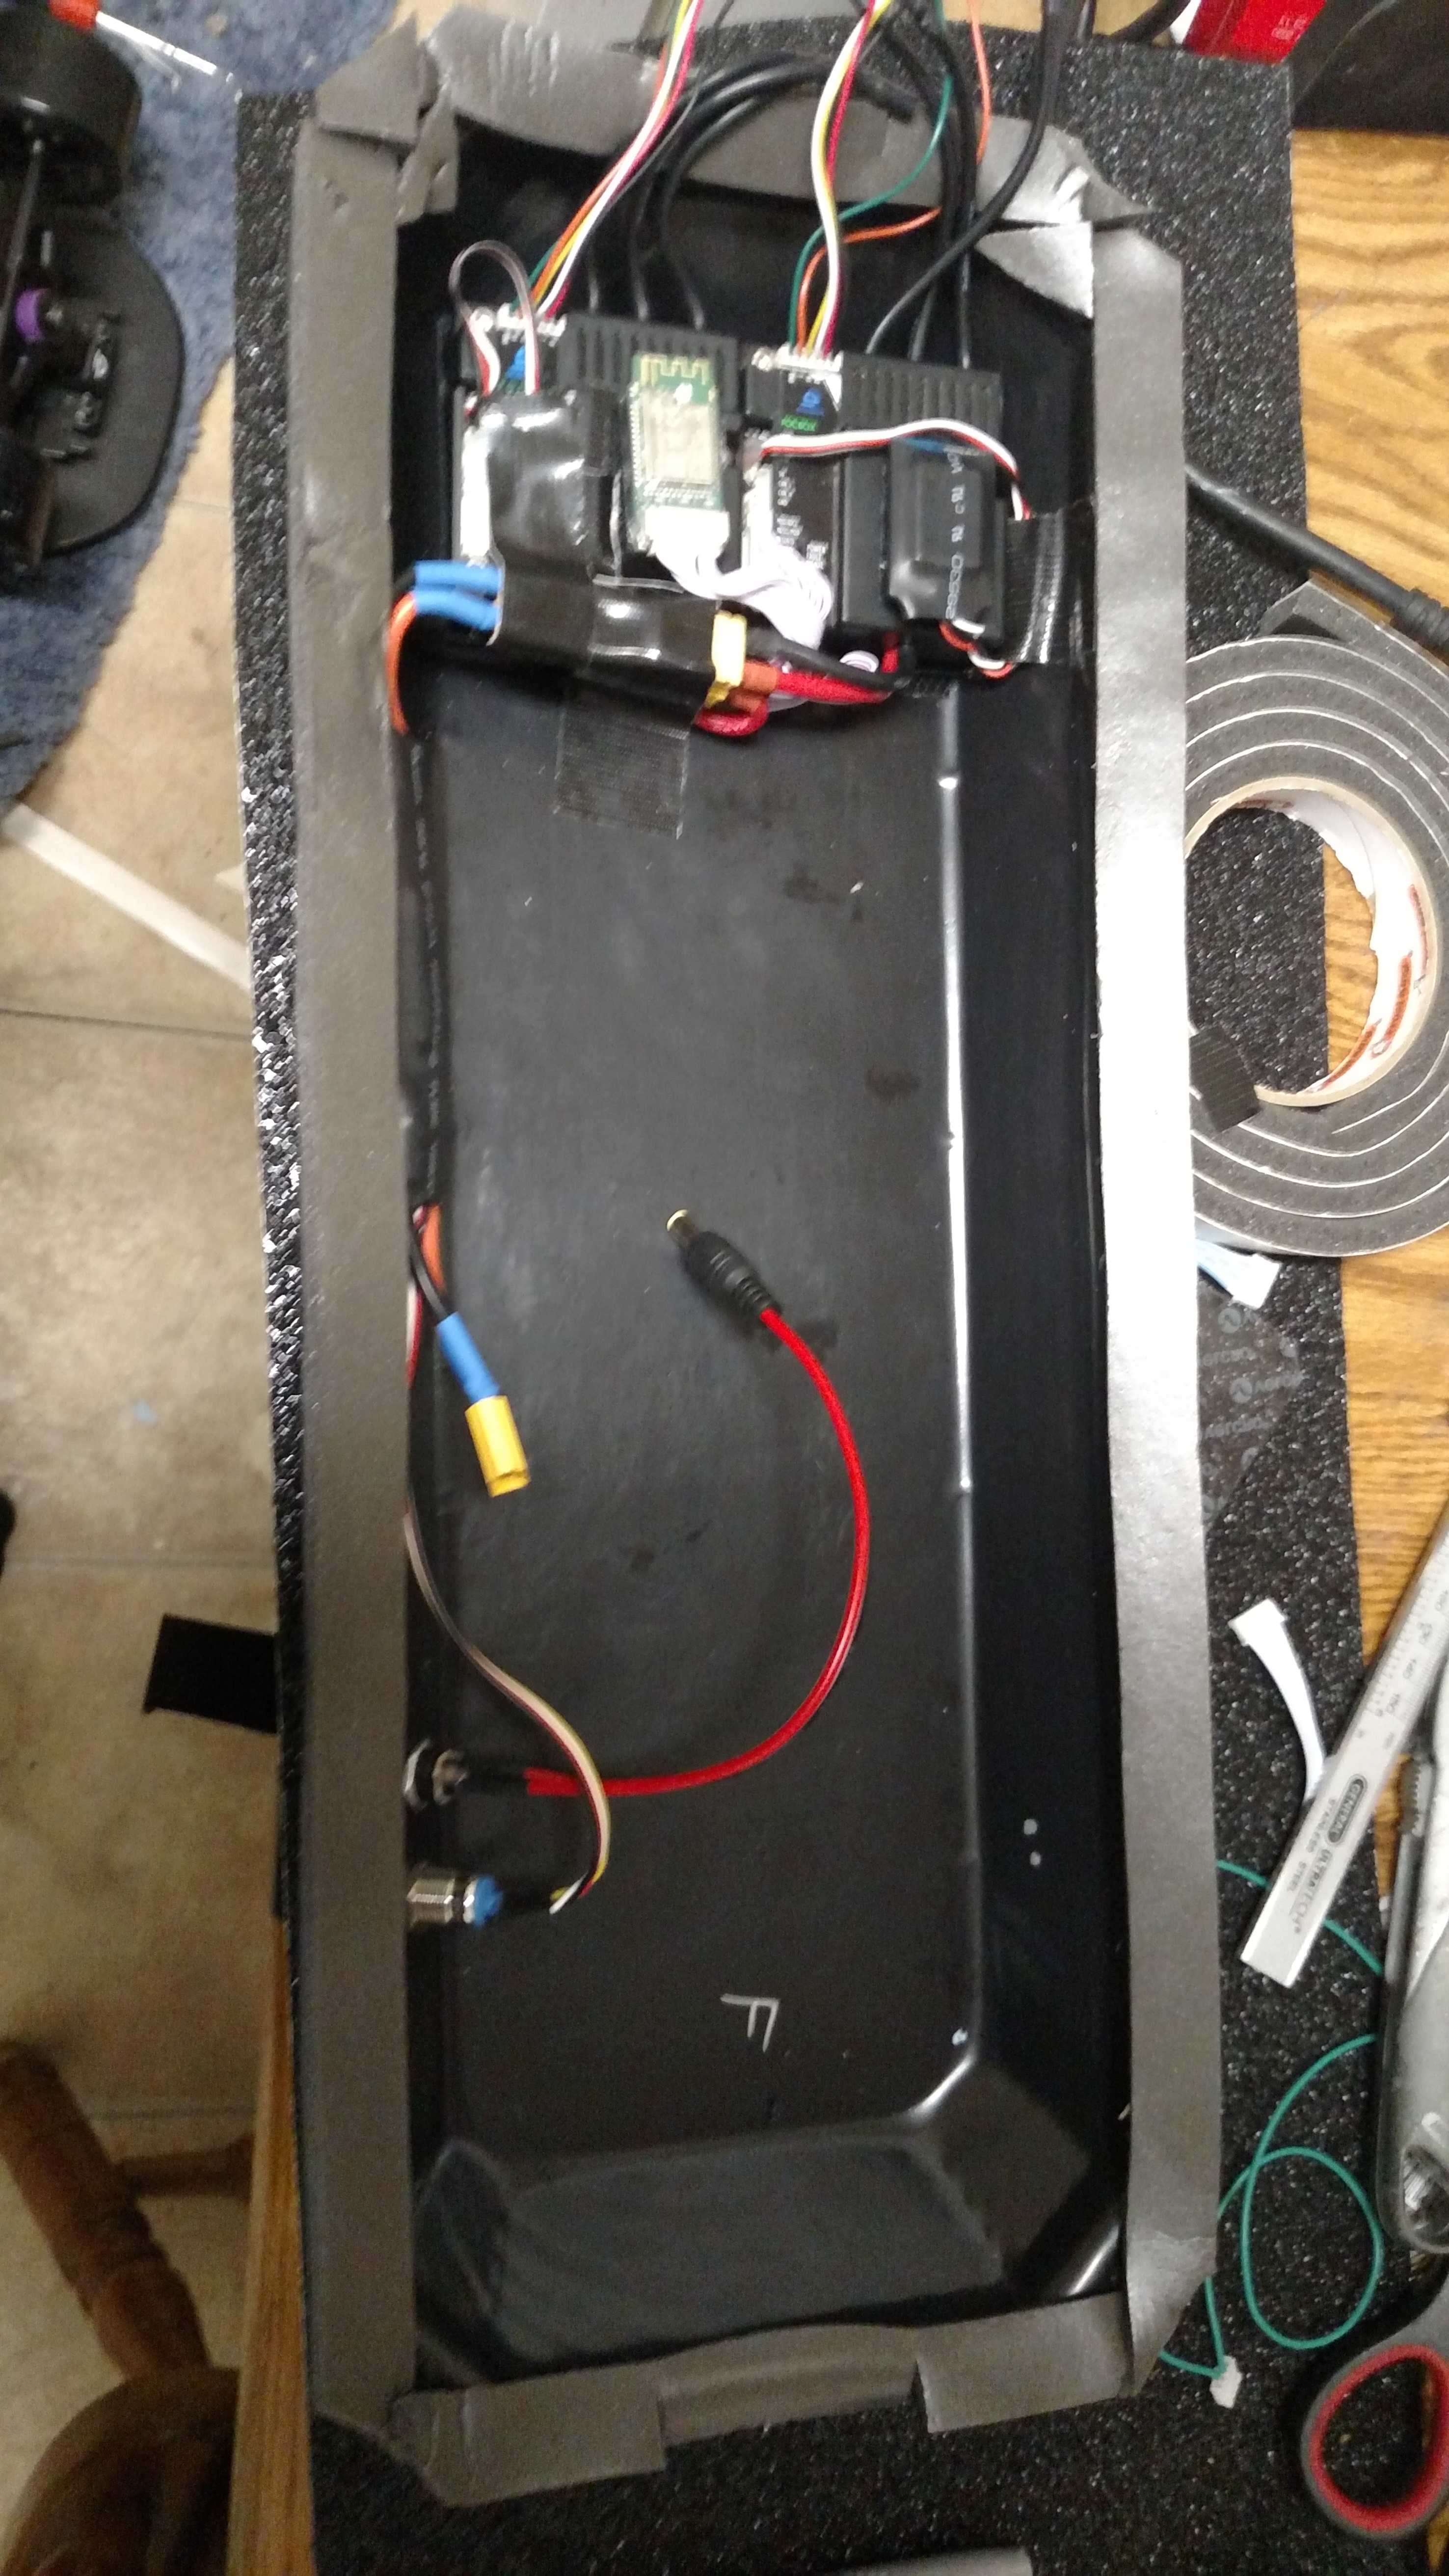
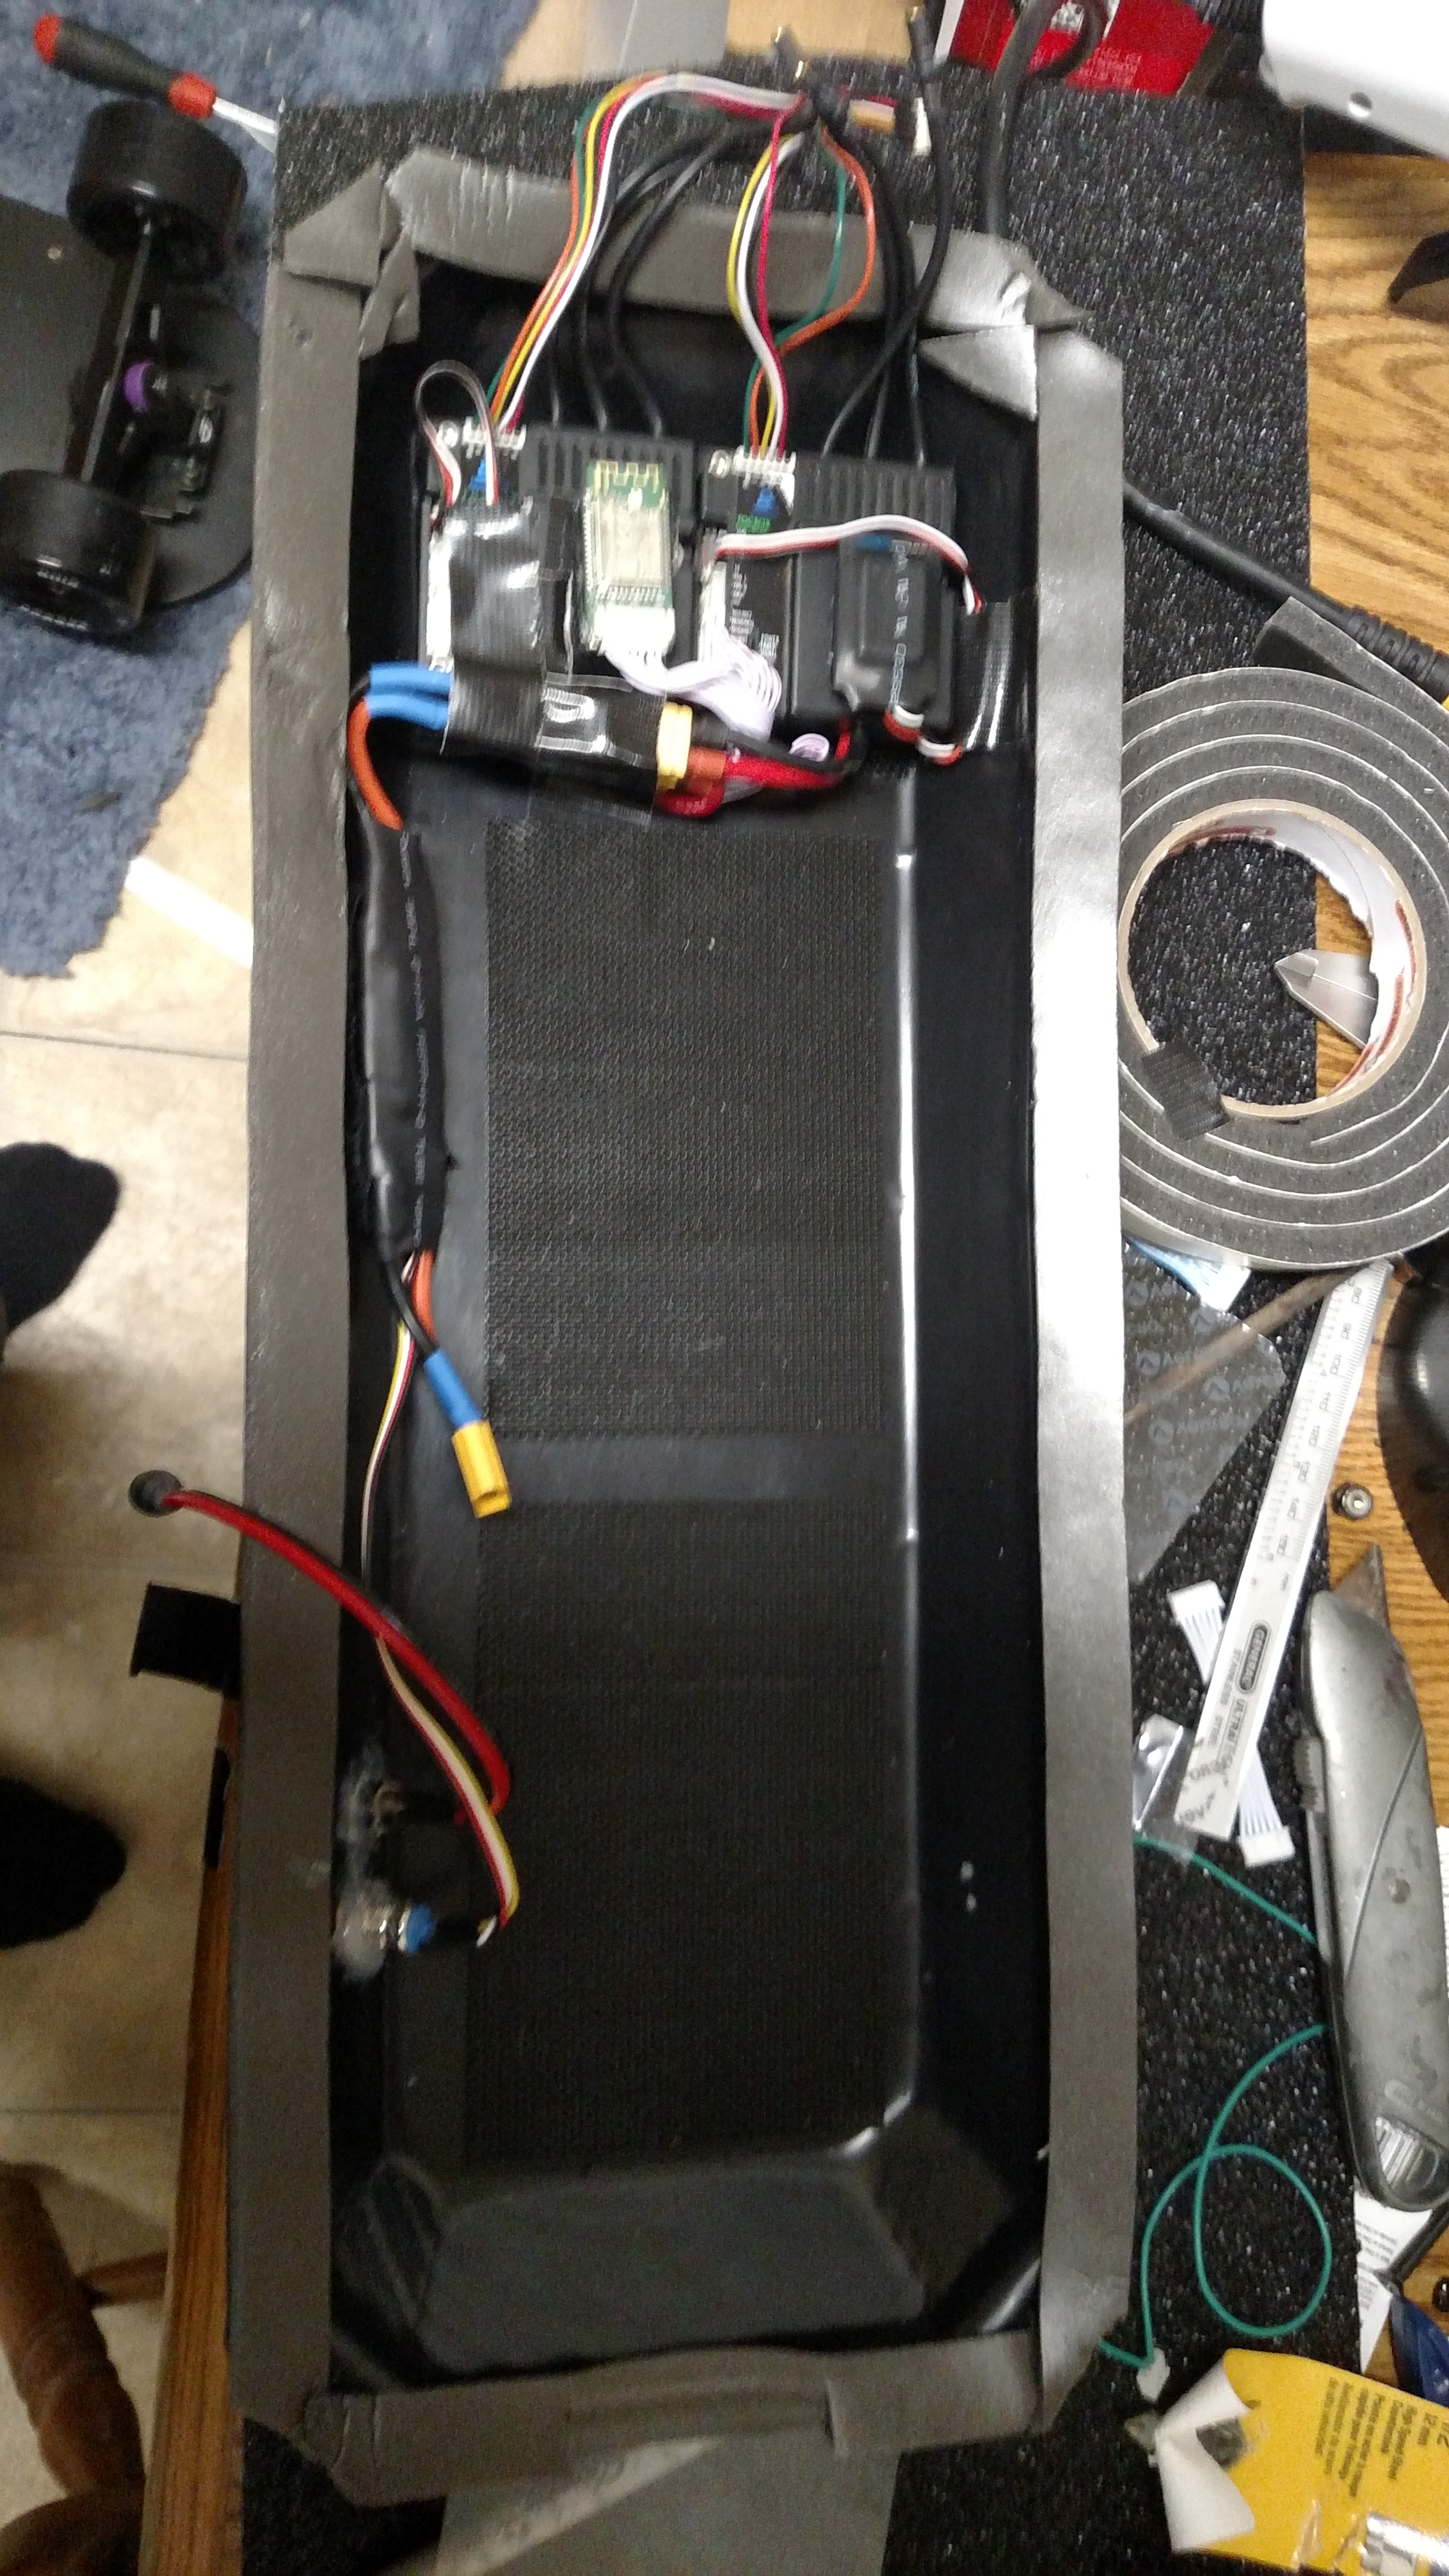
After that lined up the enclosure which was super easy as I filed down the top and bottom so that it fit perfectly within the raptor base plates. Drilled the holes and then started getting stuff in the enclosure. I decided to put everything in the enclosure itself. I know a lot of people are against it but w.e I like it that way and its bolted through the deck. It’s not going anywhere. Also I used industrial strength velco to hold everything inside. It can hold up to 15 pounds so I think a battery and 2 focboxs are within its abilities. I used some frost king window sealer foam to kinda weatherproof the enclosure. I’ll RTV it sooner or later.
Now I remember asking @Psychotiller if his 10S3P pack would fit with dual focboxs and he said “Plenty of room”. Man was he not kidding! It was super easy to get this all to fit nicely.
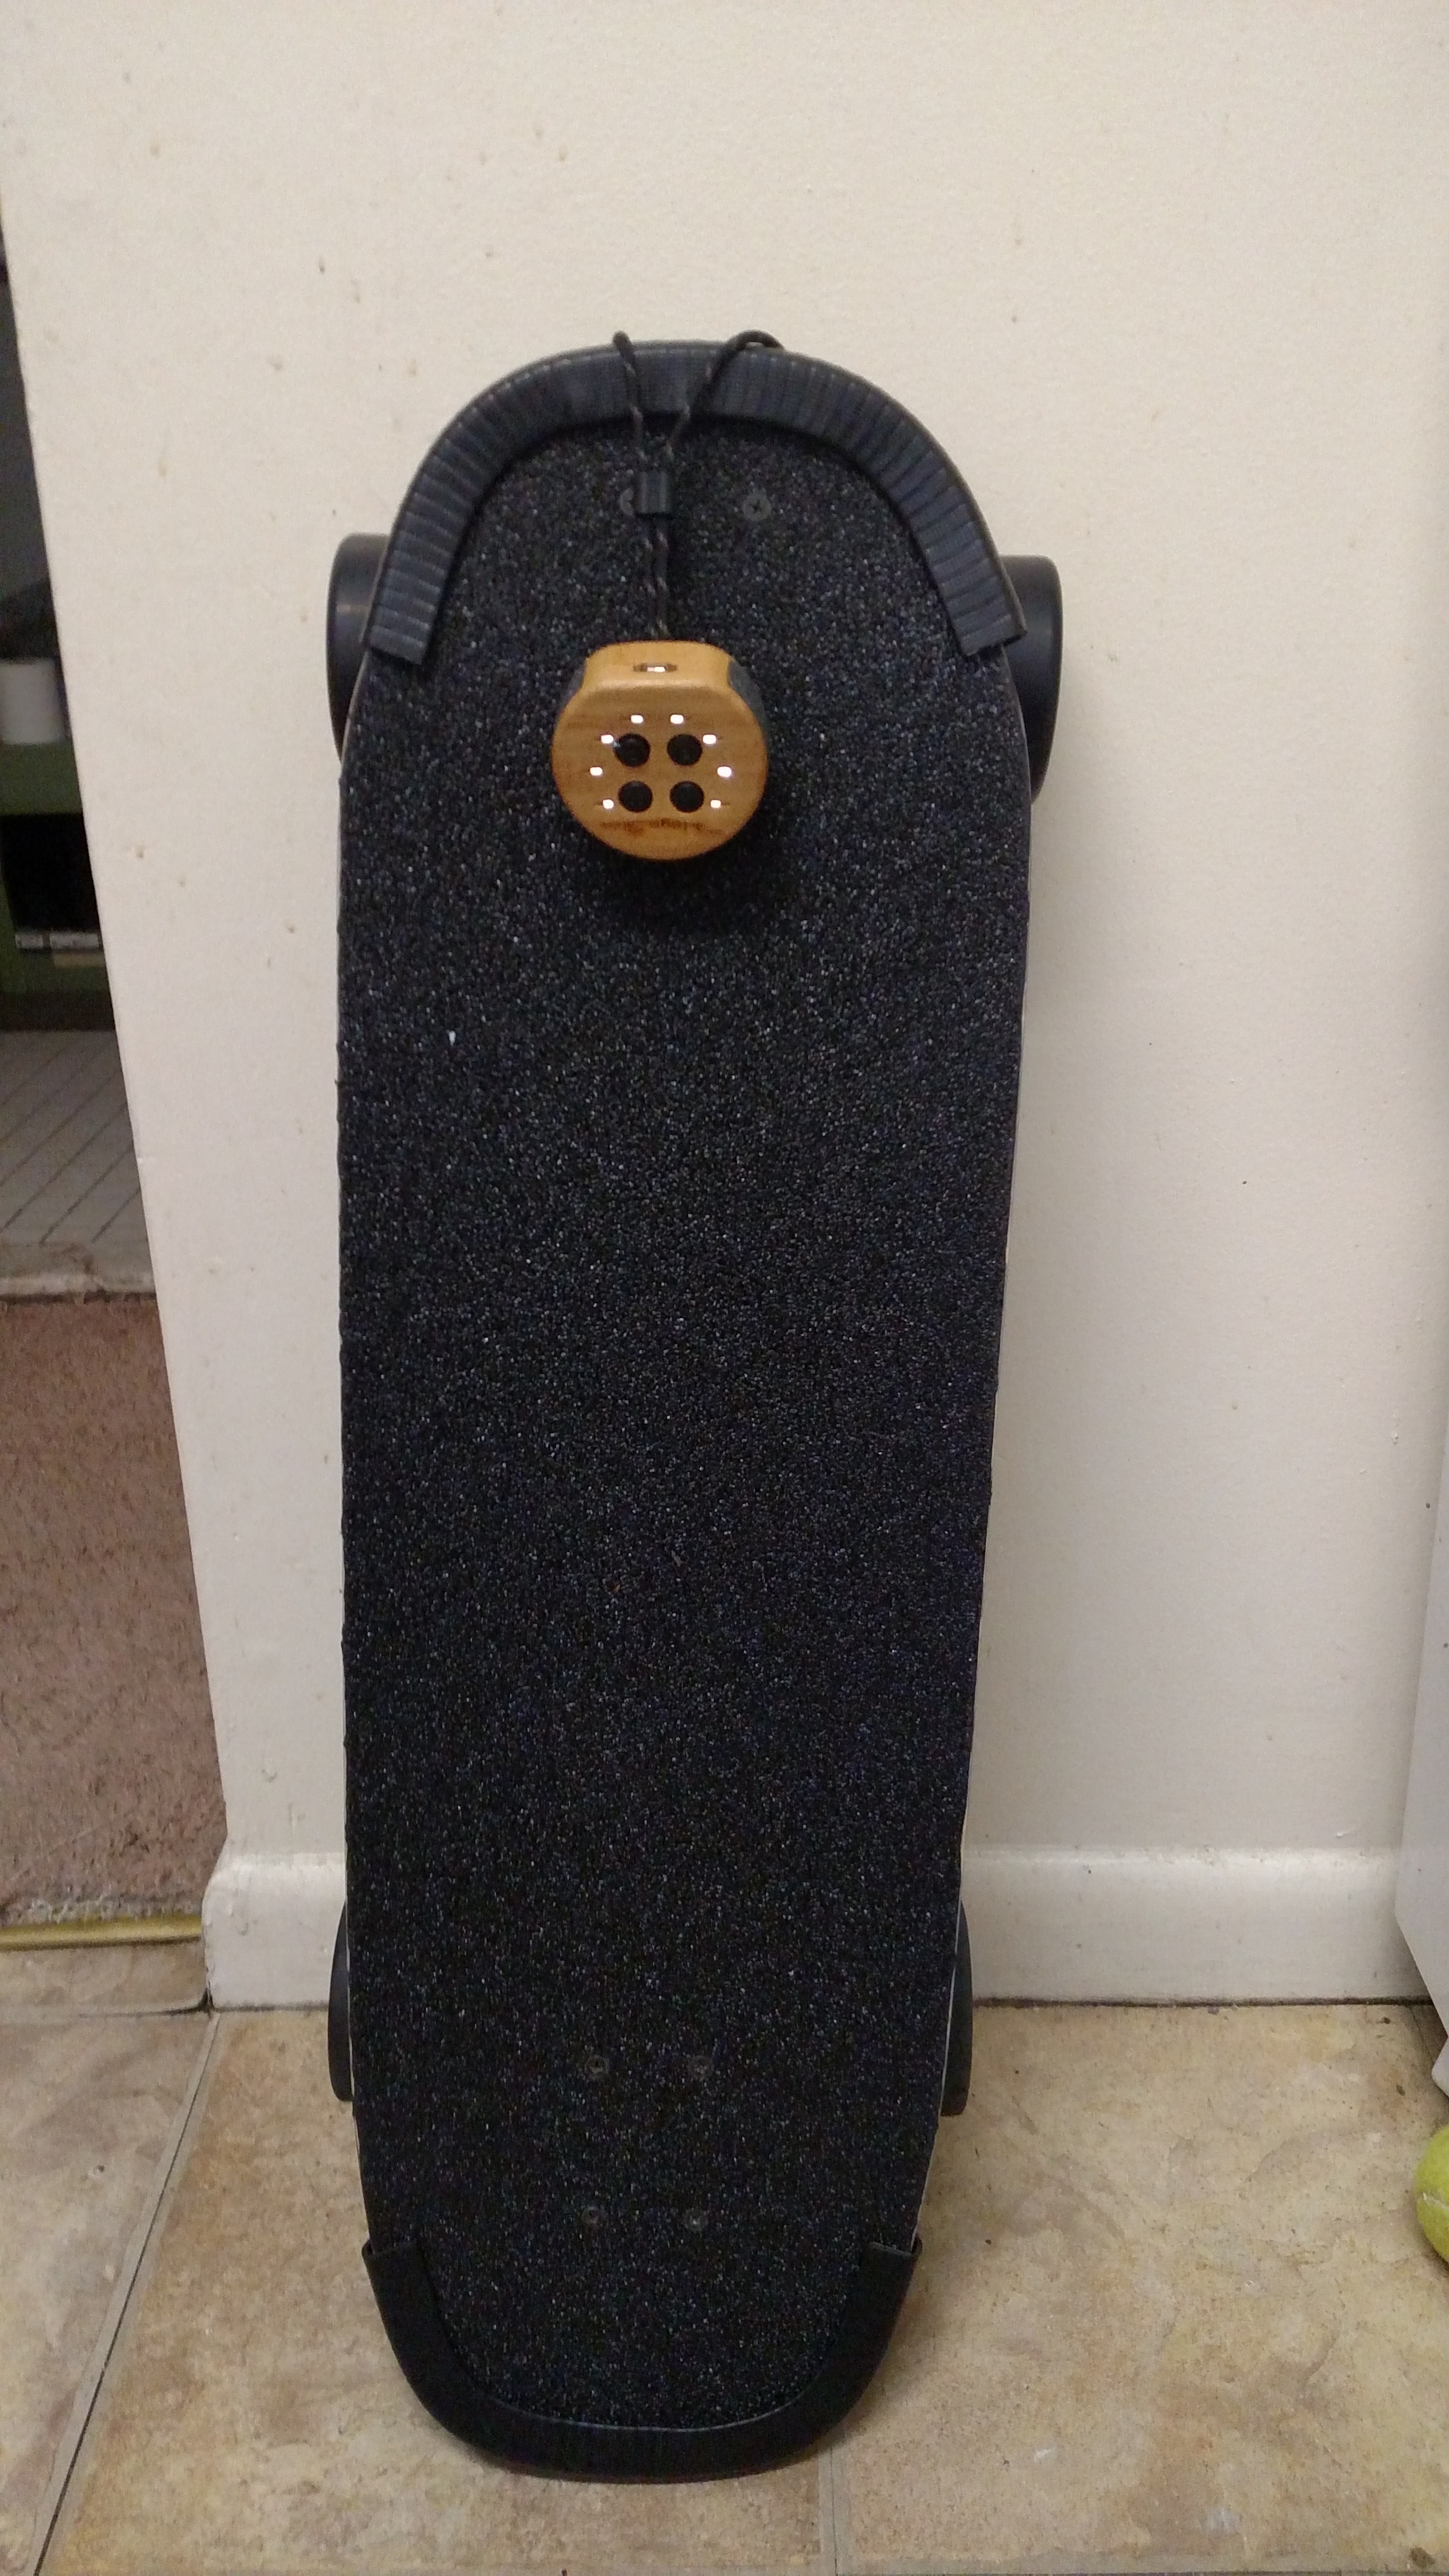
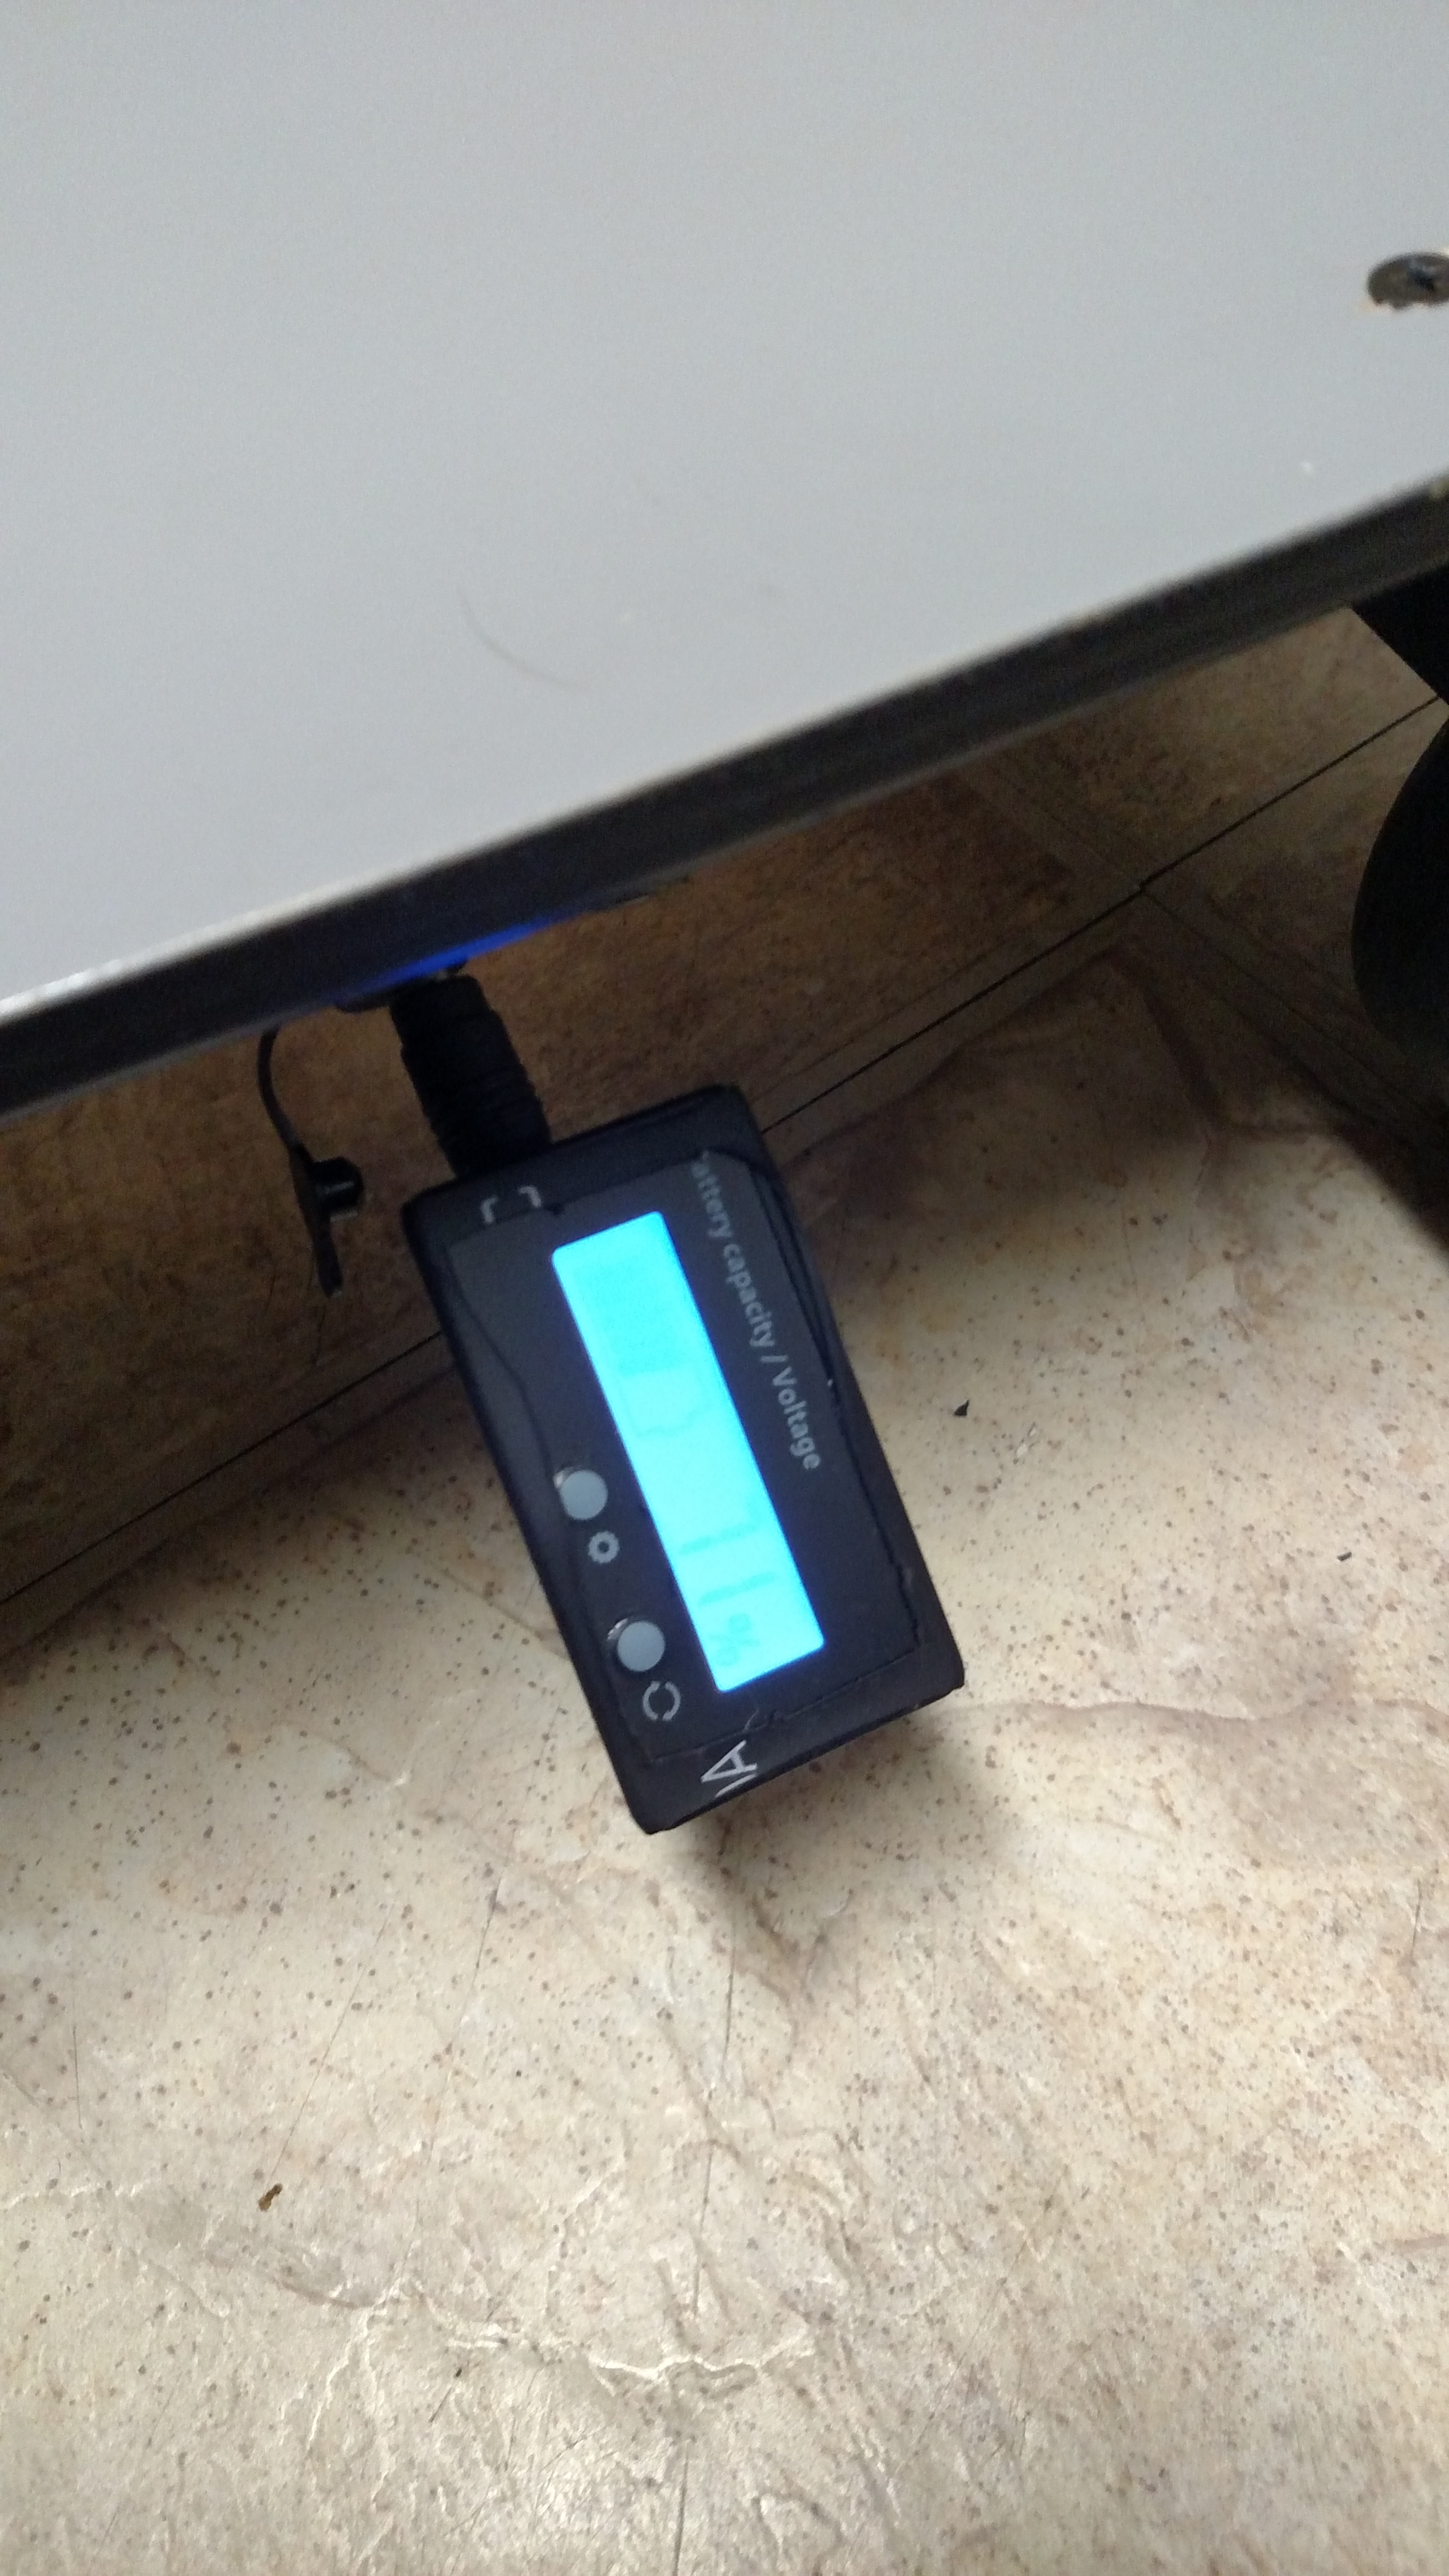
For this build I decided I didn’t want to drill the enclosure for a voltmeter and decided to do what @b264 does and made a portable one. It’s awesome and I loved not having to drill another hole in my enclosure too.

Vesc Tools

The next part was setting up the vesc’s. I ran into an issue half way through though running hall detection. Like the jack ass I am I wired the jst connector upside down. I had the pins reversed, so I had to redo those. Re-ran detection and BINGO! I was done or so I thought and went to bed. The next morning after I tightened up the enclosure the damn sensors were all fucky again so I hot glued them in place not a single issue since so far…
That’s it I guess?
I finished the board up today gripped it and took it for a ride. Even on 10S3P these hubs got balls. So much power on this little board it pops a wheelie on mode 3 of my hoyt puck haha. This might also be because I only weigh 130lbs too. My overall impression with the board is it defeintly checked all the boxes of what i was looking for in a commuter/portable board. The only issue is the hubs are about as hard as Jason was when he put heatsinks on trucks. Either than that yeah this board kicks ass.