I didn’t think twice.
I constantly buy two or even four sets of wheels for my push boards just so i can do miss match wheels.
Don’t see it in esk8 much tho.
Maybe if we have more color options other than clones…
2 Likes
It’s 43.8V fully-charged ![]() or slightly more than 10S lithium-ion which is 42.0V
or slightly more than 10S lithium-ion which is 42.0V
1 Like
so i was prob thinking of a123 cells 
and maybe i also did my calculations incorrectly and mabye i used the nominal voltage
2 Likes
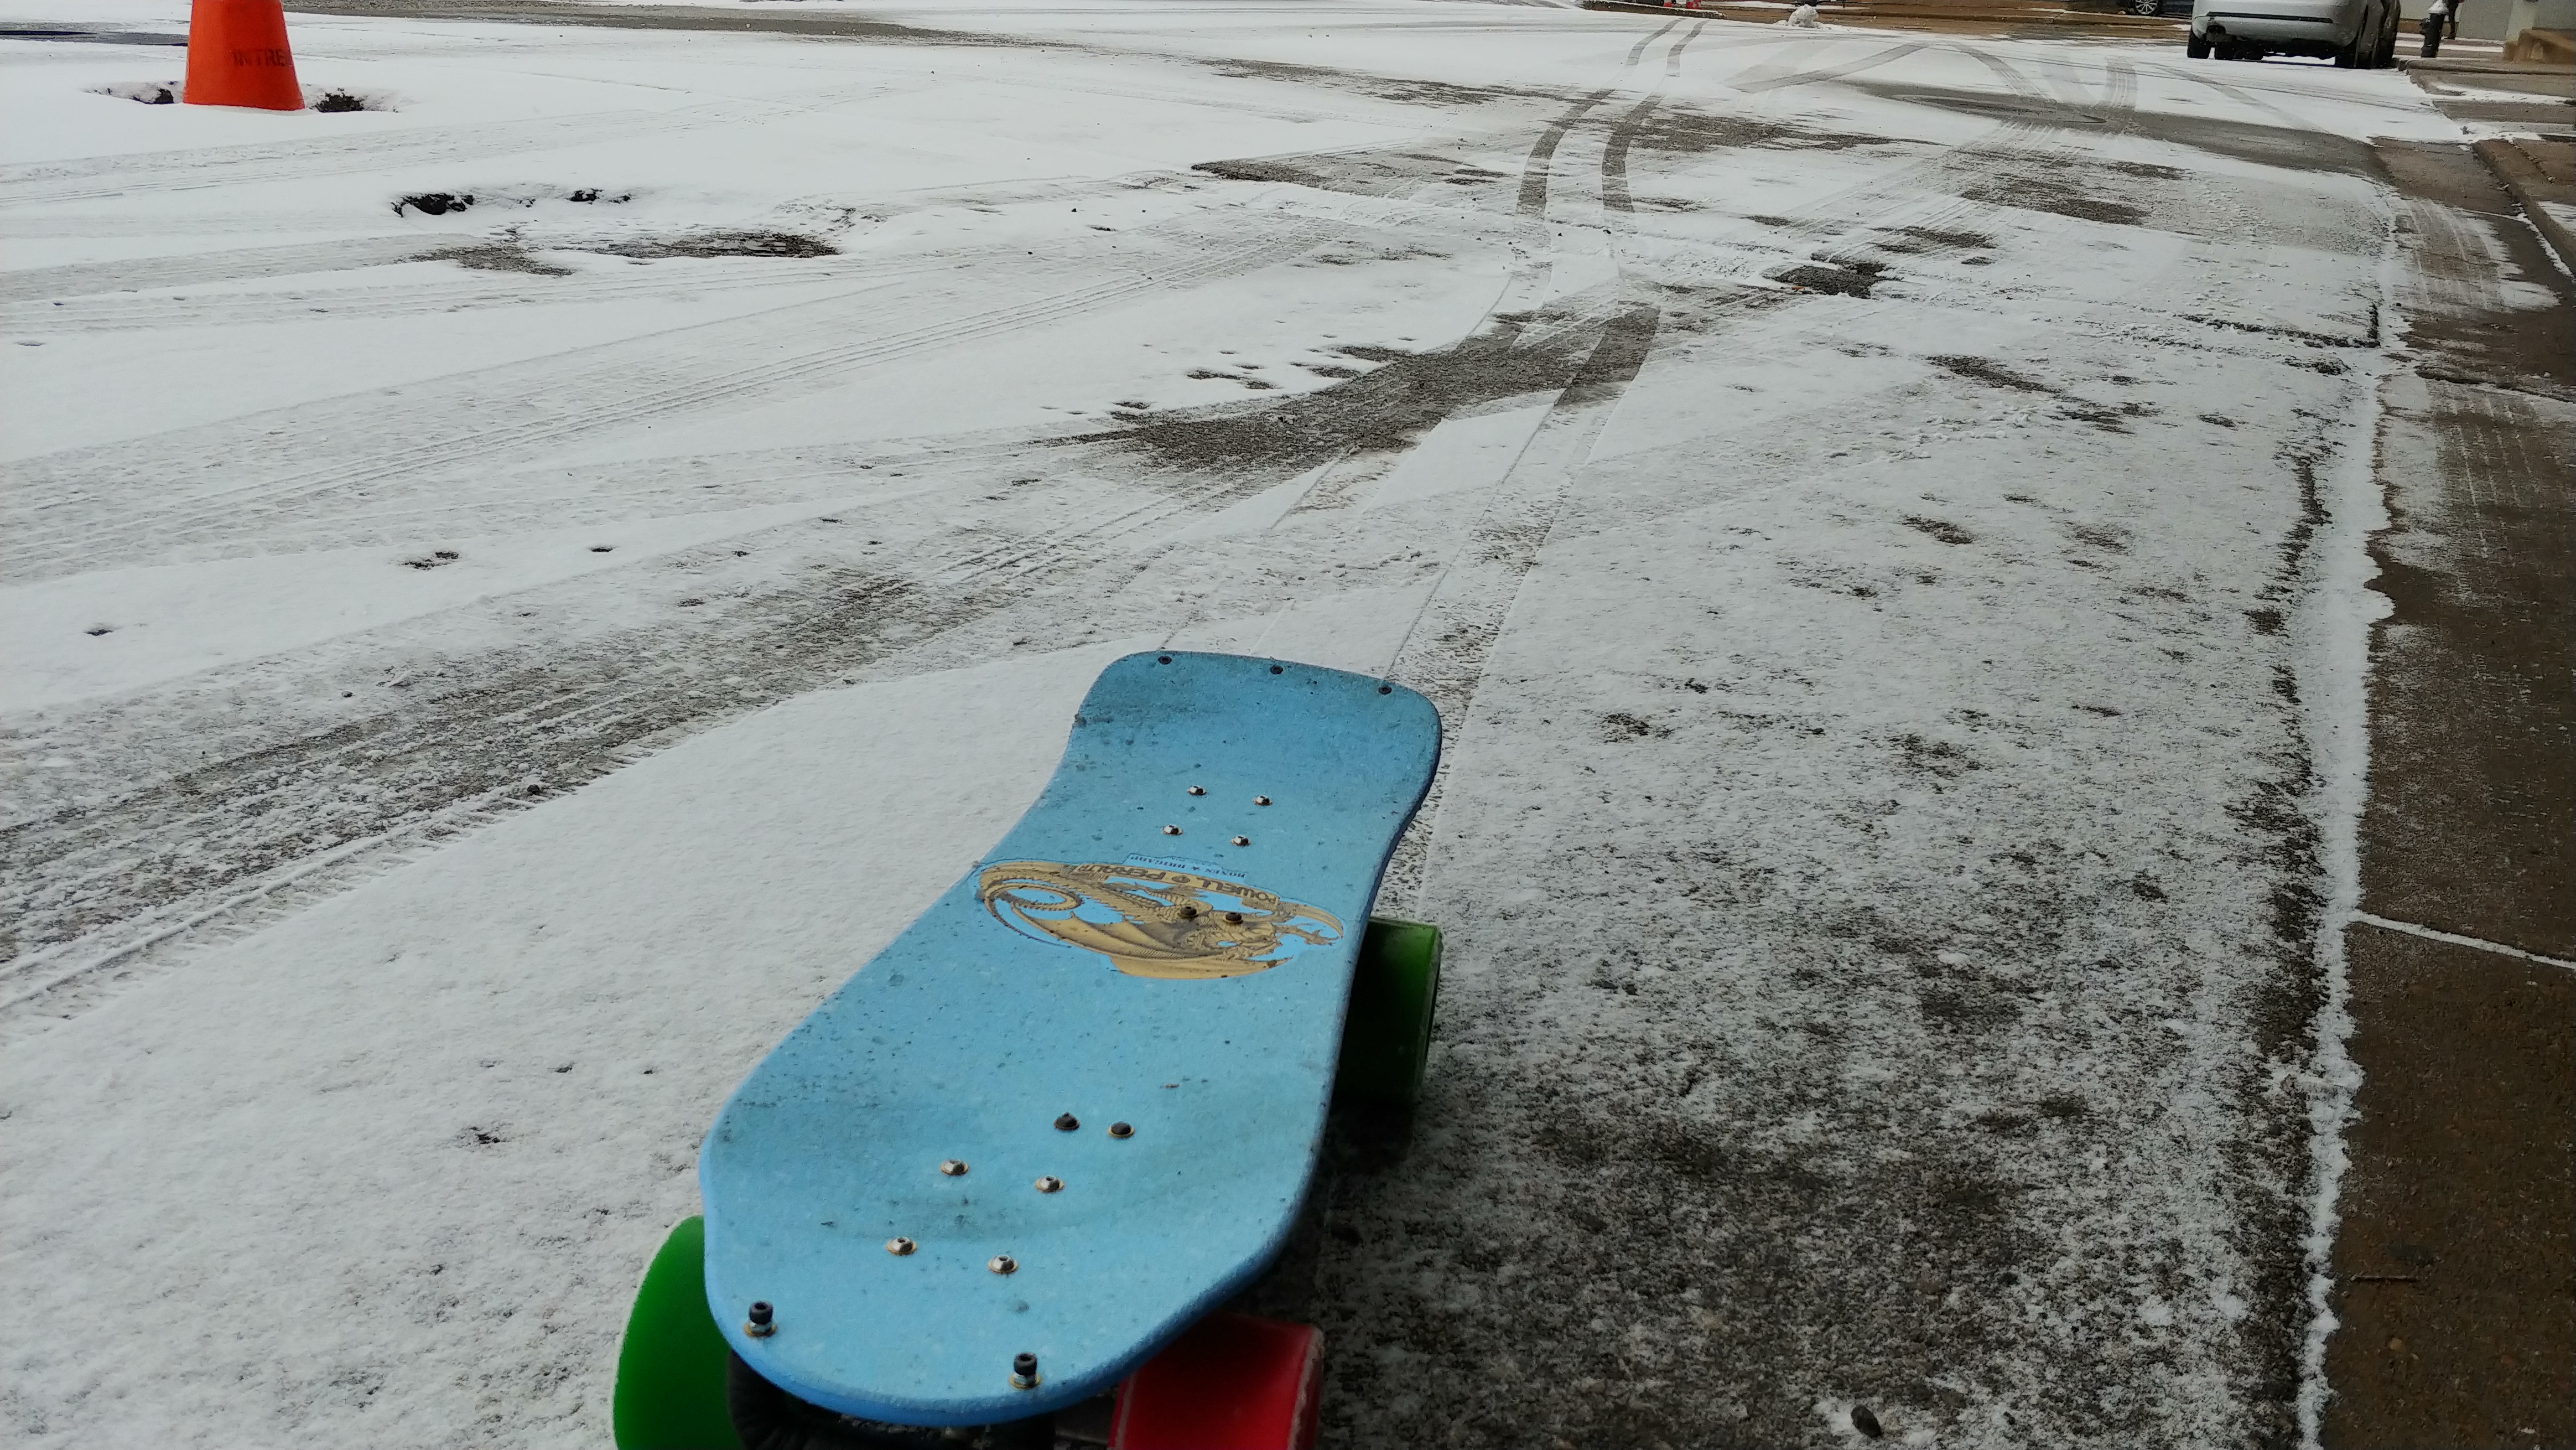
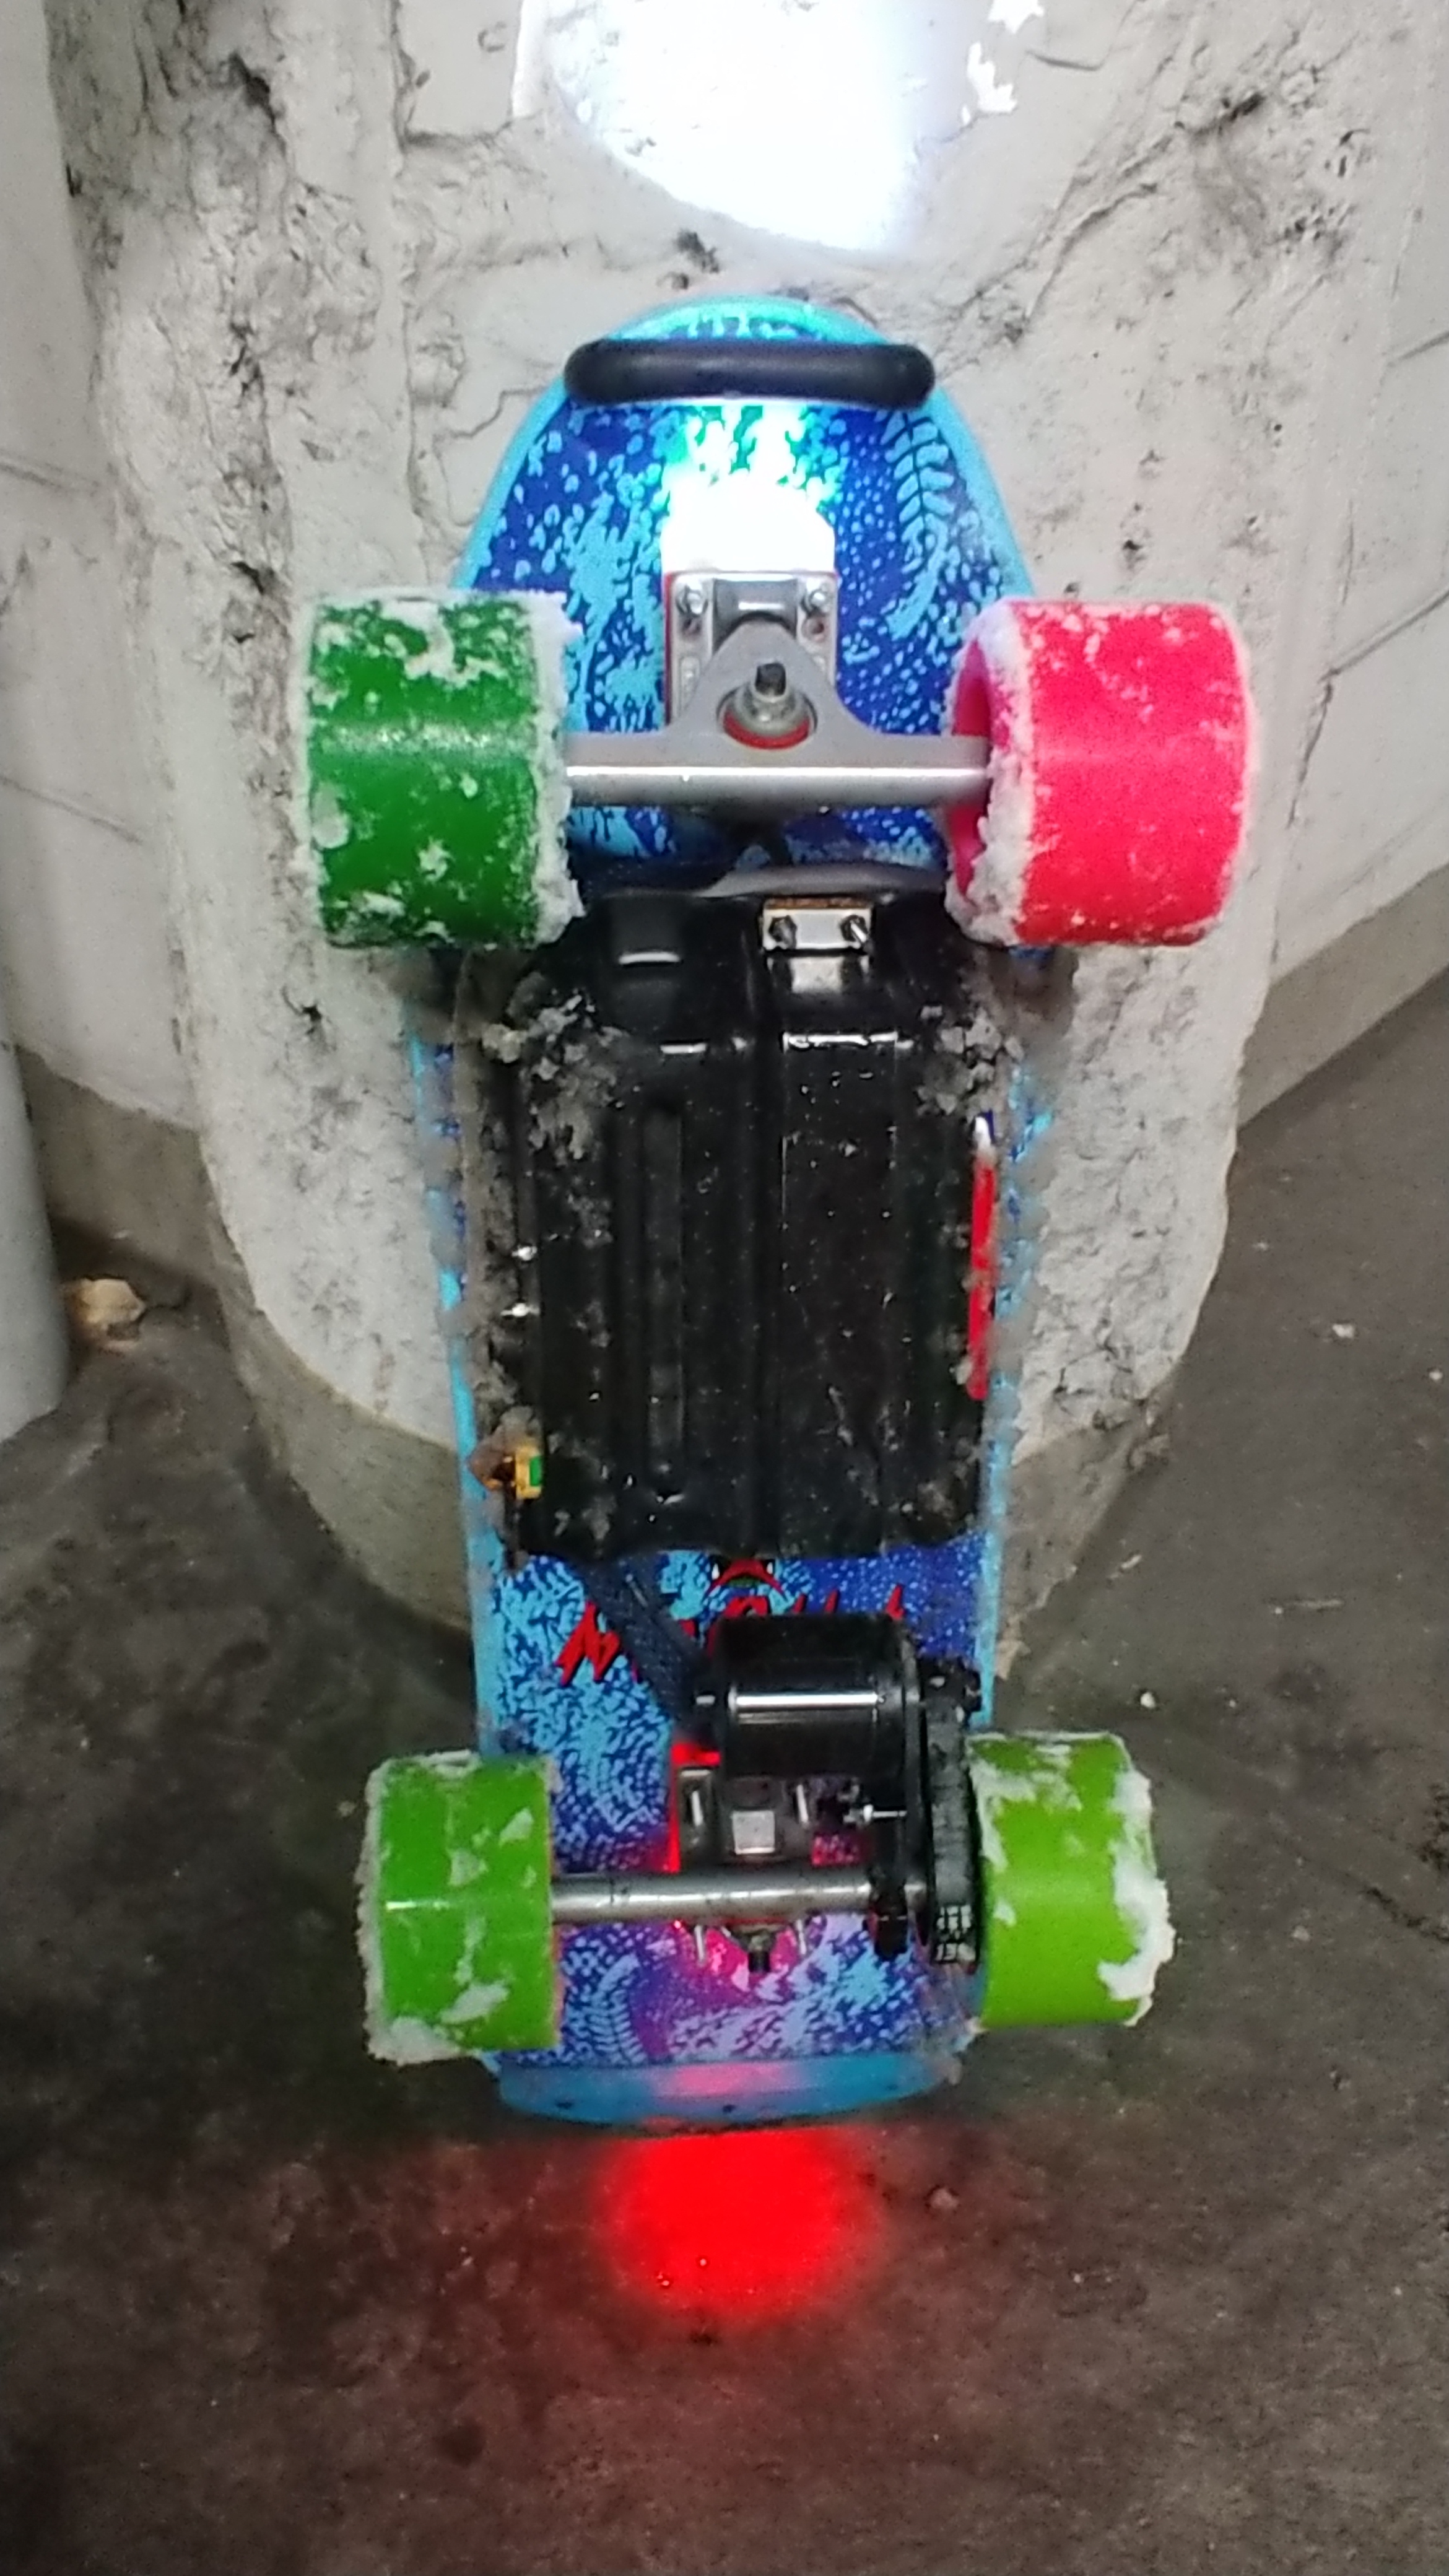
Already testing the waterproofing. When I go home there will be saltwater instead of snow. Honestly, I might rather have the snow. Unless it goes over 2cm thick.
6 Likes
Is it weird I’m jealous of your weather @b264?
This is what we got last night.
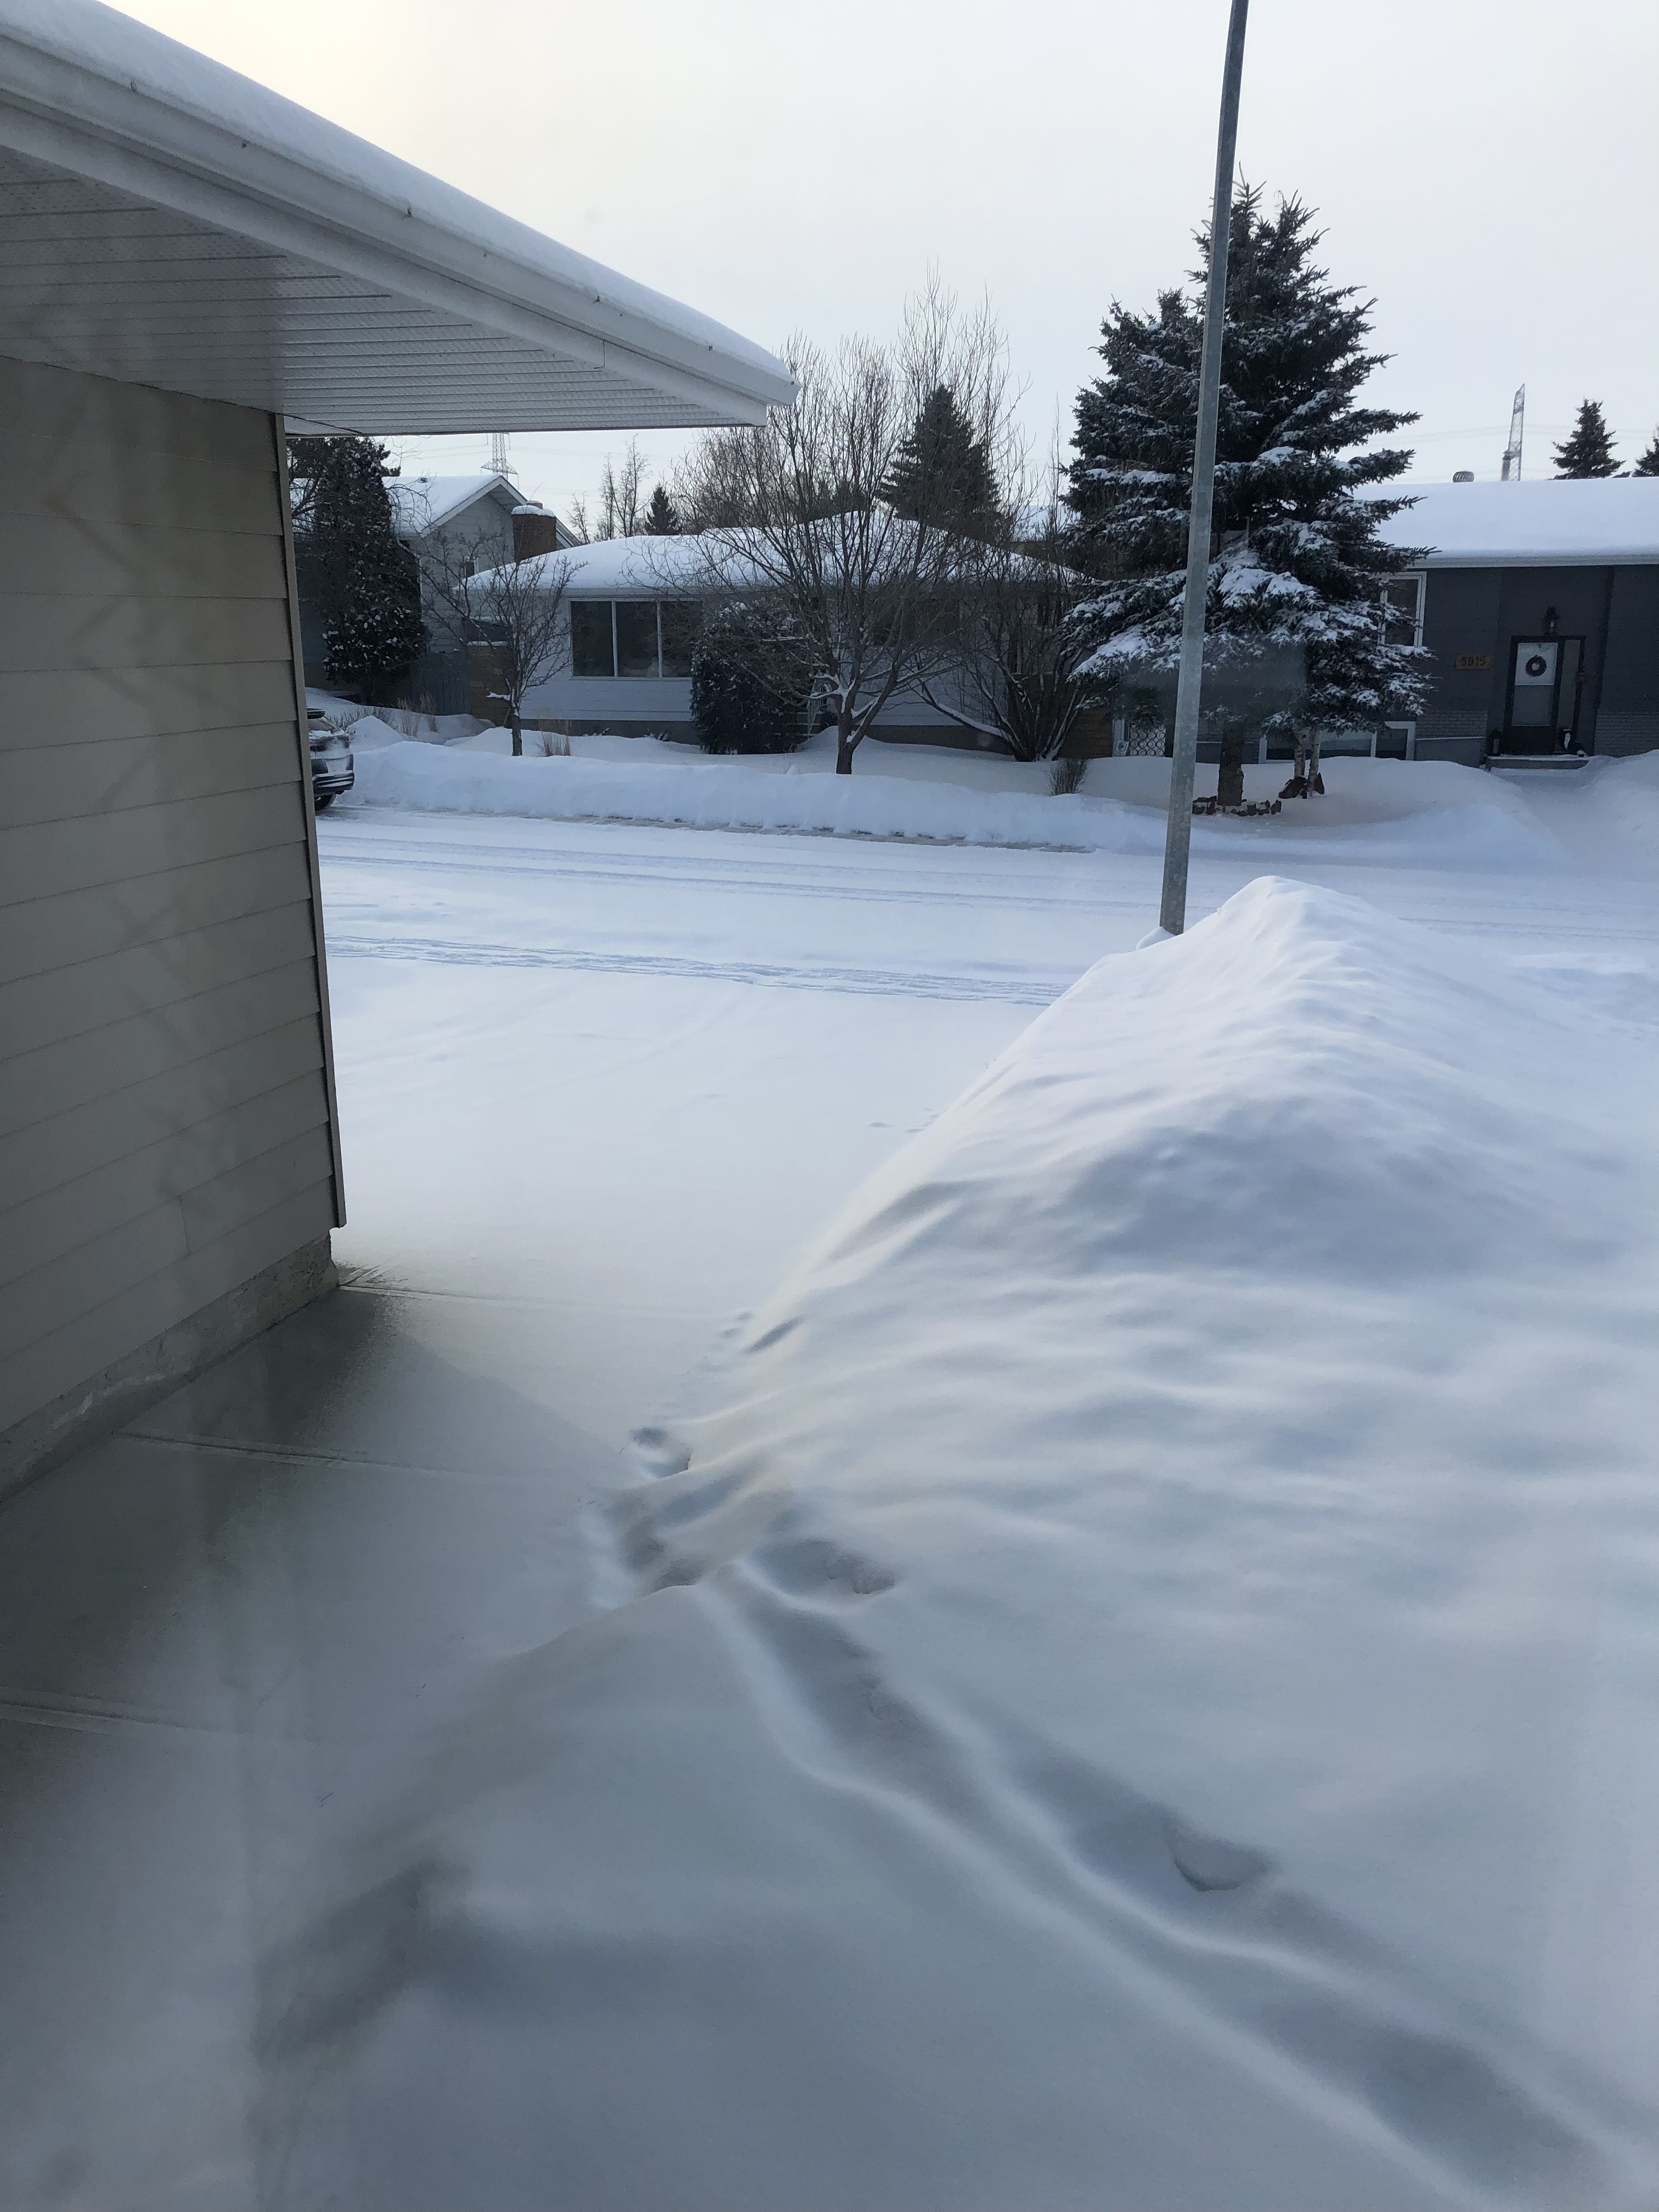
I probs won’t have that weather until April. And I don’t have a board waterproof enough for me to be comfortable riding in that. 
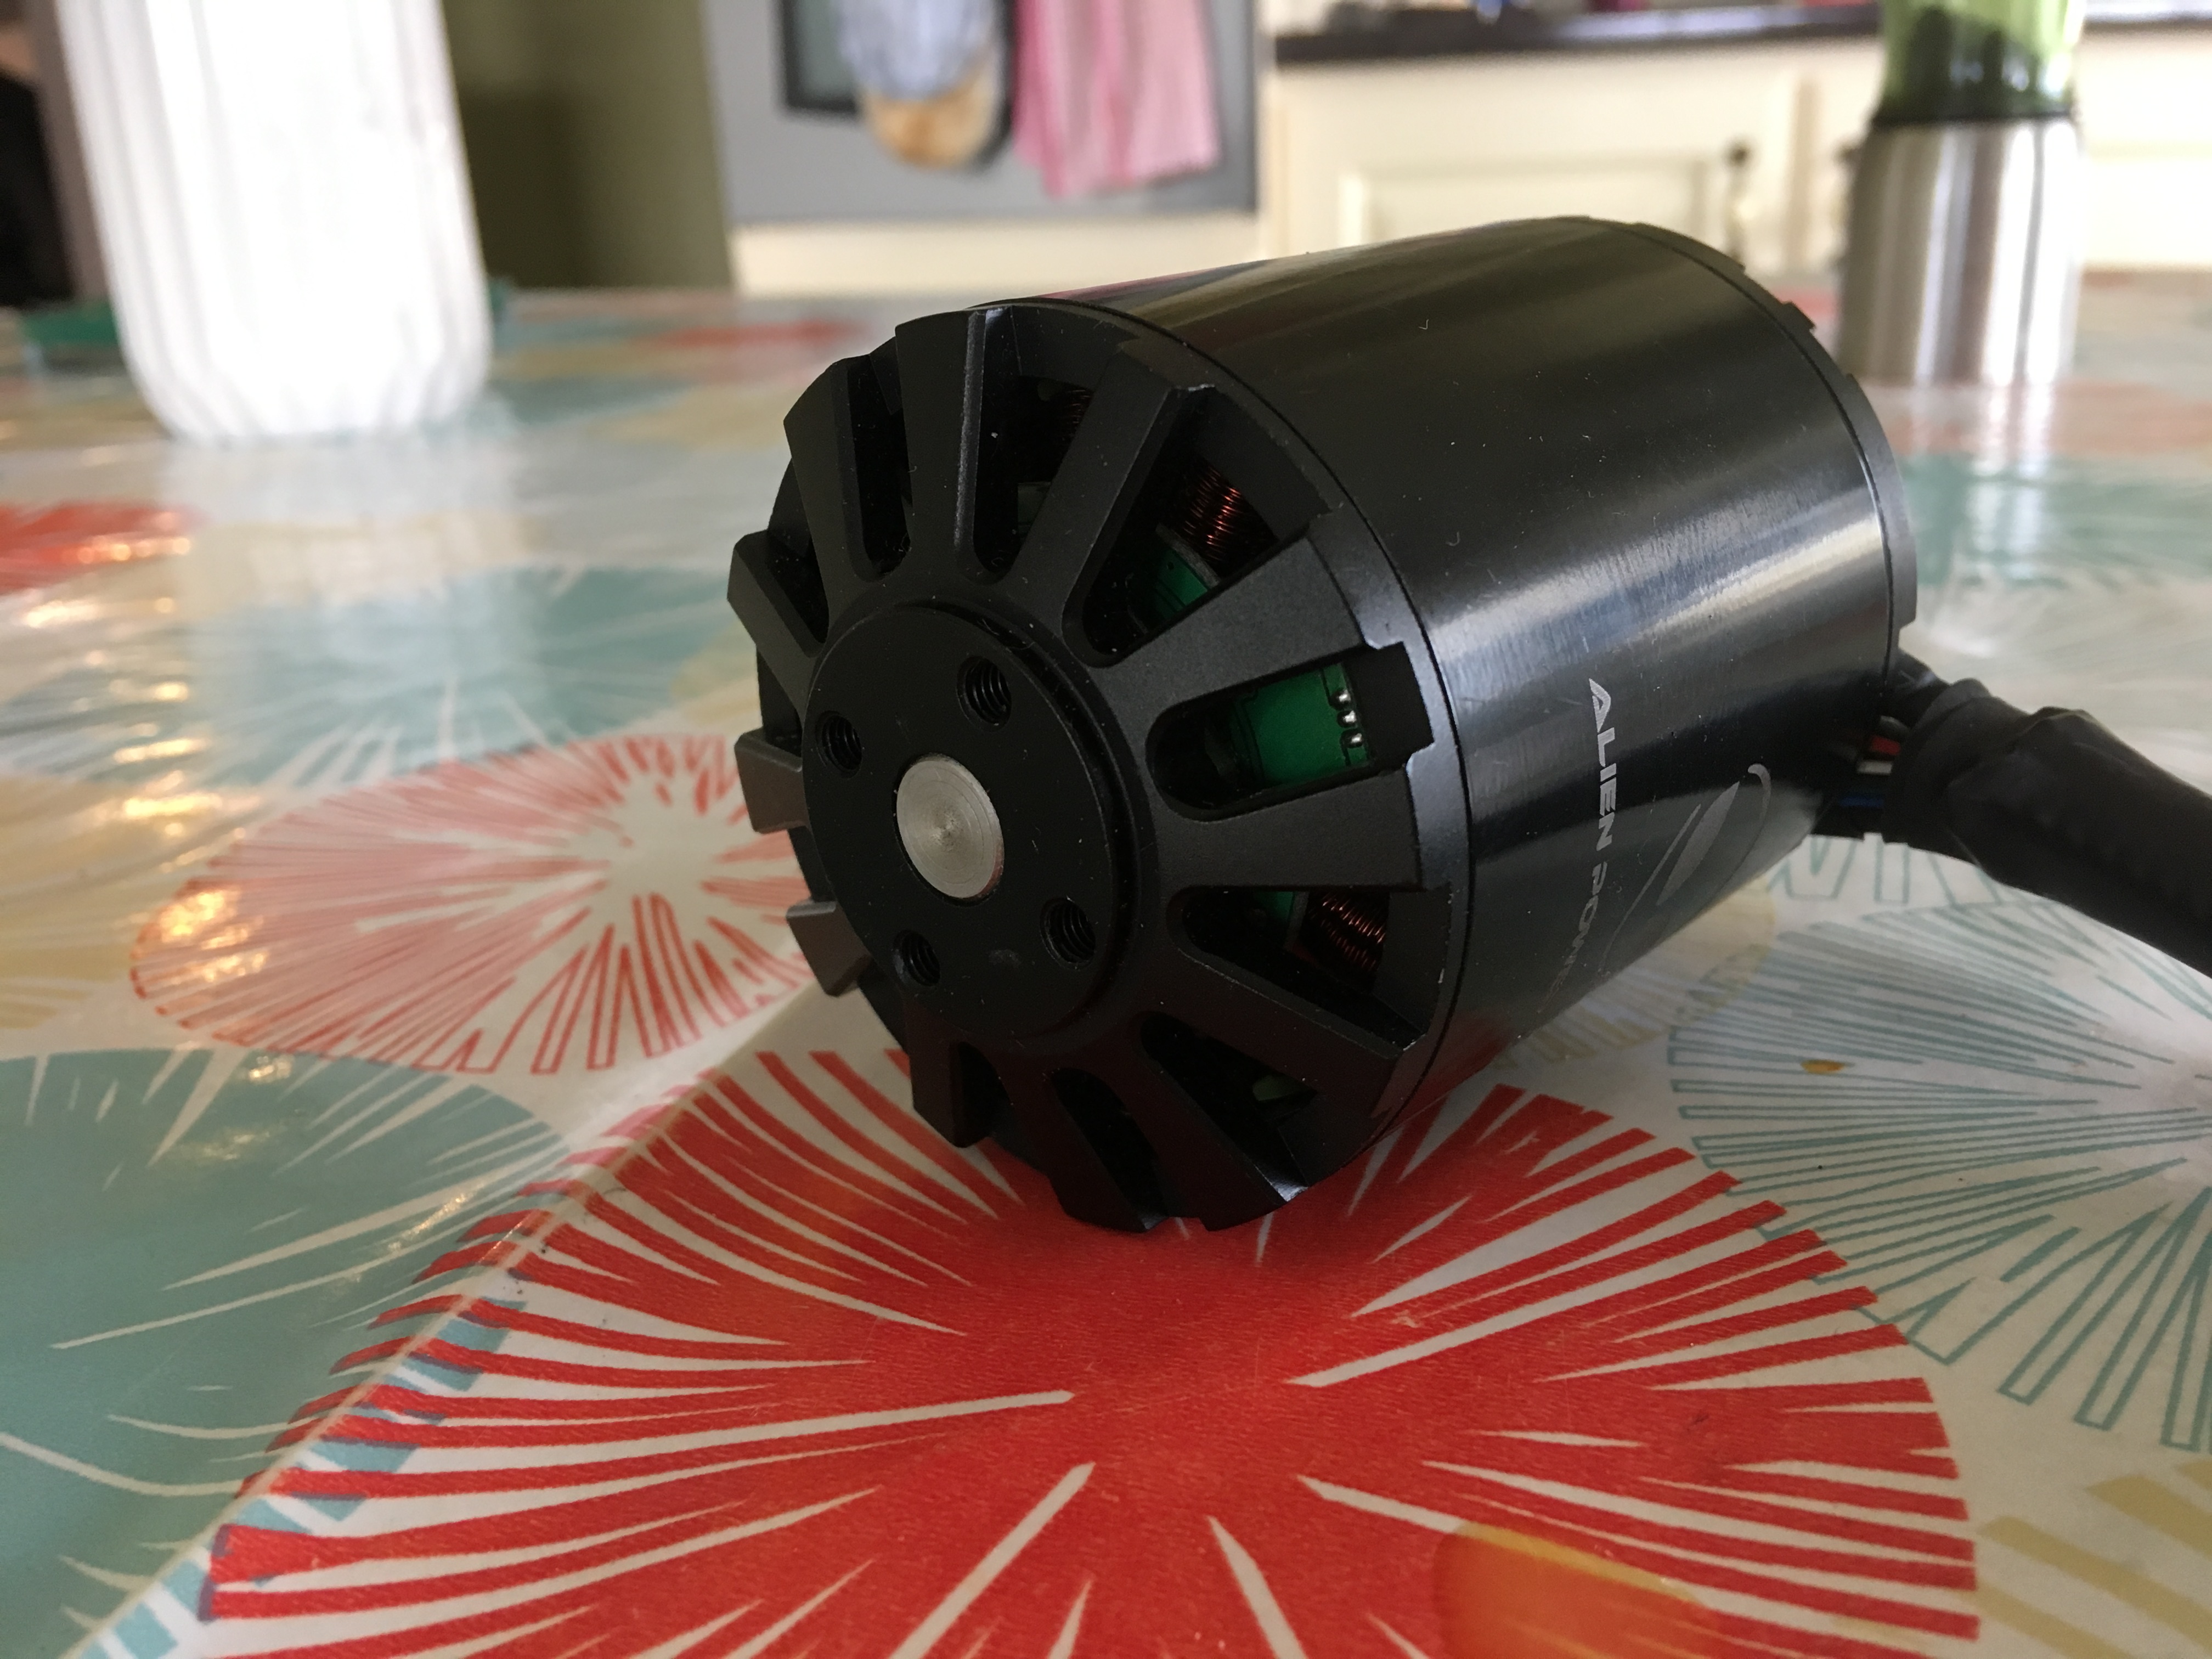
Aside: Has anybody fortified their motors with epoxy yet? Considering doing that with some carvons I picked up recently. Wonder if it might add a layer of protection in crappy conditions.
3 Likes

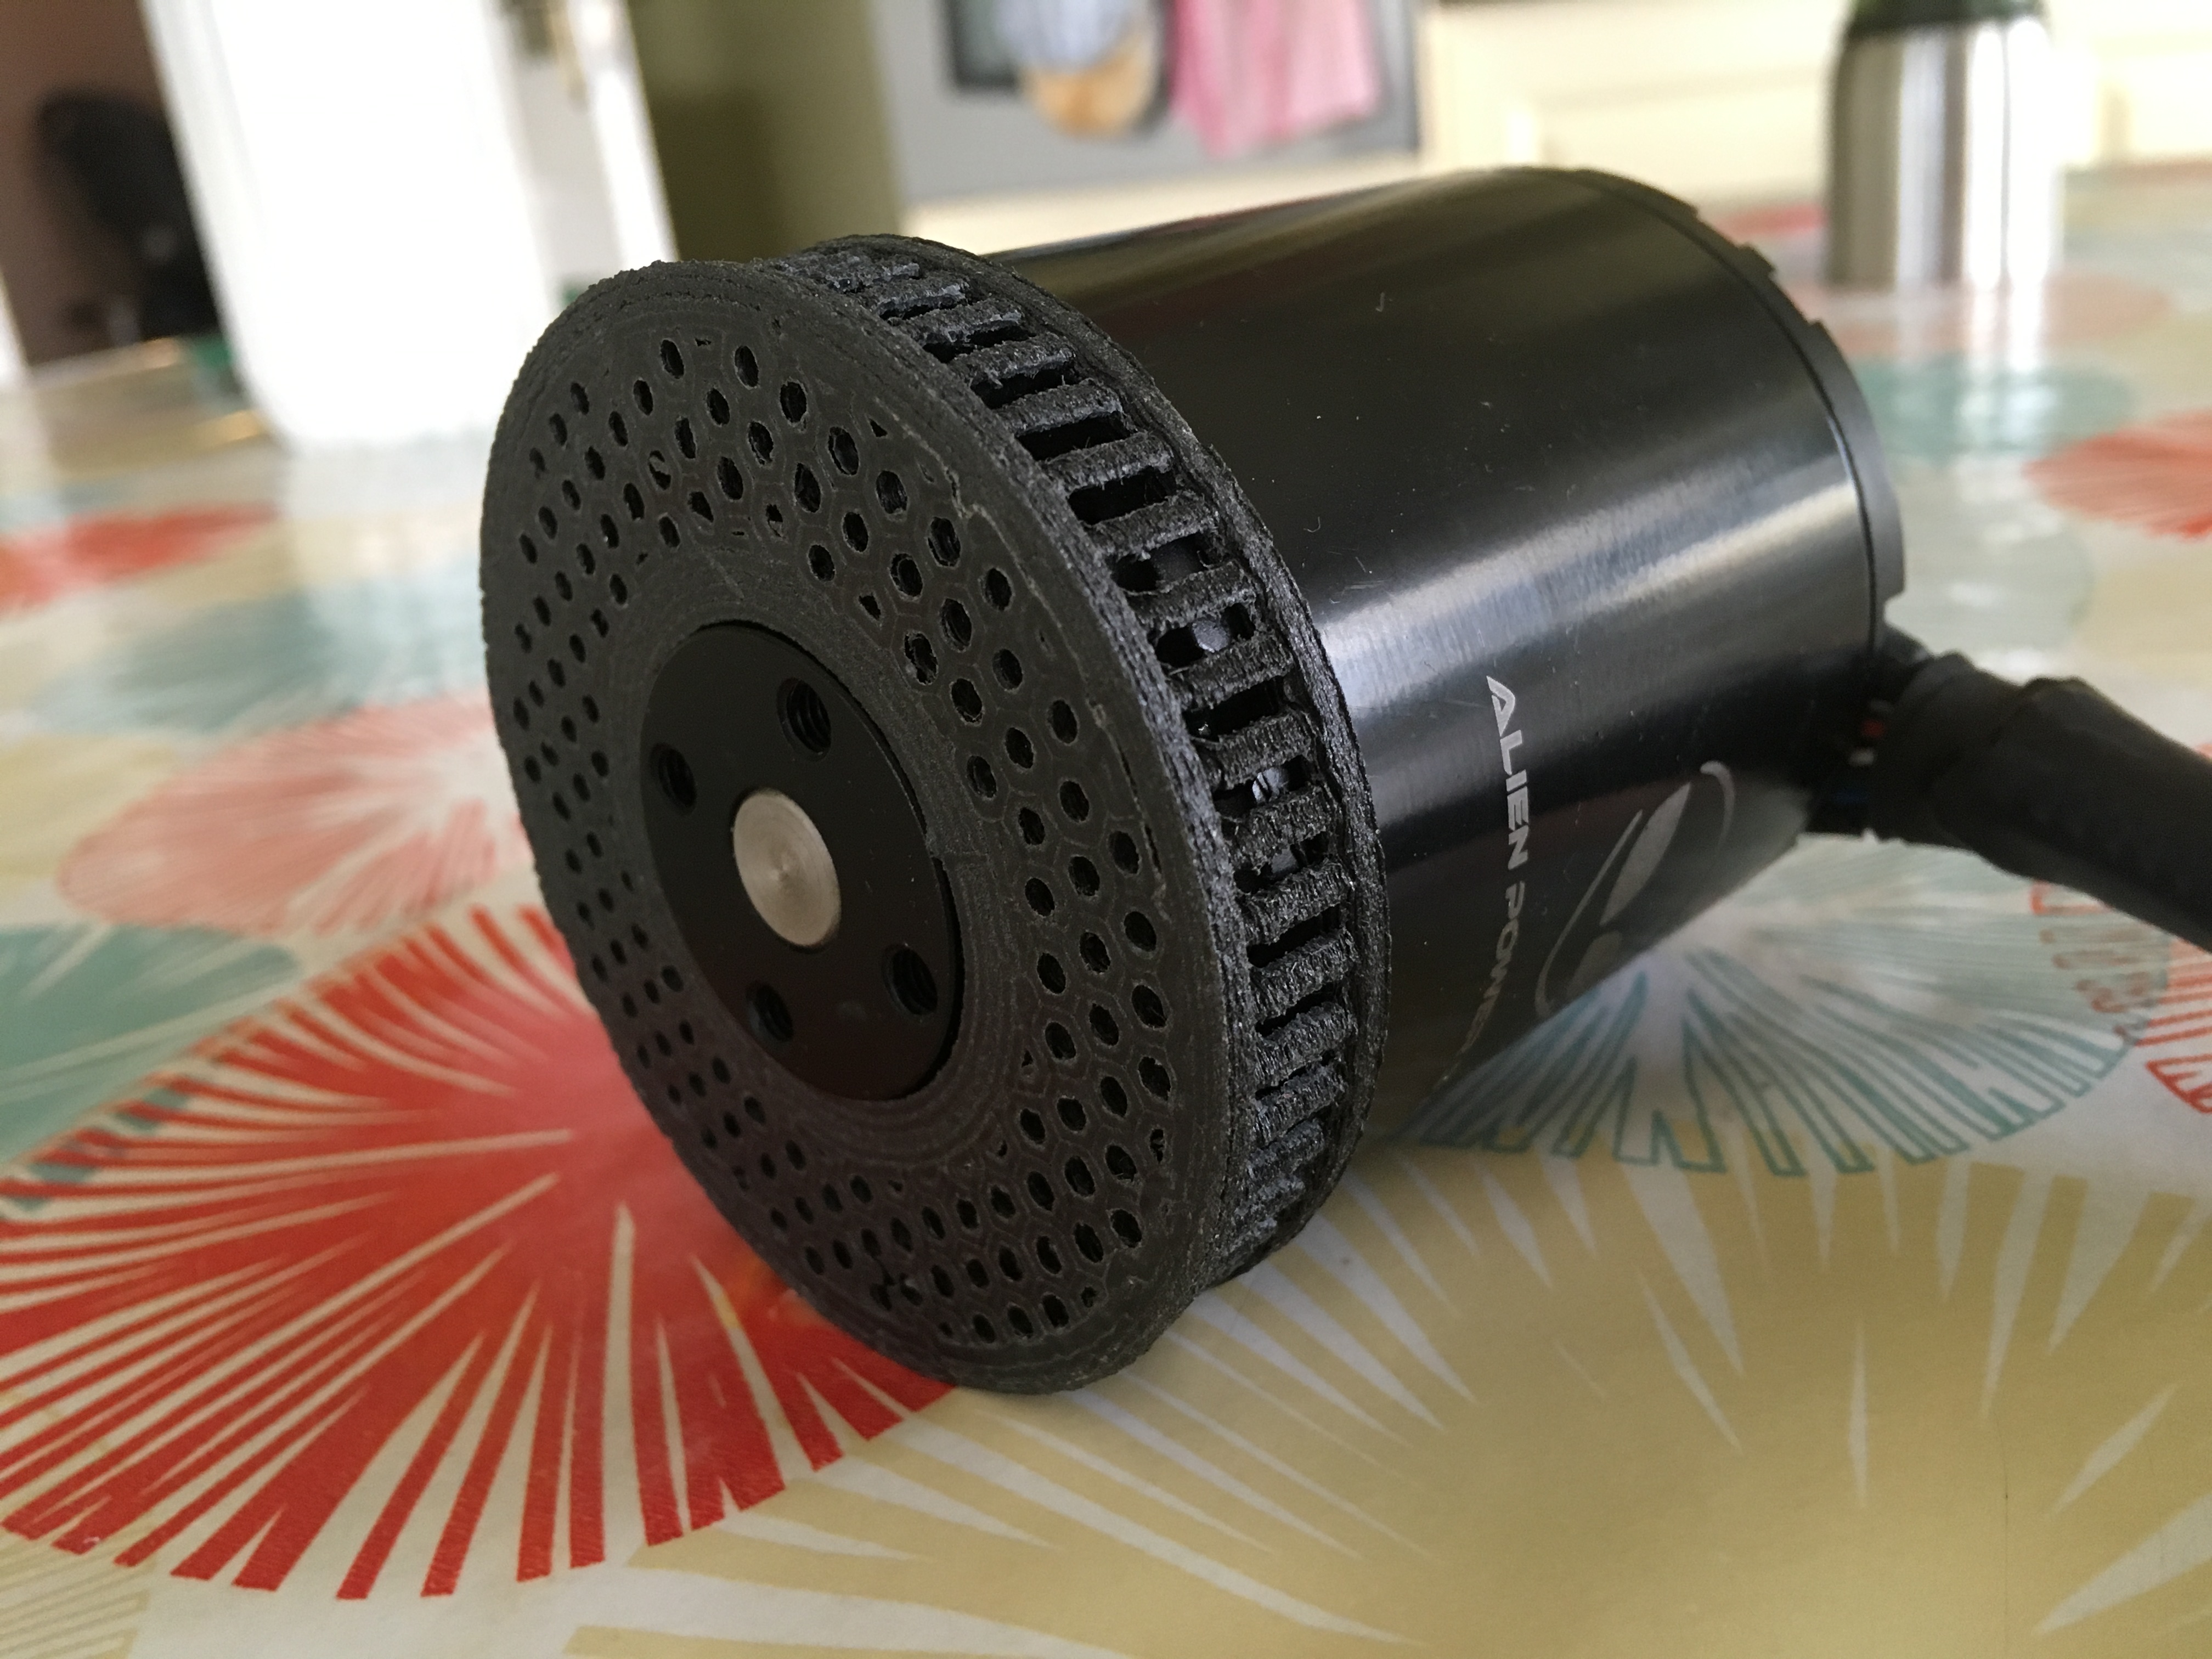
As expected, after riding about 50 miles the wheel pulley came off a bit and started rubbing on the motor mount. Since everything is working as expected, I added blue Loctite which I hadn’t added at the beginning, and I added yellow torque seal so if the bolts turn I will be able to see it.
Soon I will tear down the entire esk8 and loctite everything and inspect everything. I used a lot of nyloc nuts so not many things should need it, if any things. I can’t recall anything else right now.
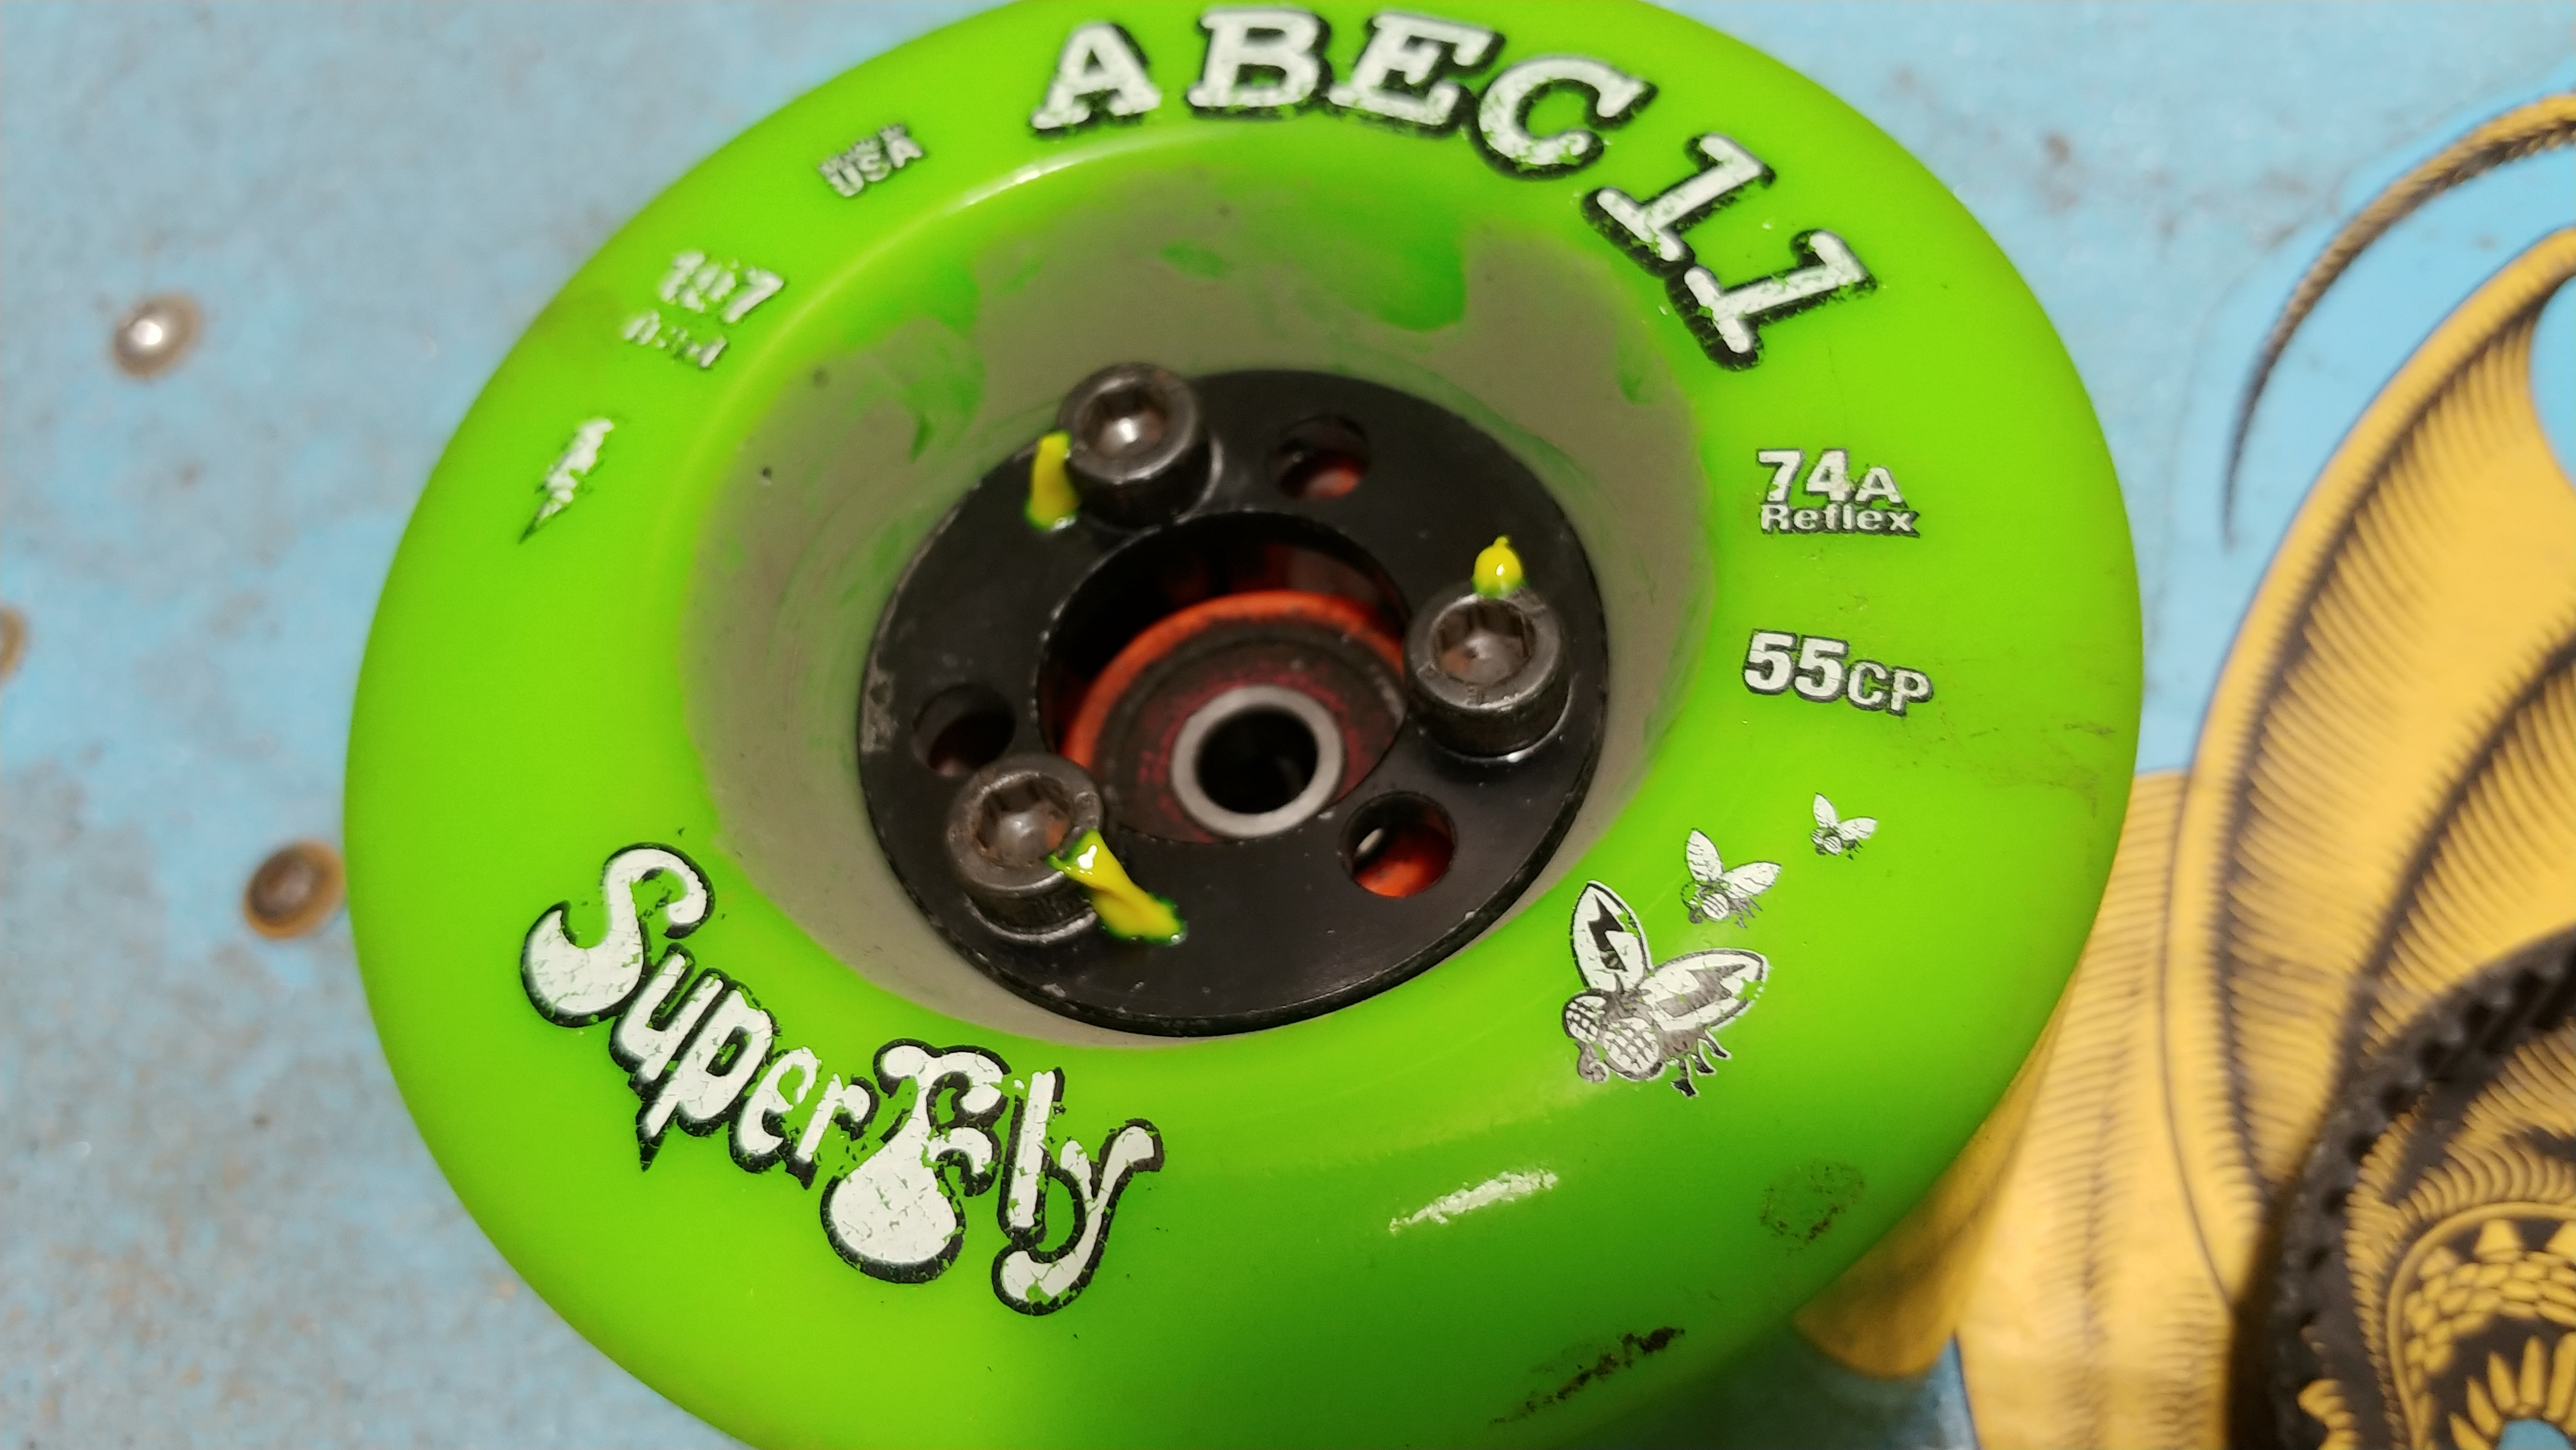
I only used 3 bolts because this is an “ABEC clone” pulley and this is a genuine ABEC11 wheel so the spokes are a tad too thin to use all 6 bolts. These are 12.9 bolts threaded the full thickness of the pulley on the other side.
1 Like
I also put loctite on the motor pulley grub screws and superglued the 3mm key in so it doesn’t rattle in its groove.
5 Likes
Oh that looks good. Which epoxy is that?
1 Like
I agree with @longhairedboy. That looks top titties. Did you make the micro balloon paste with the epoxy? Or just straight epoxy? Also, do any of you see any advantages to adding this treatment to the windings? To me, seems not worth it for the added heat incurred. I guess depends on how hard you work the motors?
1 Like
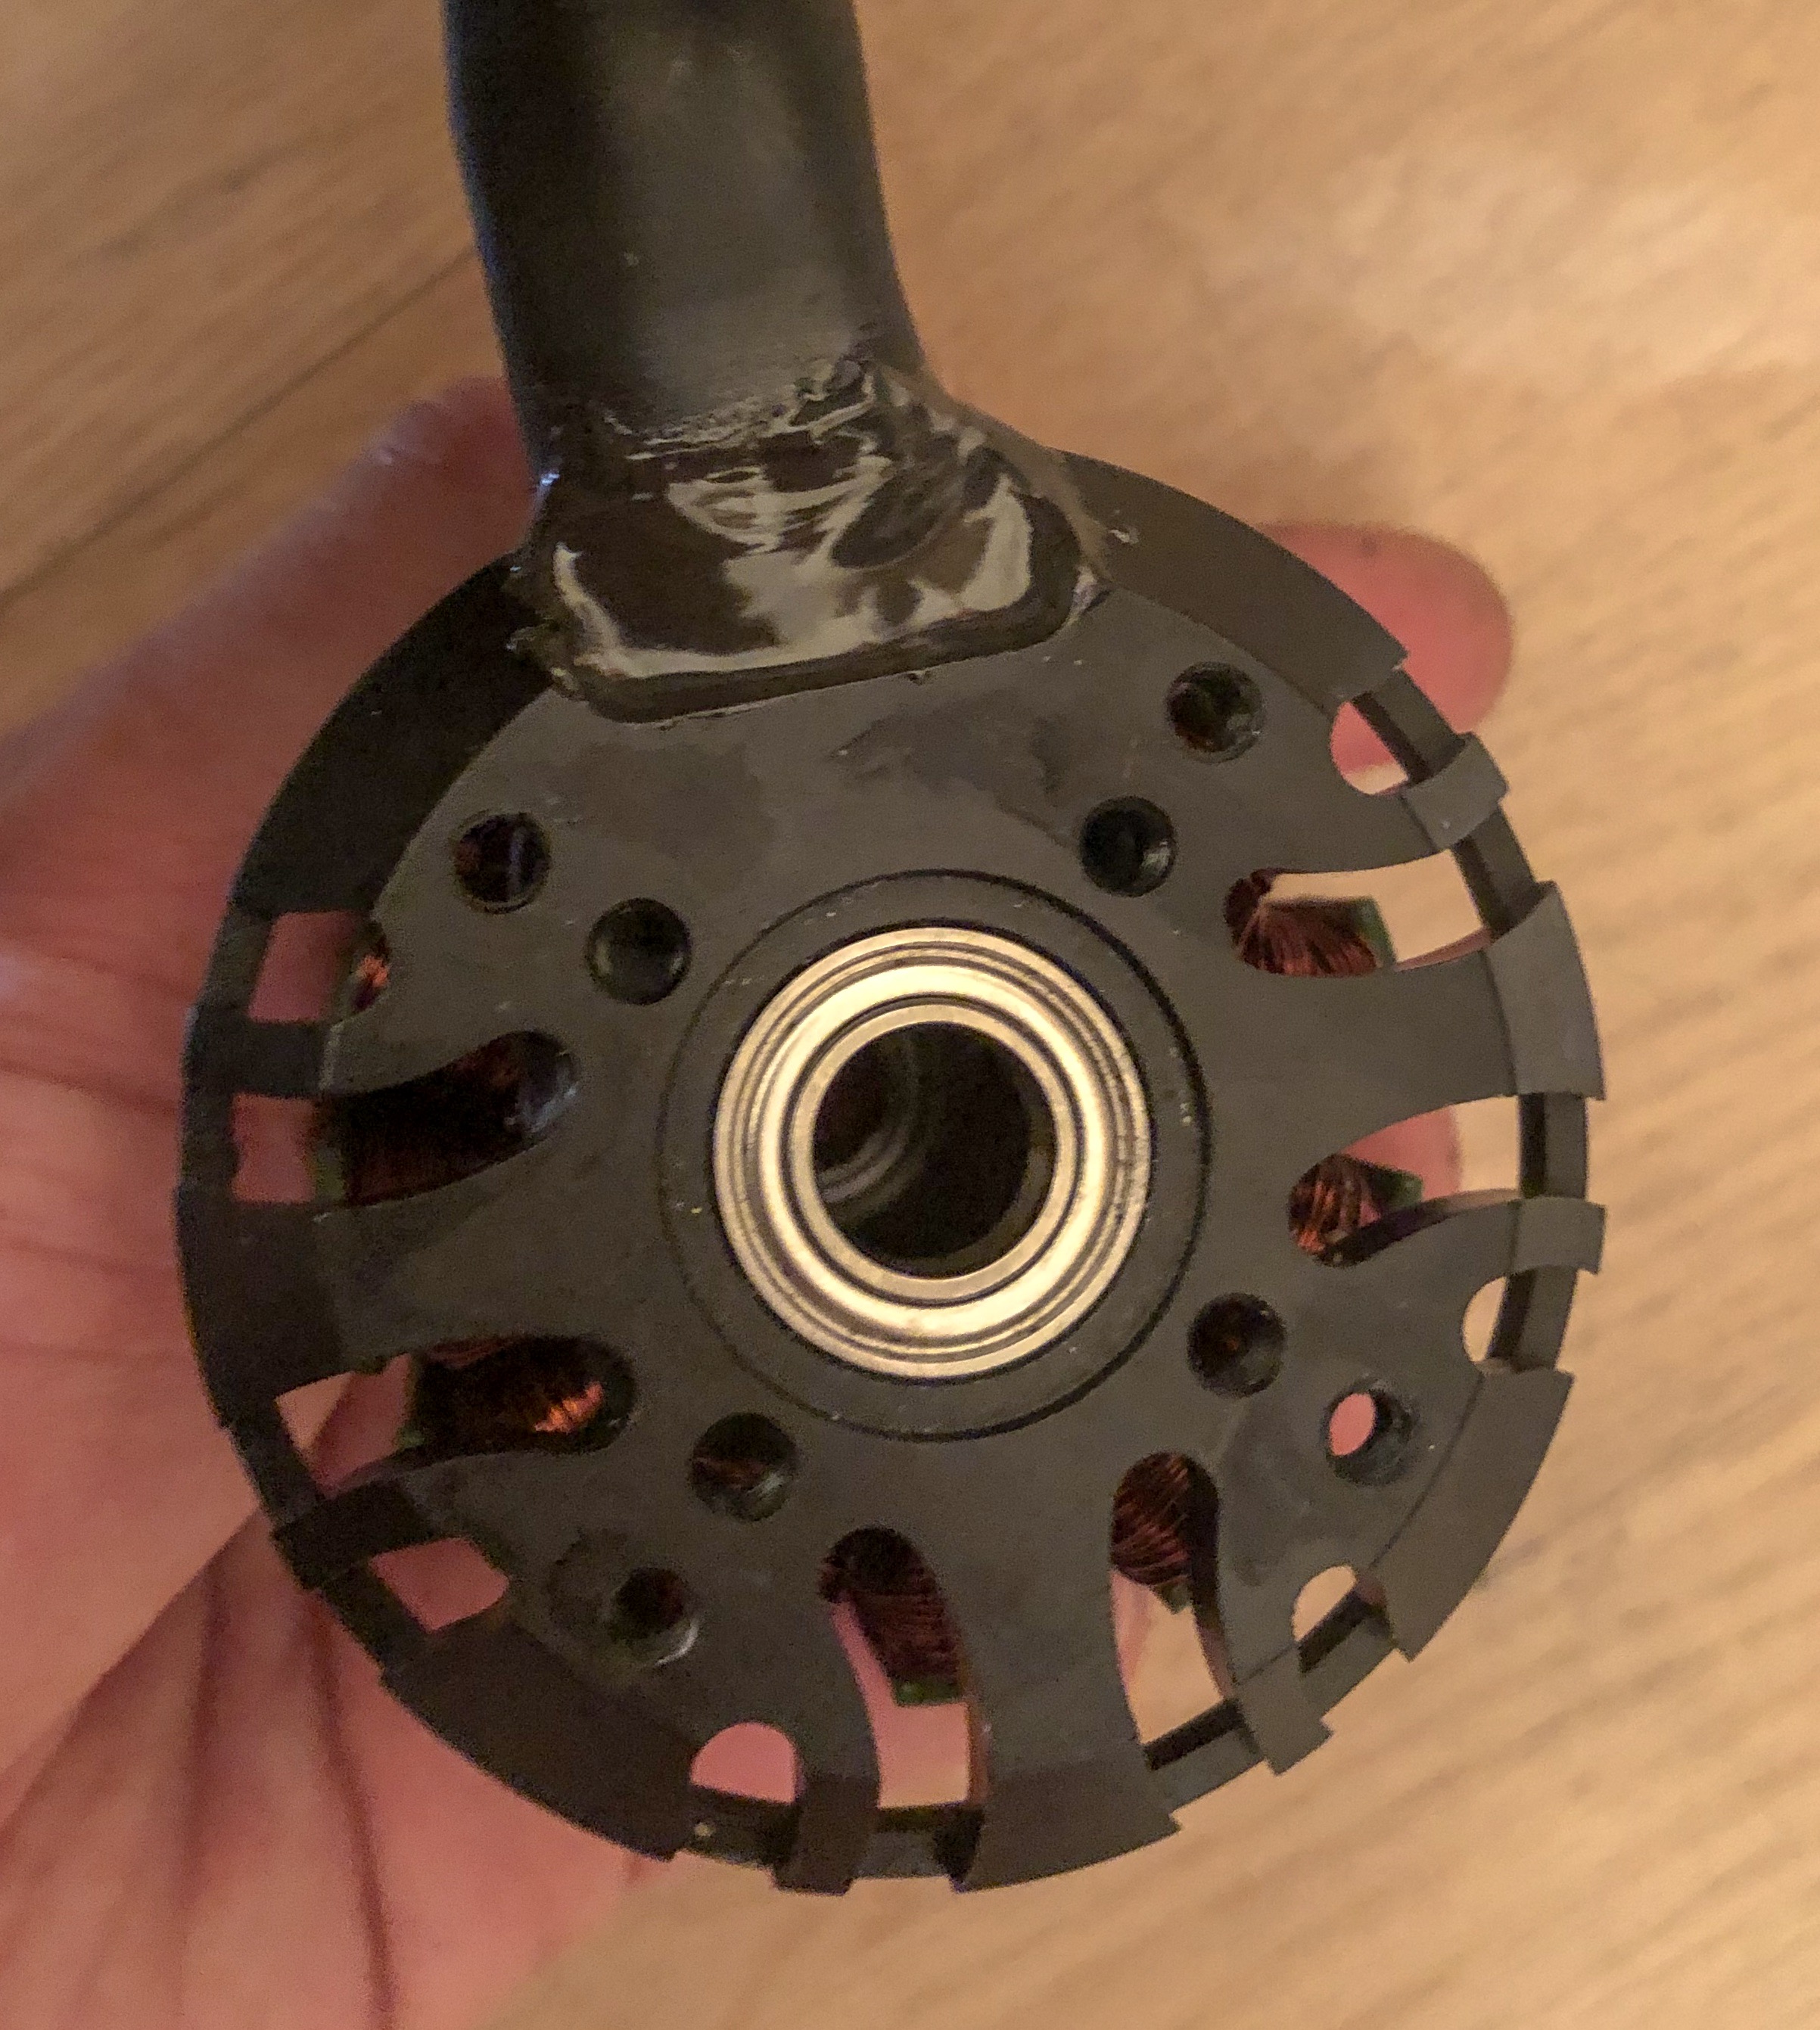
@longhairedboy @Lionpuncher i used this epoxy

It’s russian so i guess not available somewhere else unfortunately.
I tried different kinds of epoxy.
This one had the right consistency.
Clear epoxy is very fluent which means you can fill only one or two gaps and than you need to wait 10-15min till you can move on to the next gap or you run into the problem that the epoxy will run out of the gap and cover the magnets.
The epoxy should have a consistency like warm peanut butter
 than it’s best to work with.
I know that @sender used that white powder to get the right consistency.
I don’t know where I can by the powder, so I tried just different kinds of epoxy.
Some motors have issues with lose windings.
That result in a high pitching noise at a specific frequence. If this is the case it makes sense to cover the windings with epoxy too.
This will hold everything in place.
I also see a reason to cover the phase wires on the point where they leave the motor.
I have seen some pictures where the isolation was rubbed off over time due to vibration.
Epoxy fix the phase wires or awg wires in place and protect them from this damage.
4 Likes
After noticing this thing actually hits 30mph (48km/h) I decided to plug these values into the calculator
And sure enough top-speed is listed closer to 31.6mph (51km/h)
So I think I need a lower kv motor and/or a bigger wheel pulley. It’s a tad fast for my taste.

I measured 30.2mph (48.6km/h) earlier
2 Likes
I’m contemplating life as I know it right now and its coming up short. I’m quite lost. When a stalwart of your psyche moves the goalposts its really disconcerting.
A build thread from the soccer mom.
I can’t deal.
Its too much.
An awesome little shopping trolley from the self proclaimed master of tools over toys.
Seriously I’m in a tizzy.
2 Likes
I don’t remember where I got the 26.5 from but it must have been an error. When I checked earlier, it was faster.
I’m also pondering upgrading this to TB 110mm wheels and changing to a 40T wheel pulley instead of 36T. That’d knock about 3mph (5km/h) off the top-end and give me some extra width on the wheels.
2 Likes
You seriously can not put those great big monsters on that deck.
Just change the pulley. Or get some nice 83mm rollers
2 Likes
This battle hardening stuff I have to figure out, high temp epoxy seems to be a start.
Must check farnell
Also good conformal coating (sensor pcb), I bought an acrylic spray but on reflection a bottle applicator would be better
Thanks for your useful pics
3 Likes
The MG Chemicals conformal coating in the 55ml brush-on bottles are my favorite.
Go for the trio of Silicone, Acrylic, and Urethane
4 Likes