I wanted a remote with a number of specific features:
High reliability, low latency connection. ELRS.
Durable throttle control with bearings, high reliability sensor and tension adjustment.
Ergonomic grip for use with wrist guards and gloves.
Telemetry.
3d printed with easily sourced components.
I’ve been gradually working on this project for over a year, at this point I’ve implemented all key features, and I’ve been riding using the prototype for the last 6 months and it works great.
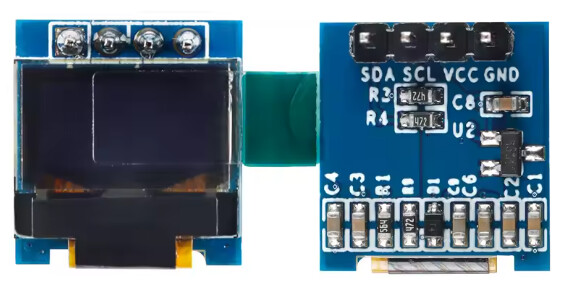
Remote config:
ExpressLRS (ELRS) - Currently it is the most reliable opensource link protocol with great interference and failsafe handling. ELRS receivers can be configured as transmitters, and there’s a huge selection of different models. You can use any esp8285 based receiver for TX, I recommend “Happymodel ep1 TCXO” as TX and “Happymodel EPW6 TCXO” as RX. aliexpress ep1 aliexpress epw6
controller: RA4M1 it’s compact and setup is straightforward. Alternatively you can use STM32F103C8T6 Blue pill (but you need to flash bootloader and remove pins to make it fit). Xiao RA4M1 OR Waveshare RA4M1 aliexpress RA4M1 and Waveshare
5v UPS module ND1A05MA - combines 0.5A charging and discharging, but seems like it’s not very widely available aliexpress link
alternatively you can use 2 separate modules for charging and discharging. Look for 500ma small capacity charging module + 5v boost module aliexpress charger aliexpress boost 1 or boost 2 MAKE SURE YOU SET BOOST TO 5V, stock is 12v, I’ve killed 1 controller like that
Shell printed with PETG (or any other low friction material). Grips printed with TPU95a.
Any ELRS receiver will do. But if you want to have telemetry at this point you’ll need a PWM receiver. I use Happymodel EPW6, it can do UART and PWM at the same time.
For telemetry - same RA4M1 / STM32F103C8T6 to talk to VESC (or any other arduino-compatible controller that can do 2 UARTS)
Board config is done on receiver side, so you can seamlessly use same remote with multiple boards with different cell/wheel/gearing configurations.
Here’s a little info on how to deal with ELRS:
How to enter ELRS WIFI mode
ELRS devices can create their own WIFI networks that you can connect to using your laptop/phone/tablet.
For me ELRS WIFI doesn’t work on my laptop, but it works on my phone.
By default ELRS receiver/transmitter will go into WIFI mode 60 seconds after power up, if there’s no connection.
For fresh receiver you can power it with GND and +5v and wait 60 seconds.
If connection was established between remote and the board receiver, it will not go into WIFI mode until power cycle. So to connect WIFI to your board - keep remote turned off, power the board on, wait 60 seconds.
For soldered remote, the TX module will not go into WIFI mode while it’s receiving packets from arduino controller. To go into WIFI mode you need to flash empty sketch (like a blinker sketch) onto the remote, then wait 60 seconds.
Choose WIFI named ExpressLRS RX (or TX). Press “Use network as is”:
After this you can go into a browser and type address 10.0.0.1
Here you can set your Bind Phrase, tweak pin settings, and upload the firmware (that you download from web flasher)
Also discovered telemetry bug after wiring LED strip. According to ELRS documentation in 1:32@250hz ELRS sends bursts of 3 telemetry packets, so sometimes it was missing 2nd or 3rd telemetry packet. Neopixel overrides all interrupts so with 12 LEDs it was missing a lot, and telemetry was really slow.
Still testing it, but I think skipping screen and LED update for 5 updates after first telemetry receive solved it. No missed telemetry anymore.
It’s only telemetry, control transmission was unaffected.